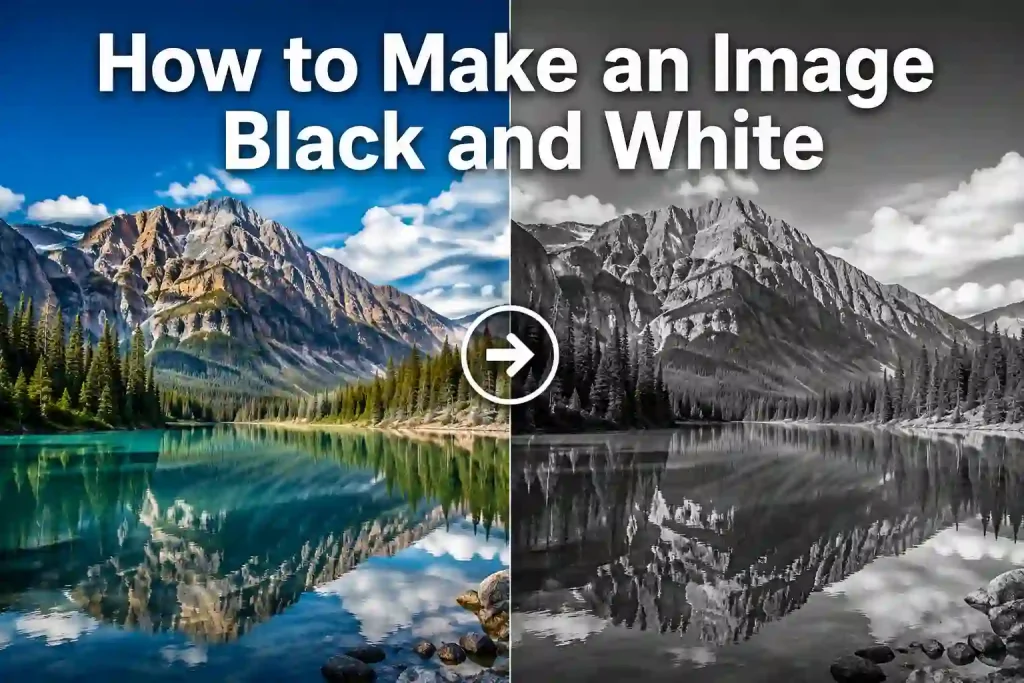
How to Make an Image Black and White: A Simple Online Guide

Turning a color photo into black and white sounds almost too simple to need a guide. After all, most phones have a monochrome filter, and nearly every photo editor has a “Desaturate” button hiding somewhere.
But there is a catch.

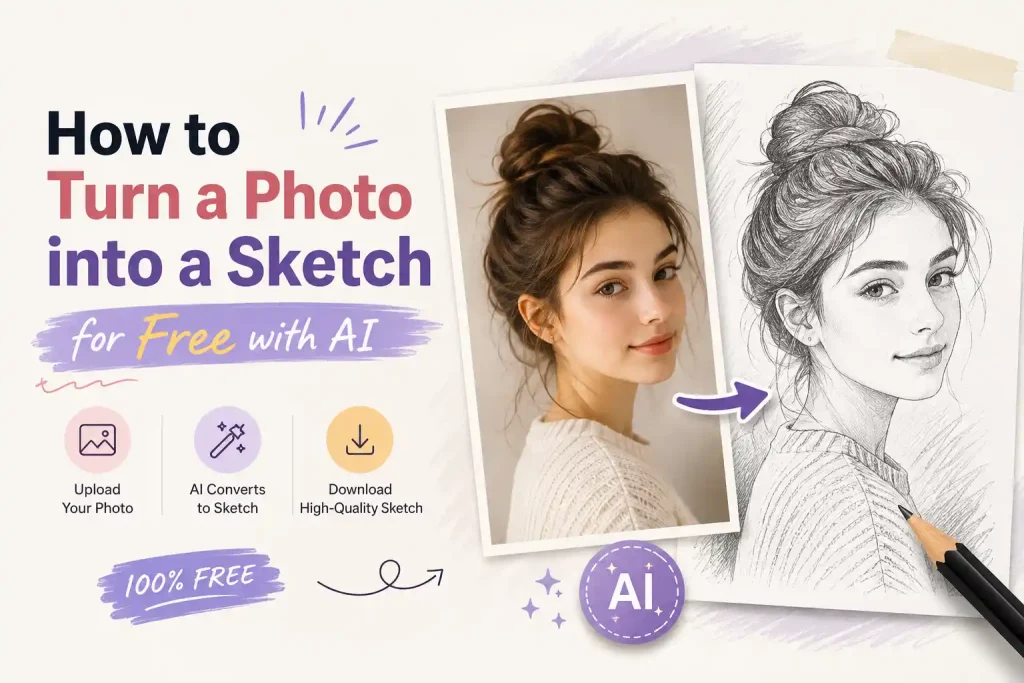
How to Turn a Photo into a Sketch

A quick filter can also turn a good photo into a flat gray image, soften details you actually wanted to keep, or send a private photo somewhere you would rather not send it. In other words, making an image black and white is easy. Making it look good while keeping it sharp and private takes a little more thought.
This guide explains what makes a good black and white image, the difference between black and white and grayscale, how common editing methods compare, and how to use an online Black and White Filter to get the job done without turning your photo into a gray pancake.

What Makes a Good Black and White Image?

Before choosing a filter, it helps to know what you are actually trying to achieve. A strong black and white image generally comes down to three things: tonal contrast, image quality, and privacy.

Preserve Contrast and Tonal Depth

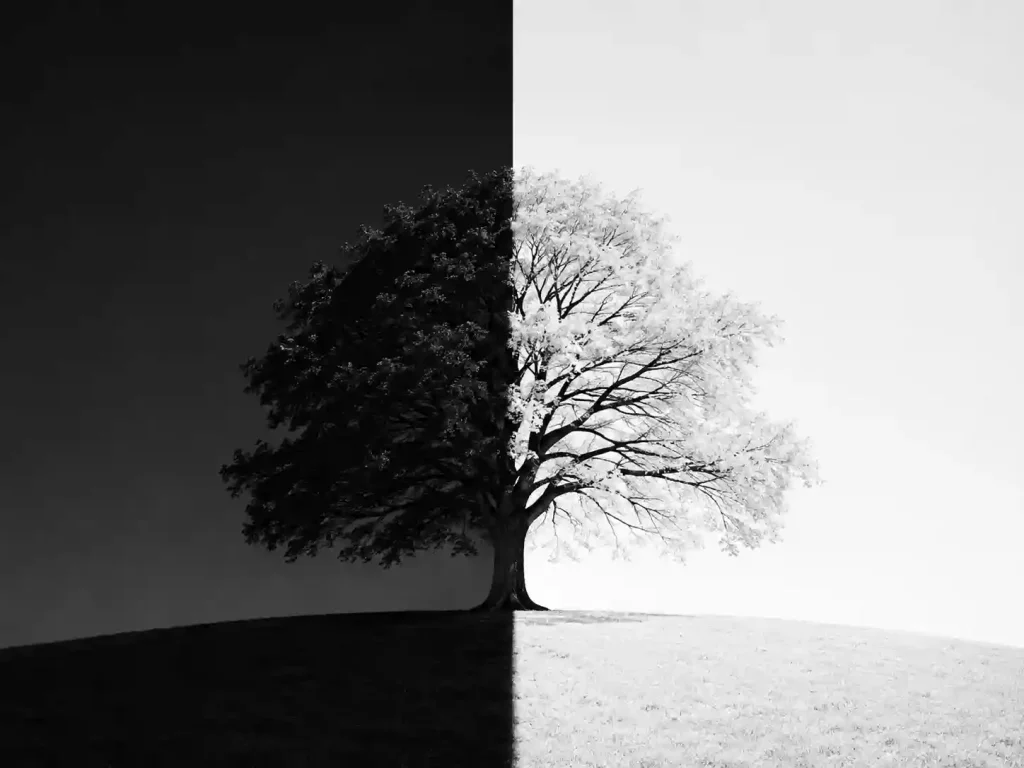
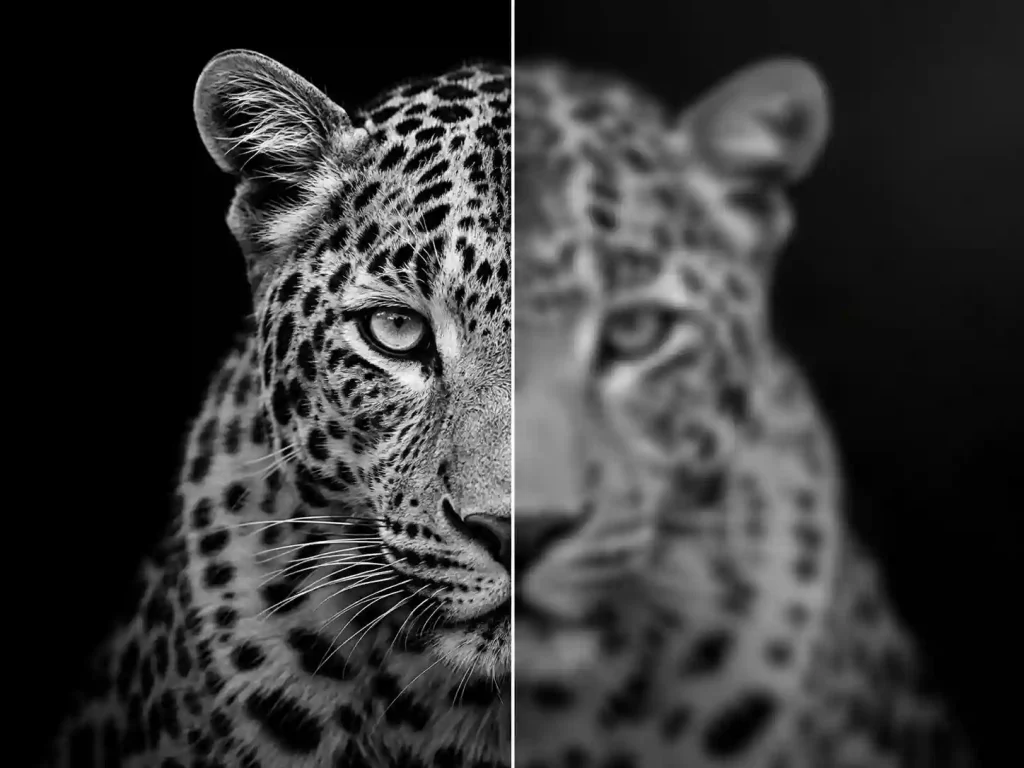
black and white tonal contrast example

Color provides one way to separate objects in a photo. Once the color disappears, light and shadow have to do more of the work.
A good black and white conversion should preserve a clear difference between:

  • Highlights and shadows
  • Foreground and background
  • Important details and less important areas
  • Different textures and surfaces

Simply removing saturation can sometimes leave everything sitting in the same middle-gray range. The result is technically black and white, but visually rather sleepy.
A better conversion considers the different brightness levels in the original image and creates enough contrast to give the photo depth.

Keep Details Sharp

sharp vs blurry black and white detail
Removing color should not mean removing detail. Fine textures such as hair, skin, fabric, wood grain, architecture, and small background elements can become particularly important in a monochrome image. If the conversion process reduces resolution or introduces blur, those details can disappear quickly. For online tools, it is worth checking whether the output preserves the original resolution and clarity rather than assuming that every “free filter” does.

Protect Your Image Privacy

There is another consideration that has nothing to do with photography: where your image goes.
If you are converting a family photo, personal portrait, document, or other private image, check how the tool processes uploaded files. Cloud-based editors may require your image to be uploaded to their servers, while some browser-based tools can process images locally on your device.
Colorify AI’s Black and White Filter is designed around local browser processing, meaning images are processed on your device rather than uploaded to or stored on its servers. It also works without requiring a separate software installation or account.
That makes privacy one less thing to worry about while you are worrying about whether your shadows look dramatic or simply angry.

Black and White vs. Grayscale: What's the Difference?

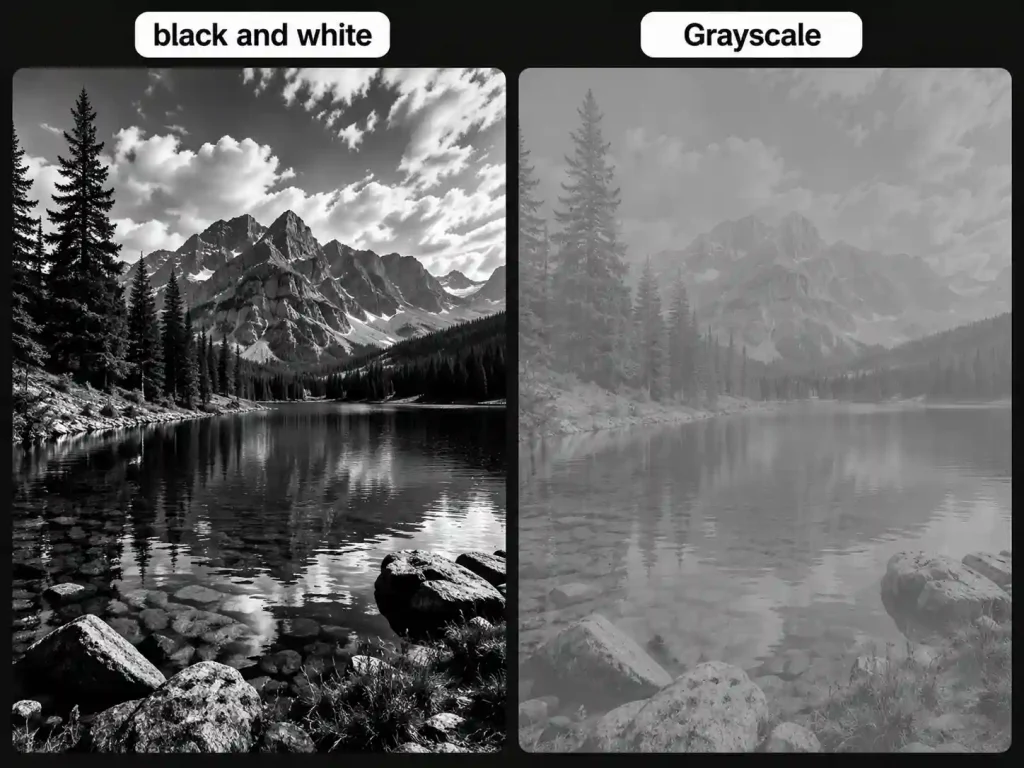
grayscale versus black and white comparison

The terms black and white and grayscale are often used interchangeably, but technically they are not quite the same.
A grayscale image contains different shades between black and white. Each pixel represents a level of brightness rather than a full color value.
A strictly binary black-and-white image, on the other hand, contains only black and white with no intermediate gray tones.
In everyday photo editing, however, “black and white” usually refers to a monochrome image containing a range of gray tones. That is also why a good black and white filter does more than simply remove color.
The conversion can take the brightness of different color channels into account. For example, two objects that look very different in color may end up with similar brightness after conversion. Adjusting their tonal values can help keep them visually distinct.
This is one reason why a thoughtful black and white conversion can look much better than simply dragging the saturation slider all the way down.

How to Make an Image Black and White: Phone, Photoshop or Colorify?

There is no single best method for everyone. The right choice depends on how much control you need and how quickly you want the result.
Method Contrast Control Quality Privacy Best For
Phone editor Basic Depends on app Depends on app Quick personal edits
Photoshop Excellent Excellent Local editing Professional editing
Colorify AI Automatic High-quality output Local browser processing Fast online conversion

Using Your Phone

For a quick social media photo or casual image, your phone is usually enough. Open the photo editor, find the filters or adjustments, and select a monochrome option such as Black & White, Mono, or similar. The downside is control. Depending on the phone and app, you may have limited options for adjusting individual tones, contrast, or highlights.

Using Photoshop

Photoshop gives you considerably more control. You can use a Black & White adjustment layer, modify individual color channels, and fine-tune contrast, shadows, highlights, and other properties. That is excellent when you need precision. It is less excellent when you simply want to convert one photo before lunch.

Using Colorify AI

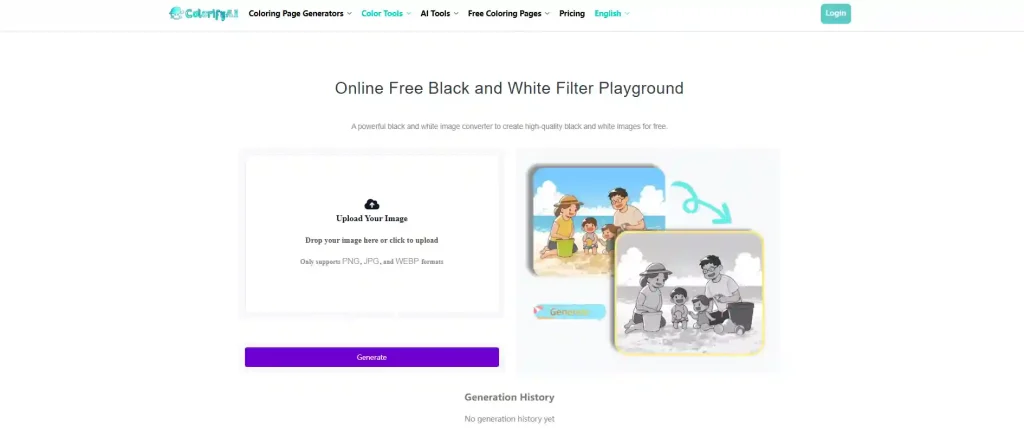
Colorify AI black and white filter playground

If your goal is simply to make an image black and white online, Colorify AI offers the shortest workflow:

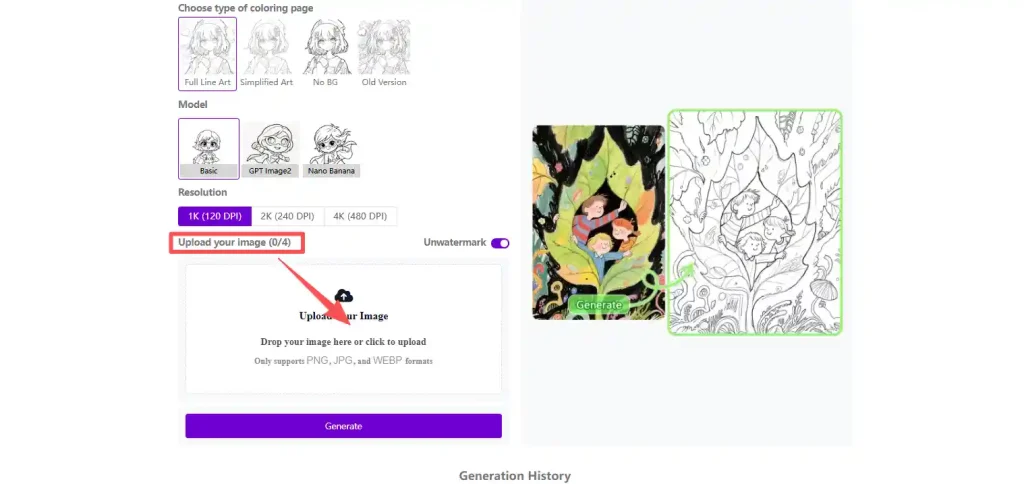
  1. Open the Colorify AI Black and White Filter in your browser.
  2. Upload your image (JPG, PNG, or WebP).
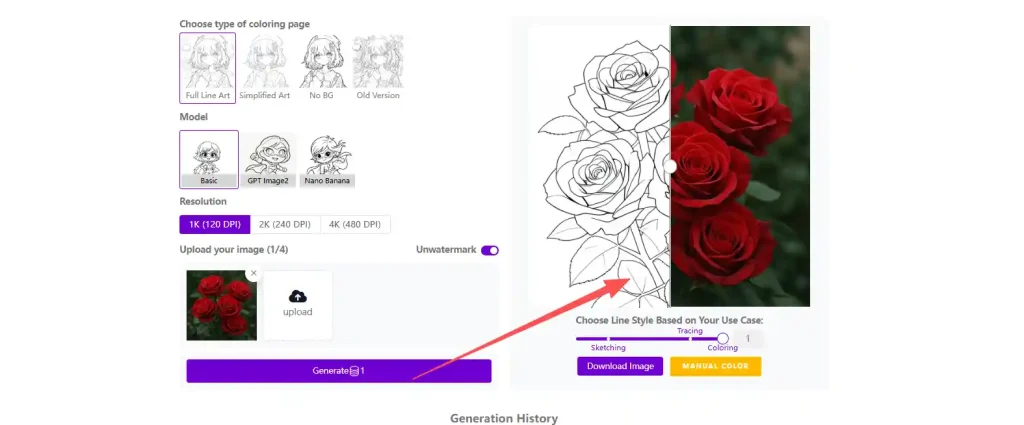
  3. The tool processes it locally and shows a preview — contrast and fine details are preserved, not just desaturated.
  4. Download the result, free and without a watermark.

It works directly in your browser with no software install or account, and because processing stays on your device, your image is not uploaded to a server. Try the Colorify AI Black and White Filter when you want the result without a long editing session.

Common Black and White Photo Fails You Want to Avoid

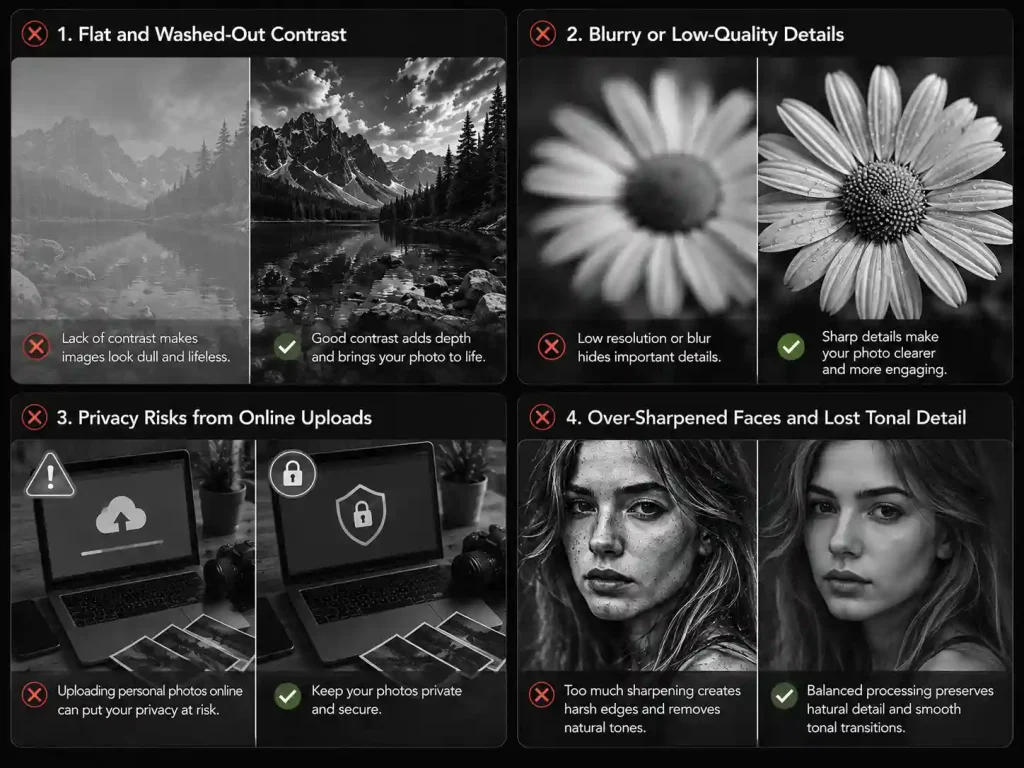
common black and white photo fails
Getting the color out is easy. Getting the result to actually look good is where things can go wrong. Here are some of the most common black and white photo problems to watch for.

Flat and Washed-Out Contrast

Why does my black and white photo look like a washed-out T-shirt?
Simply removing color can leave an image stuck in the middle-gray range. Without enough separation between highlights, midtones, and shadows, the result can look flat rather than dramatic.

Blurry or Low-Quality Details

Why does the photo look foggy when I zoom in?
A black and white conversion should remove color, not detail. Poor compression, resizing, or low-quality processing can soften edges and make textures look blurry.

Privacy Risks from Online Uploads

Why did editing a photo come with a side order of spam emails?
Some online editors upload images to their servers for processing. For personal portraits, family photos, or other private images, that may be more exposure than necessary.

Over-Sharpened Faces and Lost Tonal Detail

Why does everyone suddenly look like a plastic action figure?
Aggressive sharpening can create unnatural edges and skin textures. At the same time, overly dark shadows and blown-out highlights can remove the subtle tones that make faces and other subjects look natural.

🎯A Simpler Way to Avoid These Problems

You can manually adjust saturation, contrast, shadows, highlights, and sharpness—but if the goal is simply to make an image black and white, that can be a lot of editing for a very small job.
Colorify AI’s Black and White Filter keeps the process simple. Upload your image, apply the filter, and download the result. The tool is designed to create a clean black and white effect while preserving contrast and image details, without requiring a complicated editing workflow.
It also processes images locally in your browser, so you don’t have to upload your photo to a remote server just to remove its color.
Upload. Convert. Done.

When Should You Use a Black and White Filter?

Black and white is not just a way to make a photo look “old.” It can be a useful design choice when color is distracting from the actual structure of an image.

Old Photos

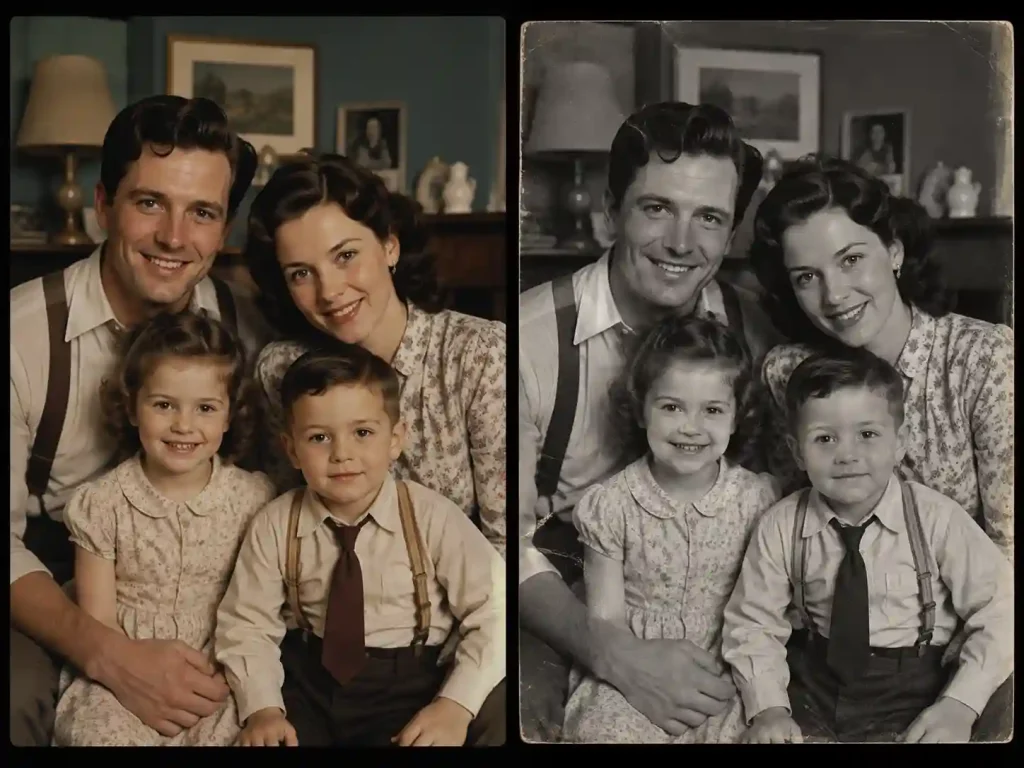
vintage black and white retro photo style
Monochrome treatment works naturally with vintage photographs and can reinforce a timeless visual style.

Portraits and Profile Pictures

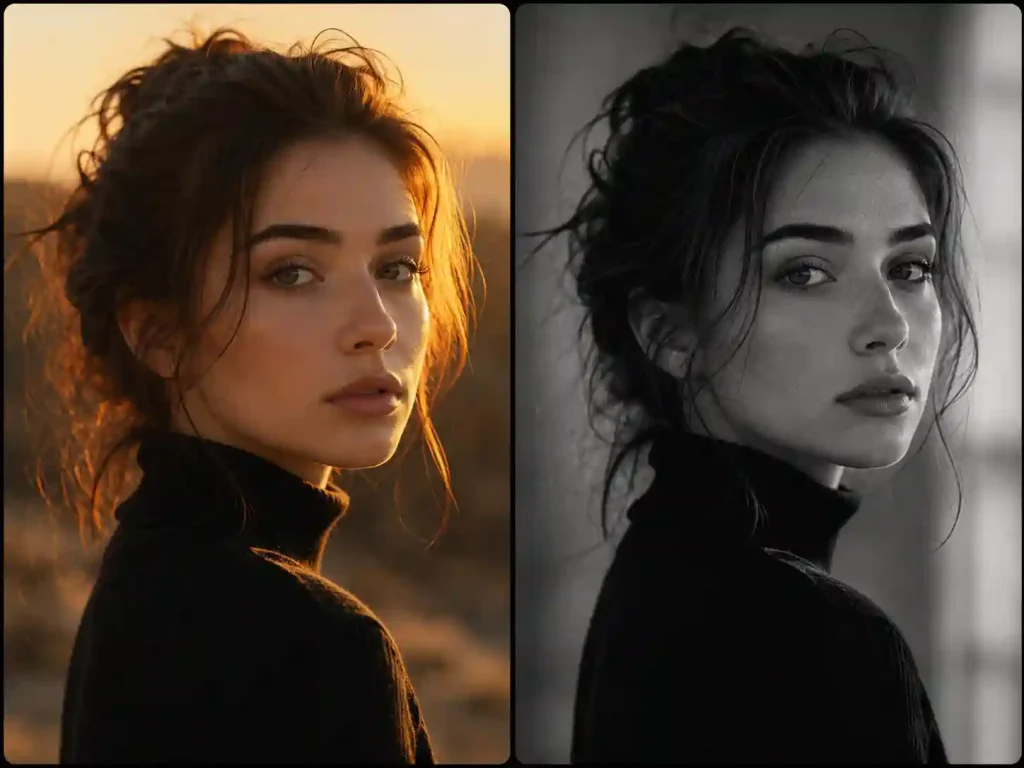
black and white portrait expression lighting
Removing color can put more emphasis on facial expression, lighting, texture, and composition.

Photography Portfolios

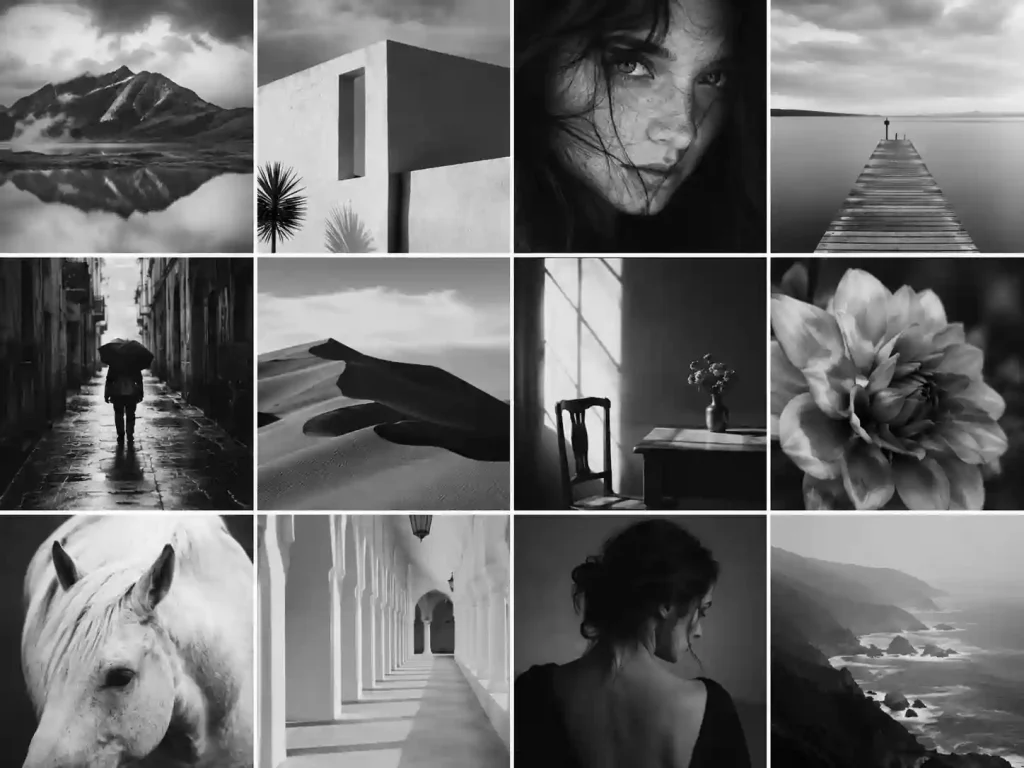
cohesive black and white photo portfolio
A consistent black and white treatment can help a portfolio feel more cohesive, especially when the original photographs contain very different color palettes.

Social Media and Creative Projects

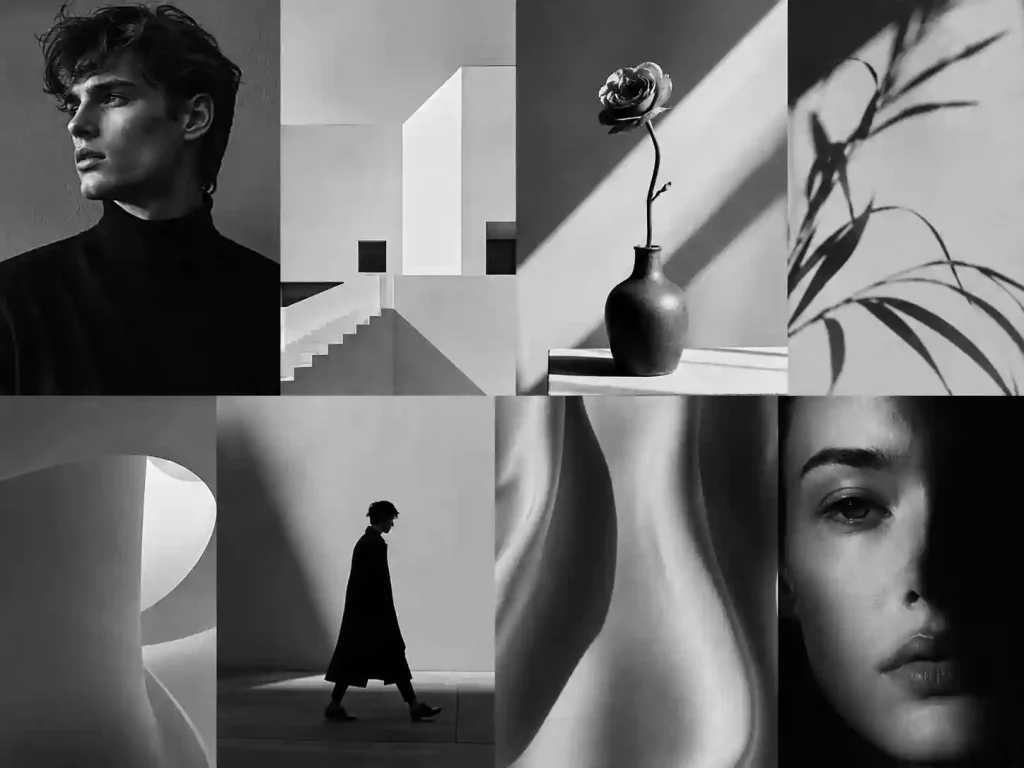
editorial black and white social post
Black and white images can create a clean, editorial appearance for posts, covers, posters, and other visual content.

When Should You Not Use It?

When Should You Not Use black and white
If color is essential to the meaning of the image, removing it may work against you. Product photography that depends on accurate color, colorful charts, warning signs, or images where different colors communicate important information are obvious examples. Sometimes the red really does need to stay red.

Conclusion

Making an image black and white doesn’t have to mean opening a complicated photo editor and adjusting a dozen settings. The key is to preserve enough contrast, detail, and tonal depth while avoiding unnecessary compression or privacy concerns.
If you just want to make an image black and white quickly, Colorify AI offers a simpler approach. Upload your image, apply the Black and White Filter, and get a clean monochrome result without a complicated editing workflow.
Sometimes, the best photo-editing workflow is the one that lets you finish before you start wondering where the “Desaturate” button went.

Can I make an image black and white for free?

Yes. Colorify AI's Black and White Filter is available for free and does not require a subscription or watermark.

Do I need to install any software?

No. Colorify AI works directly in your browser, so there is nothing to install. You can make an image black and white online from your computer or other supported device.

Will the black and white filter make my image blurry?

The filter is designed to preserve the original image's resolution and details rather than simply applying a basic desaturation effect. For the best result, we recommend starting with a clear, high-quality original image.

Are my uploaded images stored on your servers?

No. Colorify AI's Black and White Filter processes images locally in your browser, so your image does not need to be uploaded to our servers for processing.

How to Make Free Coloring Page from Photo (Best Practice Guide)

How to Make a Coloring Page from Photo

You type “photo to coloring page” into Google, upload a photo, click generate, and… the result looks nothing like what you imagined. Lines are too dense. The outline didn’t close. Print it out and it’s a blurry mess.
Here’s the thing: turning a photo into a coloring page isn’t just about pressing a button. It’s about picking the right settings for what you actually want to do with it.
In this guide, I’ll walk you through everything that determines whether your coloring page turns out great—or goes straight to the recycling bin. No fluff, just what actually matters.

What Makes a Good Coloring Page?

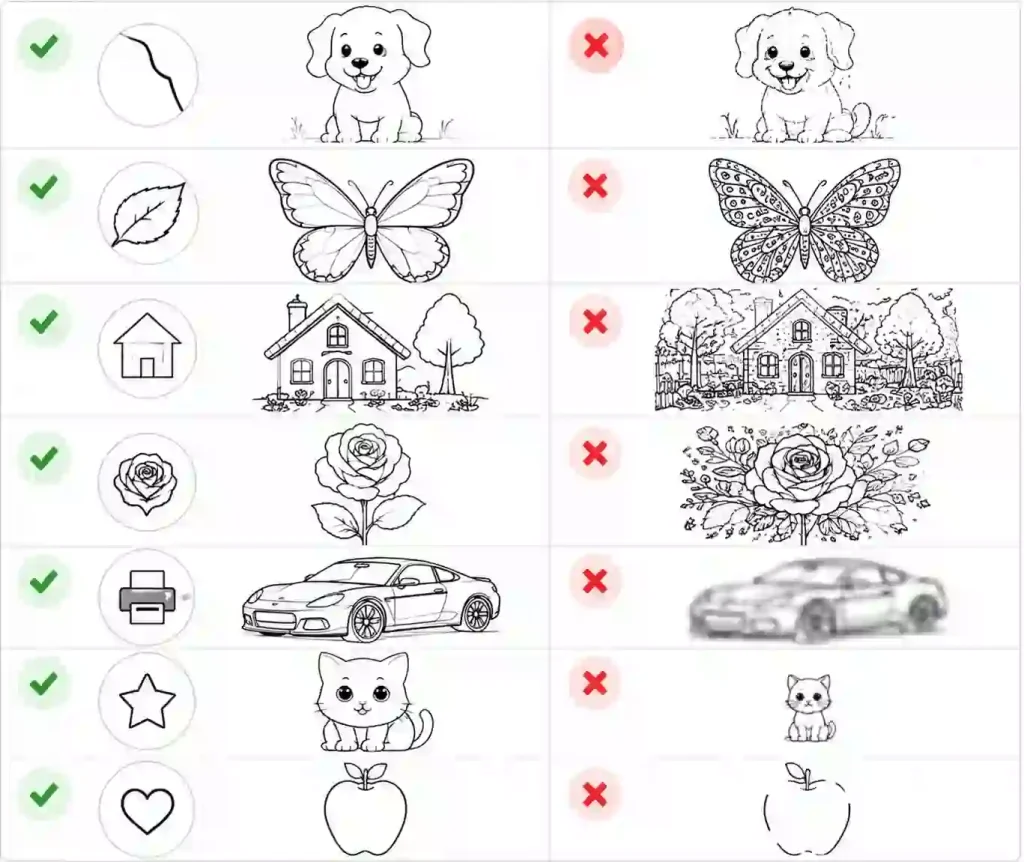
good vs bad coloring pages
Coloring Page Comparison
Feature ✅ Good Coloring Page ❌ Poor Coloring Page
Clear Outline Lines are clean, continuous, and easy to follow when coloring. Broken or unclear outlines make colors spill outside areas.
Enough White Space Large empty areas give people room to color comfortably. Too many tiny details leave almost no space to fill.
Simple Structure Main subjects are easy to recognize at a glance. Too much texture and background noise make the page confusing.
Balanced Details Keeps important features while removing unnecessary complexity. Every small detail is converted into lines, creating visual clutter.
Print-Friendly Quality High resolution with sharp edges that stay clear on paper. Low-resolution images look blurry after printing.
Strong Subject Focus The main object or person takes up enough space on the page. Small subjects become difficult to recognize or color.
Closed Shapes Enclosed areas make coloring easier and more enjoyable. Open or disconnected lines make coloring messy.
A good coloring page is not simply a photo with more lines. When you turn a photo into a coloring page, the goal is to create a balance between recognizable details and open spaces. This is why choosing the right style, photo, and resolution matters more than just clicking generate.

⚡️Quick Start: Turn a Photo into a Coloring Page in 30 Seconds

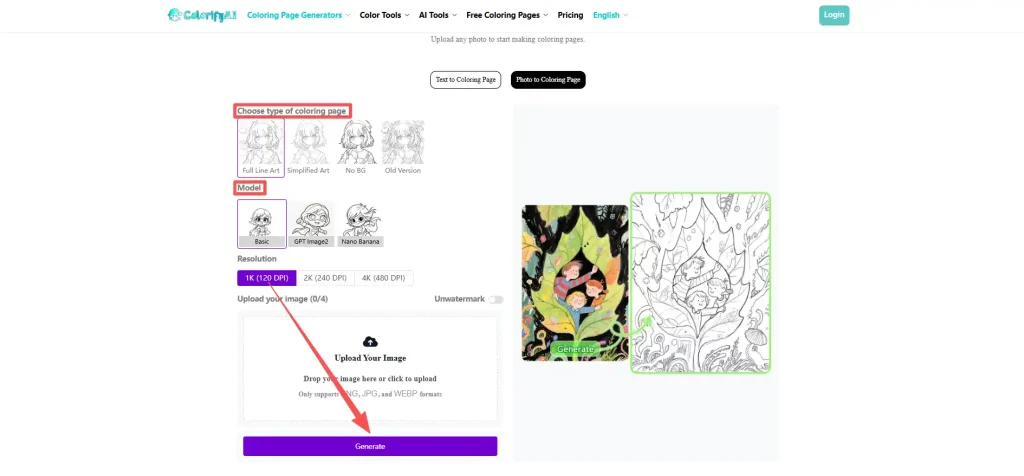
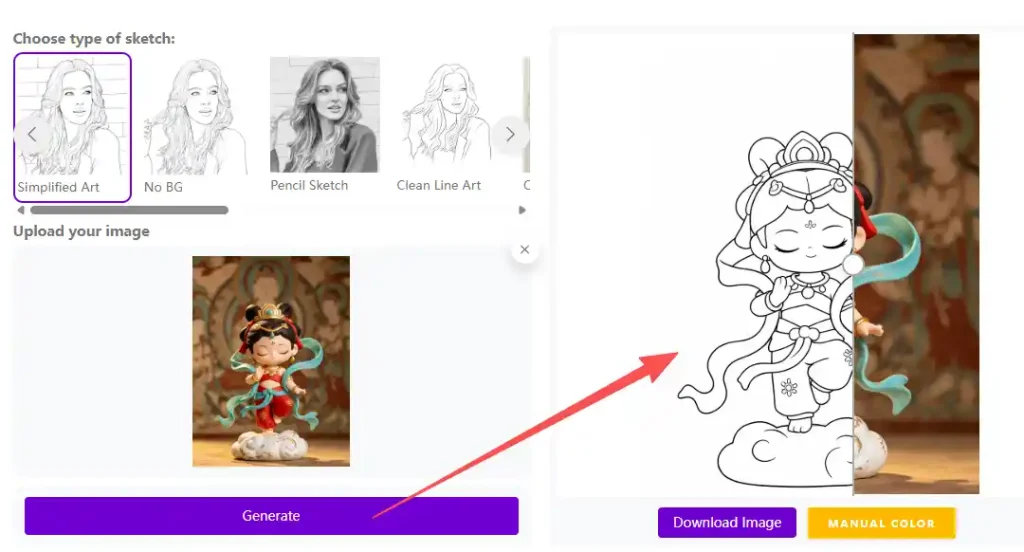
Colorify AI Photo to Coloring Page Workflow

If you just want to turn a photo into a coloring page with zero hassle:

  1. Go to the photo to coloring page tool on Colorify AI.
  2. Pick Simplified Art (if you’re unsure—this works for most cases).
  3. Upload your photo.
  4. Click Generate, then Download as PDF.

That’s it. No signup, no payment.
But if you want results that actually look good when printed and colored—keep reading. The rest of this guide covers the decisions that separate a great coloring page from a wasted sheet of paper.

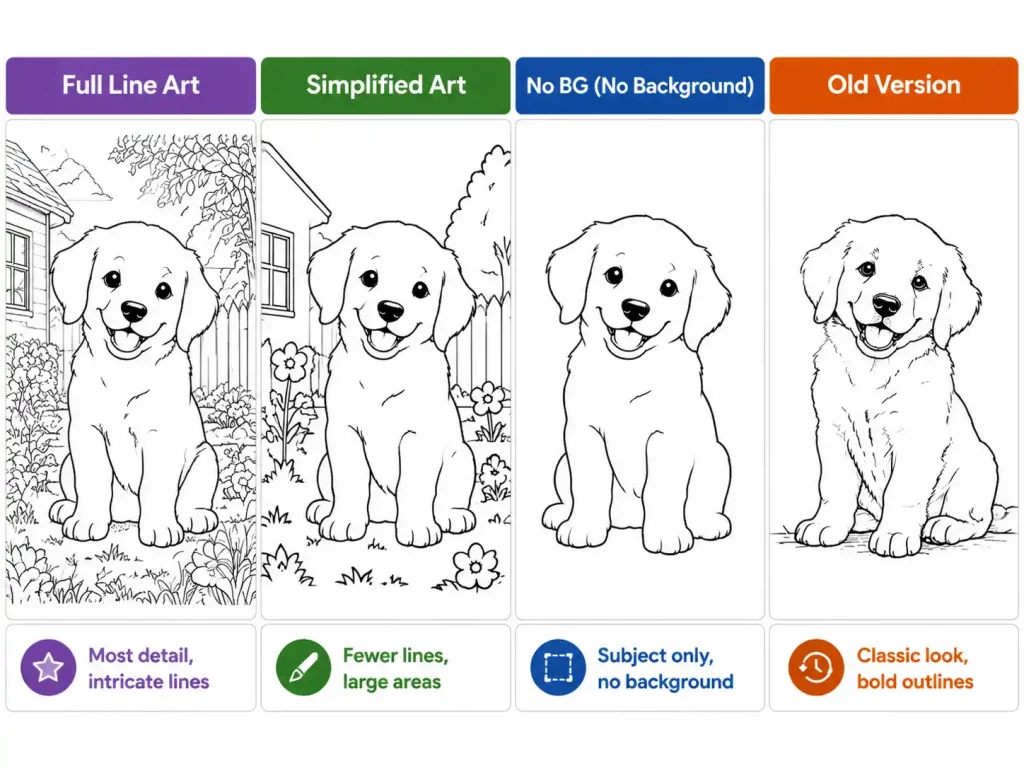
🌄4 Coloring Page Styles: Which One Actually Works for You?

4 Coloring Page Styles comparison

Colorify AI gives you four distinct styles for turning a photo into a coloring page. Each one serves a totally different purpose. Picking the wrong style is the #1 reason people get disappointing results.
Here’s what each style actually does—with real recommendations.

Full Line Art

What it does: Preserves the most detail. Every edge, every texture, every contour gets turned into a line. The result is dense, intricate, and rich.
Best for:

  • Adult coloring—you actually want detail to work through
  • Photos with a single clear subject (a portrait, a flower, a car)
  • Making something frame-worthy after coloring

Skip it if: you’re making pages for kids, or your photo already has a busy background. The result will feel overwhelming and leave almost no white space to color.

Simplified Art

What it does: Strips away finer details and leaves only the essential outlines. Fewer lines, bigger colorable areas, cleaner overall look.
Best for:

  • Kids’ coloring pages—large open spaces are easier to fill with crayons
  • Photos with moderate complexity (a person plus background, a pet on the couch)
  • First-timers who just want something that “works”

Skip it if: you want a highly detailed, intricate coloring experience. Simplified Art intentionally loses some detail.

No BG (No Background)

What it does: Detects the main subject in your photo and removes the background entirely. Only the subject’s outline remains.
Best for:

  • Making coloring stickers or cut-outs
  • Portrait-only coloring pages (just a person, no surrounding noise)
  • Adding the subject to another project (collage, greeting card, worksheet)

Skip it if: the background is part of what you want to color—like a landscape or a scene-setting photo.

Old Version

What it does: A classic, slightly rougher rendering style with bolder outlines and a hand-drawn feel.
Best for:

  • A different, more “vintage” aesthetic
  • Quick tests when you don’t need the latest model’s precision
  • Projects where you want the coloring page itself to have character

If you can only try one: Start with Simplified Art. It’s the safest default for most use cases. You can always regenerate with Full Line Art if you want more detail.

AI Model & Resolution: The Settings Most People Skip

After picking a style on Colorify AI, you’ll see two more options: the AI model and the resolution. Most people leave these on default—and sometimes that’s fine. But knowing when to change them makes a real difference.

Choose the Right AI Model

Different AI models can produce noticeably different coloring page results, from simple clean outlines to more detailed and artistic styles. Choosing the right model depends on your photo type and the level of detail you want to keep.
Model Selection Guide
Model What to Expect When to Use
Basic Fast processing, solid results Everyday photos with clear subjects. The default that works for 80% of cases.
GPT Image2 Higher detail, better edge detection Complex photos (group shots, detailed scenery, anything with lots of overlapping elements). Handles tricky contrast better than Basic.
Nano Banana Unique artistic rendering When you want the coloring page to have its own visual style rather than a purely faithful outline. Worth experimenting with.

Rule of thumb: If your first result looks “off”—lines missing, contours not connecting—switch from Basic to GPT Image2 and try again.

Pick the Right Resolution

On screen, the difference between 1K, 2K, and 4K may be subtle at normal viewing sizes. However, higher resolutions preserve sharper outlines and finer details when images are enlarged or printed.
Resolution & Print Quality Matrix
Resolution DPI Screen Home Print Professional Print
1K 120 ✅ Fine ❌ Can look blurry ❌ Not enough
2K 240 ✅ Fine ✅ Good enough ⚠️ Borderline
4K 480 ✅ Overkill ✅ Crisp ✅ Best

Honest recommendation:
● If you’re just testing or previewing on screen → 1K is fine
● If you’re printing at home for yourself or your kids → pick 2K, it’s the sweet spot
● If you’re selling coloring pages or printing in large format → go 4K

5 Common Problems When Turning Photos into Coloring Pages (and How to Fix Them)

Most guides tell you to “use good photos” and leave it at that. But what does “good” actually mean in practice? Below are the five most common problems people run into when they turn a photo into a coloring page—along with the specific fixes that solve them.

❌️Problem 1: Too Many Lines, Nowhere to Color

What it looks like: The coloring page is a dense web of black lines. There’s barely any white space. A kid looks at it and gives up.
Why it happens: You picked Full Line Art on a photo that’s already detailed—think a group photo, a busy street scene, or a pet with intricate fur.
Fix:
Switch to Simplified Art. This is the single most effective fix.
If that’s still too busy, crop the photo so the subject fills more of the frame before uploading.

❌️Problem 2: Outlines Don't Close—Color Will Spill Out

What it looks like: The lines are broken in places. When you (or a kid) try to color, the crayon bleeds across boundaries that should be walls.
Why it happens: The original photo has low contrast, soft edges, or backlighting. The AI can’t find a clear edge, so it draws a weak one.
Fix:
● Use a photo with better lighting—front-lit, clear subject against background.
● Switch the AI model to GPT Image 2, which handles edge detection better on tricky photos.
● Still broken? Upload a different photo. The tool is good, but garbage in, garbage out.

❌️Problem 3: Busy Background Ruining the Main Subject

What it looks like: The person or object you wanted is fine, but the background turned into a mess of random lines. Trees, furniture, random people—all competing for attention.
Why it happens: You uploaded a photo with a cluttered background, and the AI faithfully converted all of it.
Fix:

  • Switch to No BG style. This strips the background and leaves only the main subject.
  • If you want some background but less chaos, crop the photo tighter around your subject before uploading.

❌️Problem 4: Prints Look Blurry Even Though It Looked Fine on Screen

What it looks like: On your monitor, the coloring page looks crisp. You print it, and the lines are soft and fuzzy. Not usable for coloring.
Why it happens: You downloaded at 1K resolution and/or saved as PNG. The screen hides the lack of detail; the printer exposes it.
Fix:

  • Set resolution to at least 2K before generating. This is the single biggest factor when you turn a photo into a coloring page for print.
  • Download as PDF, not PNG. PDF preserves vector-like line sharpness better for print.
  • Use decent paper. Standard 80gsm printer paper is fine; anything thinner will bleed.

❌️Problem 5: The Subject Is Tiny—a Thumb-Sized Person on an A4 Page

What it looks like: The photo was a full-body shot, a distant landscape, or a group picture. The coloring page faithfully reproduces everything—including the fact that each person is the size of a coin.
Why it happens: The AI doesn’t know what you wanted to focus on. It converts the whole frame as-is.
Fix:

  • Crop before uploading. Your subject should fill at least 60% of the frame.
  • Close-up portraits work infinitely better than full-body photos.
  • One subject > multiple subjects. A single dog will look great; a pack of five dogs in a wide shot will not.

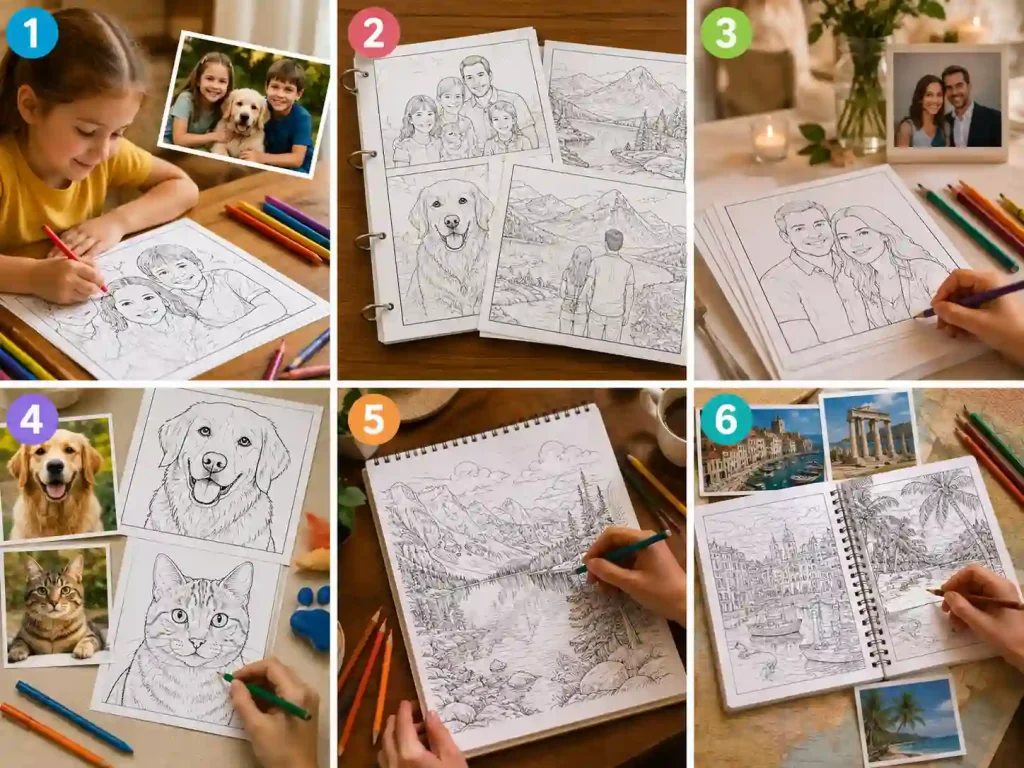
From Kids' Activities to Gifts: 6 Creative Ways to Use Photo Coloring Pages

6 ideas for What to Do with Your Photo to Coloring Page

Once you’ve turned an image to a coloring page with clean, printable results, here’s what people actually do with them:

  1. Kids’ coloring time. Turn family photos into Simplified Art pages. Kids love coloring pictures of themselves, their pets, or their grandparents.
  2. A custom coloring book gift. Convert 10–15 meaningful photos (family, trips, pet), download each as PDF, print, and bind with staples or binder rings. Costs almost nothing, means everything.
  3. Wedding or party activity. Print a stack of coloring pages featuring the couple or the birthday kid. Set out crayons on a table. Kids stay entertained, adults join in too.
  4. Pet coloring pages. Dog and cat photos convert exceptionally well—clear facial structure, distinct ears and eyes. The results are surprisingly good.
  5. Adult stress relief. Convert a travel photo or a landscape shot using Full Line Art + 4K. The detail level is genuinely satisfying to work through with colored pencils.
  6. Travel coloring journal. Batch-convert photos from a trip and print them as a coloring logbook. Color as you relive the memories.

Conclusion

Getting a clean, printable result from a photo to coloring page tool comes down to three decisions:

  • Pick the right style. Simplified Art for kids, Full Line Art for adults, No BG for isolated subjects.
  • Choose a high enough resolution. 2K is the minimum for printing; 4K for anything you’d sell or frame.
  • Upload the right kind of photo. Clear subject, good lighting, and tight framing will fix most problems before they happen.

Once you know these three things, you can turn any photo into a coloring page on Colorify AI without the trial and error. Whether you need a single page for an afternoon activity or want to batch-convert images into a full coloring book, the process is the same—pick your style, set your resolution, and print.

Ready to turn your photos into coloring pages?

How to Turn a Photo into a Line Drawing Online Free

How to Turn a Photo into a Sketch

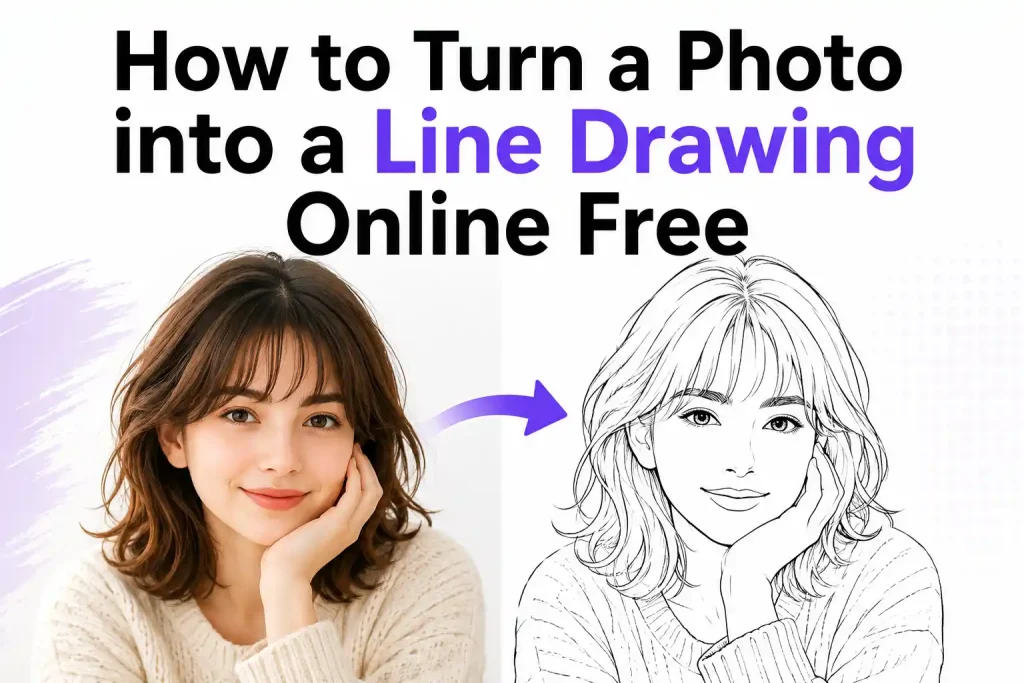
Converting a photo to line art used to require drawing skills or hours of work in Photoshop. Today, AI makes the process much easier. With the right line art generator, you can convert portraits, animals, flowers, classroom photos, and even product images into crisp black-and-white outlines in just a few clicks.
For teachers, line drawings are especially useful for creating printable worksheets, coloring activities, science handouts, and classroom decorations. Instead of searching for copyright-free illustrations, you can simply transform your own photos into ready-to-print teaching materials.
In this guide, you’ll learn how to choose the right line drawing style, compare popular tools, and turn any photo into a line drawing online free while achieving the best possible results.

Before You Start

Creating beautiful line art isn’t just about clicking a button. Choosing the right style and the right tool beforehand can make a huge difference in the final result.

Line Art vs. Sketch vs. Coloring Page: Which Style Should You Choose?

Although these three styles may look similar at first glance, they serve different purposes.
Style Best For Features
Line Art Logos, worksheets, SVG projects, laser engraving Clean outlines with minimal shading
Sketch Artistic illustrations, posters, concept art Pencil-like texture with natural strokes
Coloring Page Children's activities, classroom worksheets, printable crafts Bold outlines and simplified details for coloring

Choose Line Art if…

  • You need clean outlines.
  • You’re creating educational worksheets.
  • You plan to print or trace the image.
  • You want graphics for Cricut or laser engraving.

Choose Sketch if…

  • You prefer a hand-drawn artistic style.
  • You want more texture and shading.
  • The image is for decoration or illustration.

Choose a Coloring Page if…

  • Students will color the image.
  • You want thicker outlines.
  • Small details should be simplified for easier coloring.

Once you know which style fits your project, the next step is choosing the right tool to create it.

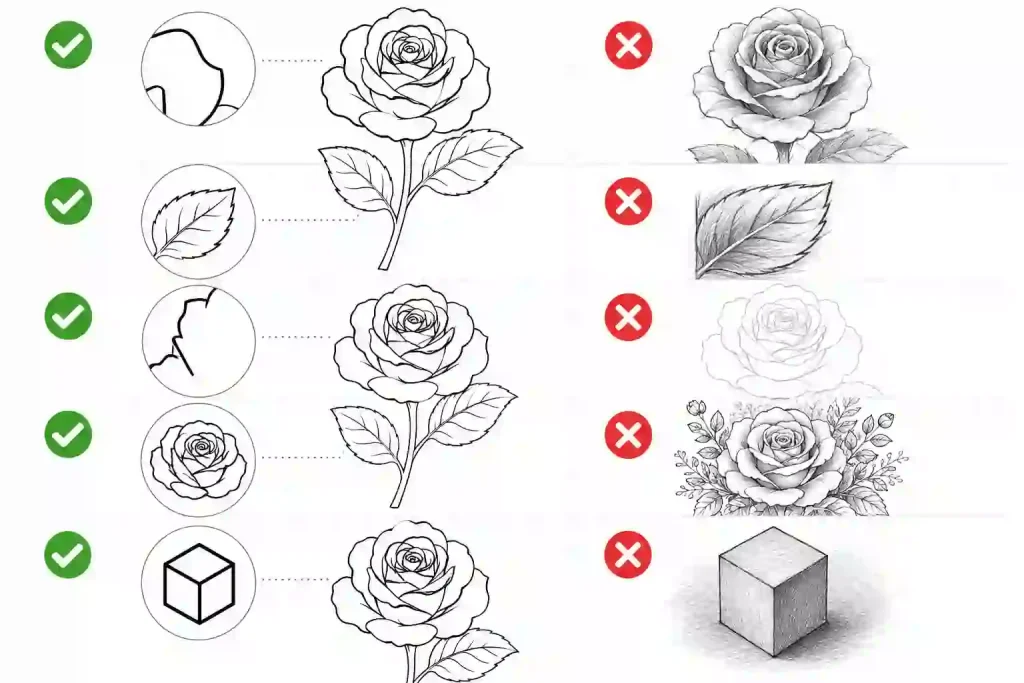
What Makes Good Line Art?

Characteristic True Line Art Not Ideal for Line Art
Clean outlines ✅ Crisp, continuous lines ❌ Broken or rough edges
Shading ✅ Minimal or none ❌ Heavy pencil-style shading
Grayscale textures ❌ Removed ❌ Large gray areas or textured fills
Line contrast ✅ Dark, easy-to-read outlines ❌ Faint or low-contrast lines
Background ✅ Subject isolated from the background ❌ Background objects mixed into the drawing
Detail level ✅ Keeps only essential details ❌ Too many small details and visual noise
Best for ✅ Logos, worksheets, SVG projects, laser engraving ❌ Sketch art or realistic illustrations
Good line art focuses on clean outlines rather than realistic shading. When comparing AI tools, choose the result that removes unnecessary textures while keeping the subject clear and easy to recognize.

Which Tool Should You Use?

There are many ways to create line drawings today, from traditional design software to AI-powered line art generator.
Tool Type Line Art Styles One-Click
Photoshop Editor
Canva Design Platform Limited
Adobe Express AI Design Platform Limited
Colorify AI Dedicated Tool 4 Styles
original image for photo to line art
Original Image
Photo to line art result generated with Canva
Canva
Photo to line art result generated with Adobe Express
Adobe Express
Photo to line art result generated with ColorifyAI
ColorifyAI
Looking at the results side by side, each tool creates a different interpretation of line art. Canva and Adobe Express preserve more shading, grayscale textures, and illustration-style details, while Colorify AI focuses on clean outlines, strong contrast, and simplified shapes that are closer to traditional line art. Based on the characteristics above, Colorify AI produces results that are better suited for logos, printable worksheets, SVG projects, laser engraving, and other applications that require clean, high-contrast outlines with minimal visual noise.

How to Turn a Photo into a Line Drawing Online Free

Once you’ve chosen the style and line art generator that fit your project, the actual process only takes a few minutes.

Step 1: Choose the Right Style

The style you choose has the biggest impact on your final result. While all four options convert your photo into line art, each one is designed for a different purpose.
Choose the Right Style

Full Line Art

Best for: Printable worksheets, educational materials, coloring pages, and detailed illustrations.
This style preserves the most outlines and fine details from your original photo. It’s ideal when you want facial features, clothing, objects, or architectural elements to remain recognizable while still producing clean black-and-white line art.

Simplified Art

Best for: Young learners, simple crafts, icons, stickers, and beginner coloring activities.
Simplified Art removes unnecessary details and focuses on the main shapes. The cleaner outlines make it easier to print, trace, or color, especially for children or classroom activities where clarity is more important than realism.

No BG

Best for: Isolated subjects, teaching materials, posters, presentations, and graphic design.
This style automatically removes the background before generating the line drawing, allowing the AI line art generator to focus entirely on the main subject. It’s especially useful when the original photo has a busy background that might otherwise create unwanted lines.

Old Version

Best for: Users who prefer the classic generation style or want to recreate results from earlier versions.
Old Version uses the previous generation algorithm. Depending on the photo, it may produce slightly different line thickness, edge detection, or detail preservation. If you’re not satisfied with the newer styles, it’s worth comparing the results.


A good line art generator lets you switch between different styles without changing your original photo, making it easy to compare results before downloading.

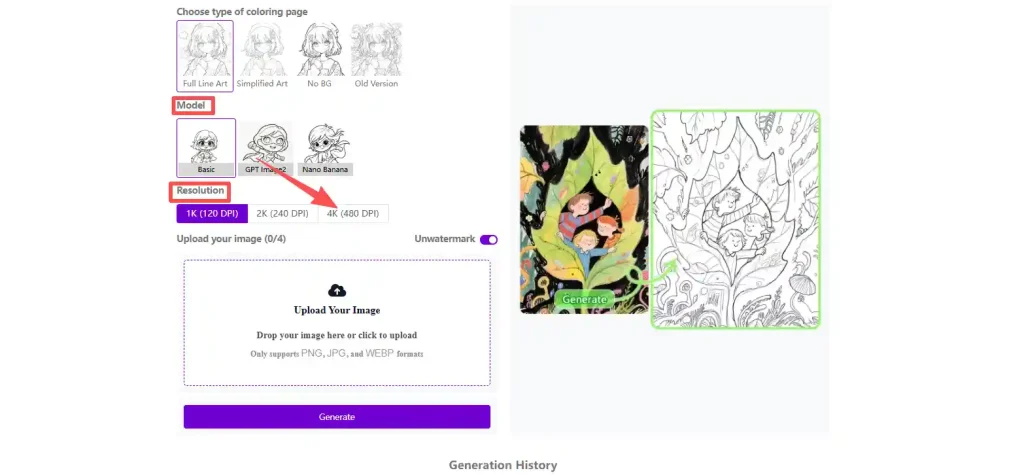
Step 2: Select the Best Model and Resolution

Select the Best Model and Resolution

Next, Choosing the right settings helps the line art generator produce sharper outlines, especially when preparing images for printing.

  • Basic – Fast and balanced, suitable for most photos and everyday use.
  • GPT Image2 – Generates cleaner outlines with enhanced detail preservation.
  • Nano Banana – Ideal for more stylized and expressive line art results.

Then, select your preferred output quality:

  • 1K (120 DPI) – Great for quick previews and digital use.
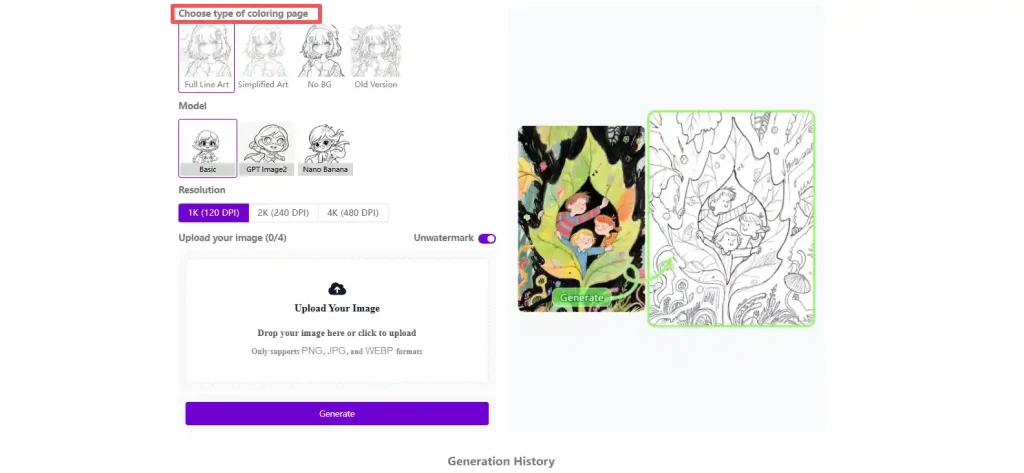
  • 2K (240 DPI) – Recommended for high-quality printing and classroom worksheets.
  • 4K (480 DPI) – Best for posters, detailed artwork, and large-format prints.

Tip: If you’re creating printable teaching materials, 2K offers an excellent balance between image quality and file size, while 4K is the best choice for large prints or professional projects.

Step 3: Upload Your Photo

Upload Your Photo

Upload the photo you’d like to convert into line art.
For the best results, choose an image with:

  • A clear main subject
  • Good lighting
  • High resolution
  • Strong contrast between the subject and background
  • Minimal motion blur

Once your photo is ready, upload it and let the AI generate your line drawing in seconds.

Step 4: Download Your Line Drawing

Download Your Line Drawing

Once the AI finishes generating your image, preview the result before downloading.
Before saving your line drawing, ask yourself these questions:

  • Are all the important outlines clearly visible?
  • Is the background clean and free of unnecessary lines?
  • Are facial features or key object details preserved?
  • Is the image clear enough for printing or sharing?
  • Would a different style produce a better result?

Once you’re satisfied with the preview, download your photo to line art result and start using it for worksheets, creative projects, or classroom activities.

Which Photos Produce the Best Line Drawings?

Not every photo produces the same quality of line art. Even the best line art generator performs differently depending on lighting, composition, and image quality. Below are some common examples to help you choose the best photo before generating your artwork.

Clear Portrait vs Crowded Group Photo

original photo for protraits
Crowded group photo

Portraits usually produce the cleanest line drawings when the subject is well lit and separated from the background.
✅ Works Best: A clear portrait with good lighting and a simple background creates clean outlines and recognizable facial features.
❌ Avoid: Group photos or cluttered backgrounds can introduce extra lines and make the subject less distinct.

Close-up Pet vs Distant Pet

Pet close-up
Small pet in the distance

Close-up pet photos often generate better results because facial features and body outlines are easier to detect.
✅ Works Best: A close-up photo keeps important details like the eyes, ears, and outline of the face.
❌ Avoid: Pets photographed from far away or partially hidden may lose important details during conversion.

Bright Flower vs Low-light Flower

Bright flower
Low-light flower

Flowers are naturally well suited for line art thanks to their defined shapes and clear edges.
✅ Works Best: Bright, well-focused flowers create smooth, balanced outlines.
❌ Avoid: Low-light or blurry photos can reduce edge detection and create uneven lines.

Daylight Building vs Night Scene

Daylight Building vs Night Scene
Night building

Architecture often converts well because of its geometric shapes and straight edges.
✅ Works Best: Buildings photographed in daylight preserve more structural details.
❌ Avoid: Night scenes or heavy shadows can hide important edges and reduce clarity.

Clean Product Shot vs Busy Background

Product on white background
Product on messy desk

Simple product photos are ideal for clean, printable illustrations.
✅ Works Best: Products photographed on a plain background produce neat outlines with minimal cleanup.
❌ Avoid: Busy backgrounds add unnecessary lines that can distract from the main object.

Creative Ways to Use AI Line Drawings

Once you’ve created your artwork with an AI line art generator, you can reuse it for classroom materials, printable worksheets, craft projects, and much more.
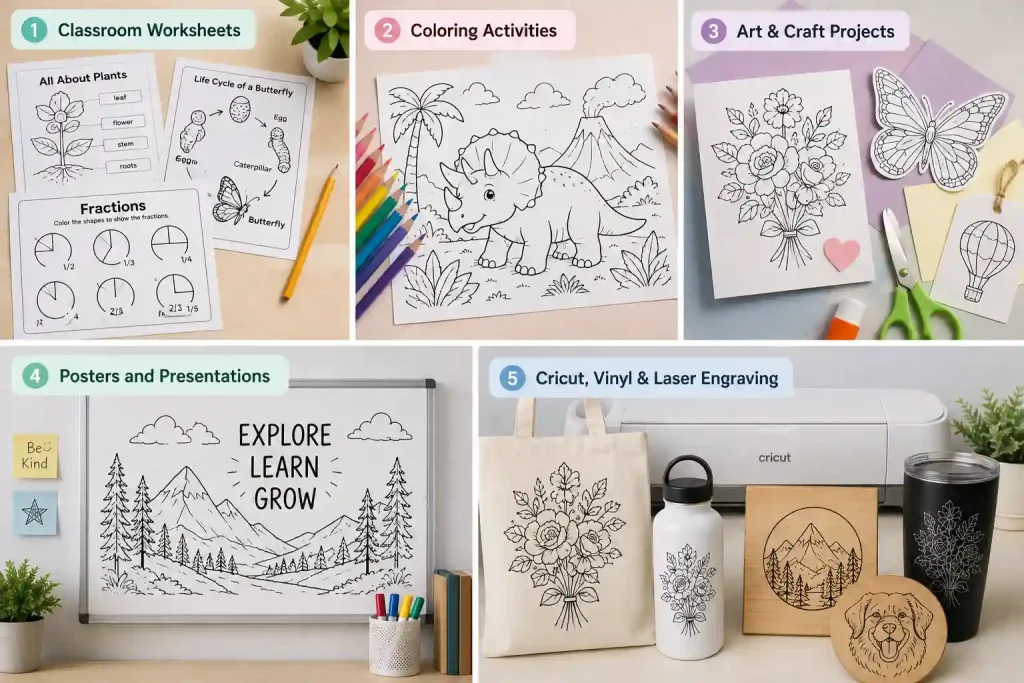
5 Creative Ways to Use AI Line Drawings

Classroom Worksheets

Turn photos of animals, plants, historical landmarks, or everyday objects into printable worksheets that students can color, label, or trace.

Coloring Activities

Convert family photos, seasonal images, or educational illustrations into custom coloring pages that are both engaging and easy to print.

Art & Craft Projects

Line drawings are perfect for DIY crafts, greeting cards, stickers, paper cutting, and other creative classroom activities.

Posters and Presentations

Simple black-and-white illustrations help reduce visual distractions and make presentations, lesson slides, and educational posters easier to understand.

Cricut, Vinyl & Laser Engraving

Clean outlines generated by AI can also be used as a starting point for Cricut cutting projects, vinyl decals, or laser engraving after any necessary vector conversion.

Conclusion

Creating a great line drawing isn’t just about choosing the right AI tool—it’s also about selecting the right style, using a high-quality photo, and picking the best output settings for your project.
Whether you’re designing classroom worksheets, printable coloring pages, craft projects, or digital artwork, experimenting with different styles can dramatically improve your final result.
If you’re ready to create your own photo to line art, try our free line art generator and see how quickly a single photo can become a clean, printable line drawing.

How to Turn a Photo into a Sketch for Free with AI

How to Turn a Photo into a Sketch

Have you ever looked at a beautiful photograph and wondered how to turn a photo into a sketch? Hand-drawn sketches carry a timeless, artistic charm, but learning to draw takes years of practice. Even using complex software like Photoshop can be frustrating and time-consuming for beginners.
Fortunately, technology has changed the game. Today, you don’t need to be a professional artist or a graphic designer to create stunning sketch art. With the help of a powerful photo to sketch converter, you can transform your favorite memories into gorgeous pencil, charcoal, or ink drawings in just a few seconds.
In this guide, we will show you exactly how to do it using the best AI tools available today.

Choose the Right Photo to Sketch Converter

There are dozens of online tools that can convert a photo into a sketch, but they don’t all offer the same experience. Some provide only basic filters, while others use advanced AI to generate more natural and detailed sketch effects. The comparison below highlights some of the most popular options.
Feature ColorifyAI Canva NoteGPT
Built for Photo to Sketch
Beginner Friendly ⭐⭐⭐⭐⭐ ⭐⭐⭐ ⭐⭐⭐⭐
Free to Start Limited 2 free images daily
Sketch Styles 10 Limited 9
Best for Coloring Pages ⚠️
Best for Classroom & Family Use ⚠️
Browser-Based
Specifications and feature lists only tell part of the story. The easiest way to evaluate a photo to sketch converter is to compare the generated results using the same source image. Below, we used the same photo across three popular tools without making any manual edits, making it easier to see the differences in line quality, detail preservation, and overall sketch style.
Original photo before converting to sketch
Original Photo
Photo turned into a sketch with ColorifyAI
ColorifyAI
Photo turned into a sketch with canva
Canva
Photo turned into a sketch with NoteGPT
NoteGPT

What We Found

All three tools can successfully turn a photo into a sketch, but the final results are noticeably different. Canva creates a clean sketch but loses some fine details in smaller objects. NoteGPT generates a recognizable sketch with a simplified overall appearance. ColorifyAI preserves more of the original scene while producing cleaner outlines, richer details, and more consistent linework, making the final image especially suitable for printing, coloring pages, DIY crafts, and other creative projects. If you’re looking for a photo to sketch converter that delivers natural-looking sketches with minimal effort, ColorifyAI offers a balanced combination of ease of use, artistic quality, and multiple sketch styles.

💡Choose the Best Photo for Sketch Conversion

Not every photo produces the same result. Starting with a good image helps AI preserve more details and generate cleaner sketch lines.

Use a High-Resolution Image

A high-quality photo gives the AI more information to work with, resulting in smoother lines and more accurate shading.

Keep the Main Subject Clear

Portraits, pets, flowers, buildings, and products usually work best when the main subject is centered and easy to recognize.

Choose Good Lighting

Natural lighting helps the AI detect edges and textures more accurately. Avoid photos that are too dark or heavily overexposed.

Keep the Background Simple

Busy backgrounds can distract the AI from the main subject. A clean background often produces a more polished sketch.

How to Choose the Right Sketch Style

Different photos work best with different sketch styles. Choosing the right style can make your artwork more expressive and better suited for its intended use.
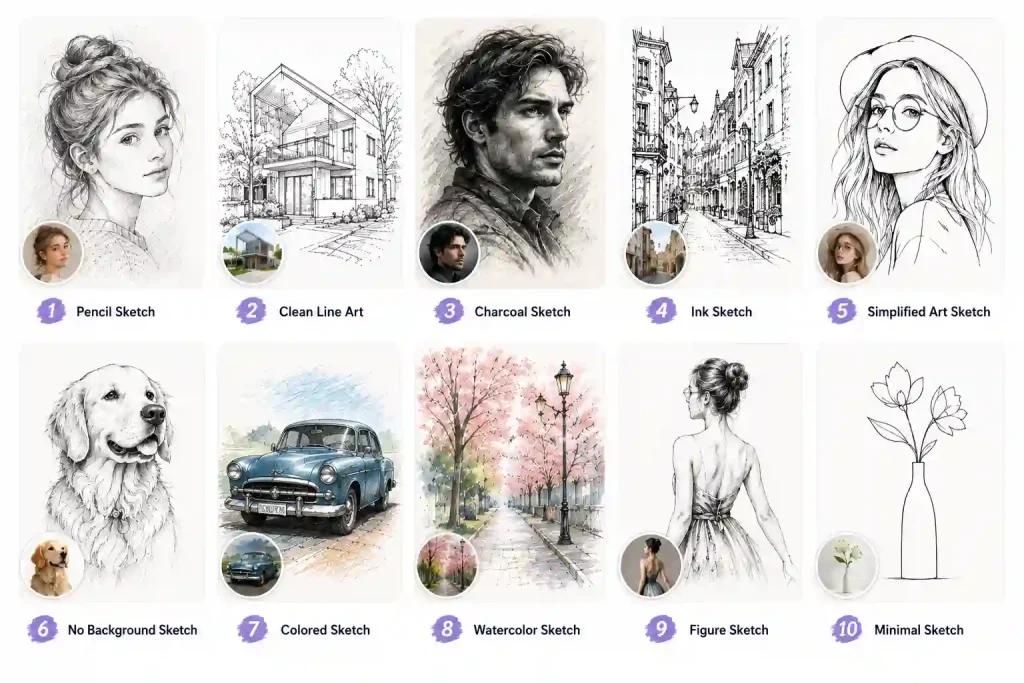
Here are ten popular sketch styles you can explore:

10 AI photo to sketch styles
Sketch Style Description Best For Why Use It
✏️Pencil Sketch Simulates traditional graphite pencil strokes with soft shading and natural textures. Portraits, pets, artistic prints Creates a timeless hand-drawn look while preserving realistic details.
✒️Clean Line Art Produces crisp outlines with minimal shading for a clean and simple appearance. Coloring pages, illustrations, tattoos Perfect when you need clear lines that are easy to print or color.
Charcoal Sketch Uses bold strokes and rich contrast to create dramatic, expressive artwork. Artistic portraits, posters, gallery-style art Adds depth and emotion to photos with a classic charcoal drawing effect.
🖋️Ink Sketch Mimics traditional pen-and-ink illustrations with sharp lines and detailed cross-hatching. Comics, editorial graphics, creative branding Produces clean, professional-looking artwork with strong visual impact.
🖼️Simplified Art Sketch Reduces unnecessary details into clean shapes and smooth shading. Avatars, minimalist artwork, social media Creates a modern, uncluttered sketch that keeps the focus on the subject.
✂️No Background Sketch Removes the original background while keeping only the main subject as a sketch. Product images, stickers, profile pictures Makes editing, printing, and designing much easier with a distraction-free subject.
🖍️Colored Pencil Sketch Blends sketch outlines with soft, natural colors for a hand-colored appearance. Gifts, children's artwork, creative portraits Combines the charm of sketch art with gentle colors for a warmer visual style.
🖌️Watercolor Sketch Combines delicate sketch lines with soft watercolor washes. Travel photos, wedding portraits, wall art Adds an elegant, painterly finish while keeping the sketch aesthetic.
🧍‍♀️Figure Sketch Focuses on body posture, proportions, and overall silhouette rather than fine facial details. Fashion design, character concepts, full-body portraits Highlights movement and composition, making it ideal for figure studies and concept art.
Minimal Sketch Keeps only the essential outlines while removing most fine details and textures. Logos, icons, modern layouts, simple illustrations Delivers a clean, contemporary style that's easy to use across digital and print projects.
Experimenting with different styles is one of the easiest ways to create unique artwork from the same photo.

How to Turn a Photo into a Sketch in 3 Steps

Converting photo to sketch art only takes a few simple steps.

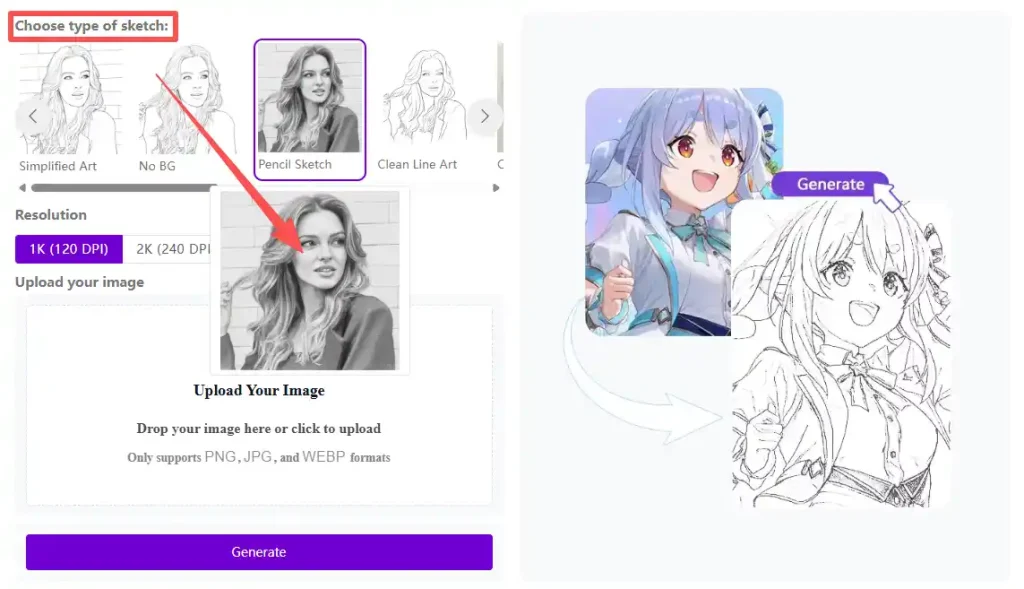
Step 1 – Choose Your Favorite Sketch Style

Choose a sketch style in the photo to sketch converter
Browse the available sketch styles and select the one that best matches your project. You can try multiple styles to compare different artistic effects before making your final choice.

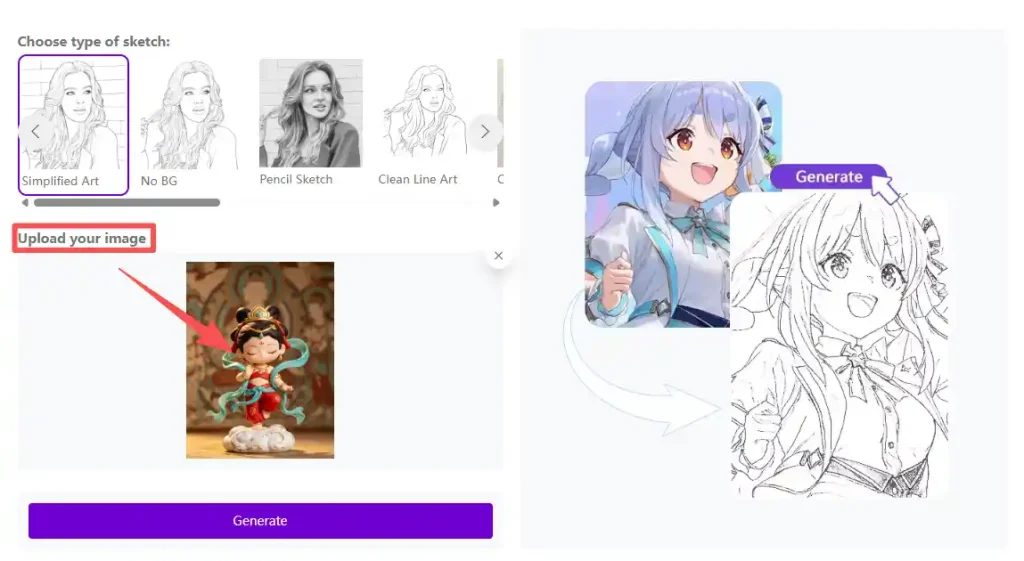
Step 2 – Upload Your Photo

Uploading a photo to convert to sketch online
Choose a clear, high-resolution image with good lighting. Portraits, pets, flowers, and family photos usually produce the best results.

Step 3 – Generate and Download Your Sketch

Generate an AI-generated pencil sketch result
Click the generate button and let AI do the work. Within seconds, your sketch is ready to preview, download, print, or share online.

❌️Common Mistakes to Avoid

Even with the best AI tool, small mistakes can affect the final result. Keep the following points in mind to get the best possible sketch from your photo.

Expecting AI to Produce the Perfect Sketch on the First Try

AI-generated sketches can vary depending on the selected style and the original image. If the first result isn’t exactly what you expected, try a different sketch style or upload another photo. Small adjustments often lead to much better results.

Choosing a Sketch Style Based Only on the Preview

Each sketch style is designed for different types of images. A style that looks great for portraits may not be the best choice for landscapes or product photos. Always choose the style based on your project rather than the thumbnail alone.

Forgetting to Compare Multiple Sketch Styles

One of the biggest advantages of using a photo to sketch AI free is the ability to experiment. Instead of downloading the first result, compare several styles to find the one that best matches your creative vision.

Editing the Original Photo Too Much Before Uploading

Heavy filters, excessive sharpening, or strong color effects can reduce the accuracy of AI sketch generation. Uploading the original photo usually produces cleaner and more natural sketch lines.

Using the Same Sketch Style for Every Project

Different projects call for different artistic effects. Clean Line Art is ideal for coloring pages, while Charcoal Sketch works better for dramatic portraits. Matching the style to your purpose helps you achieve better-looking results.

🖌️Creative Ways to Use Your Sketch

Sketch images can be used for far more than artistic decoration. They are also perfect for educational and family activities.
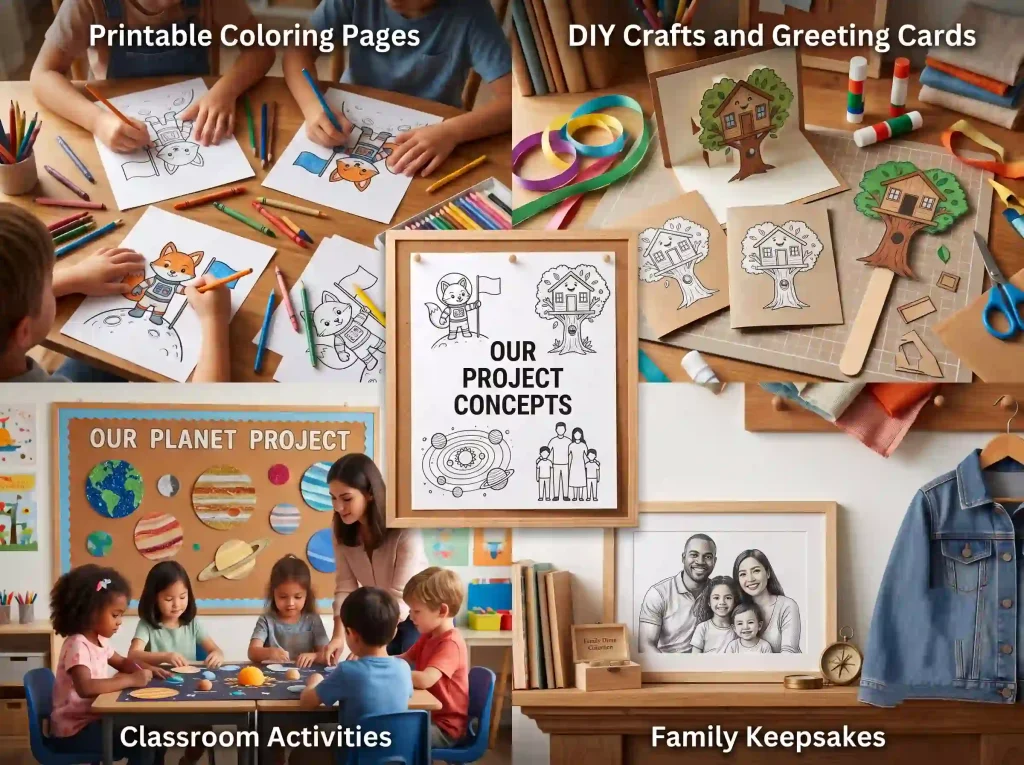
Creative Ways to Use Your Sketch

Printable Coloring Pages

Turn family photos, pets, toys, or flowers into printable coloring pages that children can color at home or in the classroom.

DIY Crafts and Greeting Cards

Create handmade birthday cards, holiday decorations, scrapbook pages, gift tags, or personalized invitations using your AI-generated sketches.

Classroom Activities

Teachers can easily create worksheets, storytelling prompts, art projects, and creative learning materials from real-life photos.

Family Keepsakes

Transform memorable vacation photos, wedding pictures, baby photos, or pet portraits into timeless sketch artwork that can be framed, printed, or shared with loved ones.

Conclusion

Creating beautiful sketch artwork no longer requires professional drawing skills or expensive software. With modern AI, photo to sketch has become faster, easier, and more accessible than ever. In just a few clicks, you can transform portraits, pets, landscapes, and everyday photos into detailed sketch art for printing, sharing, or creative projects.
Whether you’re designing personalized gifts, making coloring pages, or simply exploring new artistic styles, AI helps you achieve impressive results in seconds.
Upload your favorite photo, choose the sketch style you love, and start creating unique sketch art today.

Is Your Photo to Sketch AI Free to Use?

Yes. We offer a free AI photo to sketch experience, so you can upload your images, explore different sketch styles, and generate beautiful sketch artwork online without downloading any software. Some advanced features may vary, but getting started is completely free.

Will My Sketch Preserve the Details of My Original Photo?

Yes. Our photo to sketch converter is designed to preserve the important details of your original image, including facial features, textures, and outlines. For the best image to sketch results, we recommend uploading a clear, high-resolution photo with good lighting so our AI can generate clean and detailed sketch artwork.

Is My Uploaded Photo Private and Secure?

Absolutely. We take your privacy seriously. Images uploaded to our photo to sketch AI free tool are processed securely and are only used to generate your sketch. We do not make your uploaded photos publicly accessible, so you can confidently convert any image to sketch while keeping your content private.

Can I Print My Generated Sketch?

Yes. Every image to sketch you create can be downloaded and printed for personal or creative use. Whether you're making coloring pages, greeting cards, classroom materials, or DIY crafts, our photo to sketch converter generates high-quality sketches that are suitable for both digital sharing and printing.
Free Sonic Coloring Pages – 7 Art Styles in 1 Second!

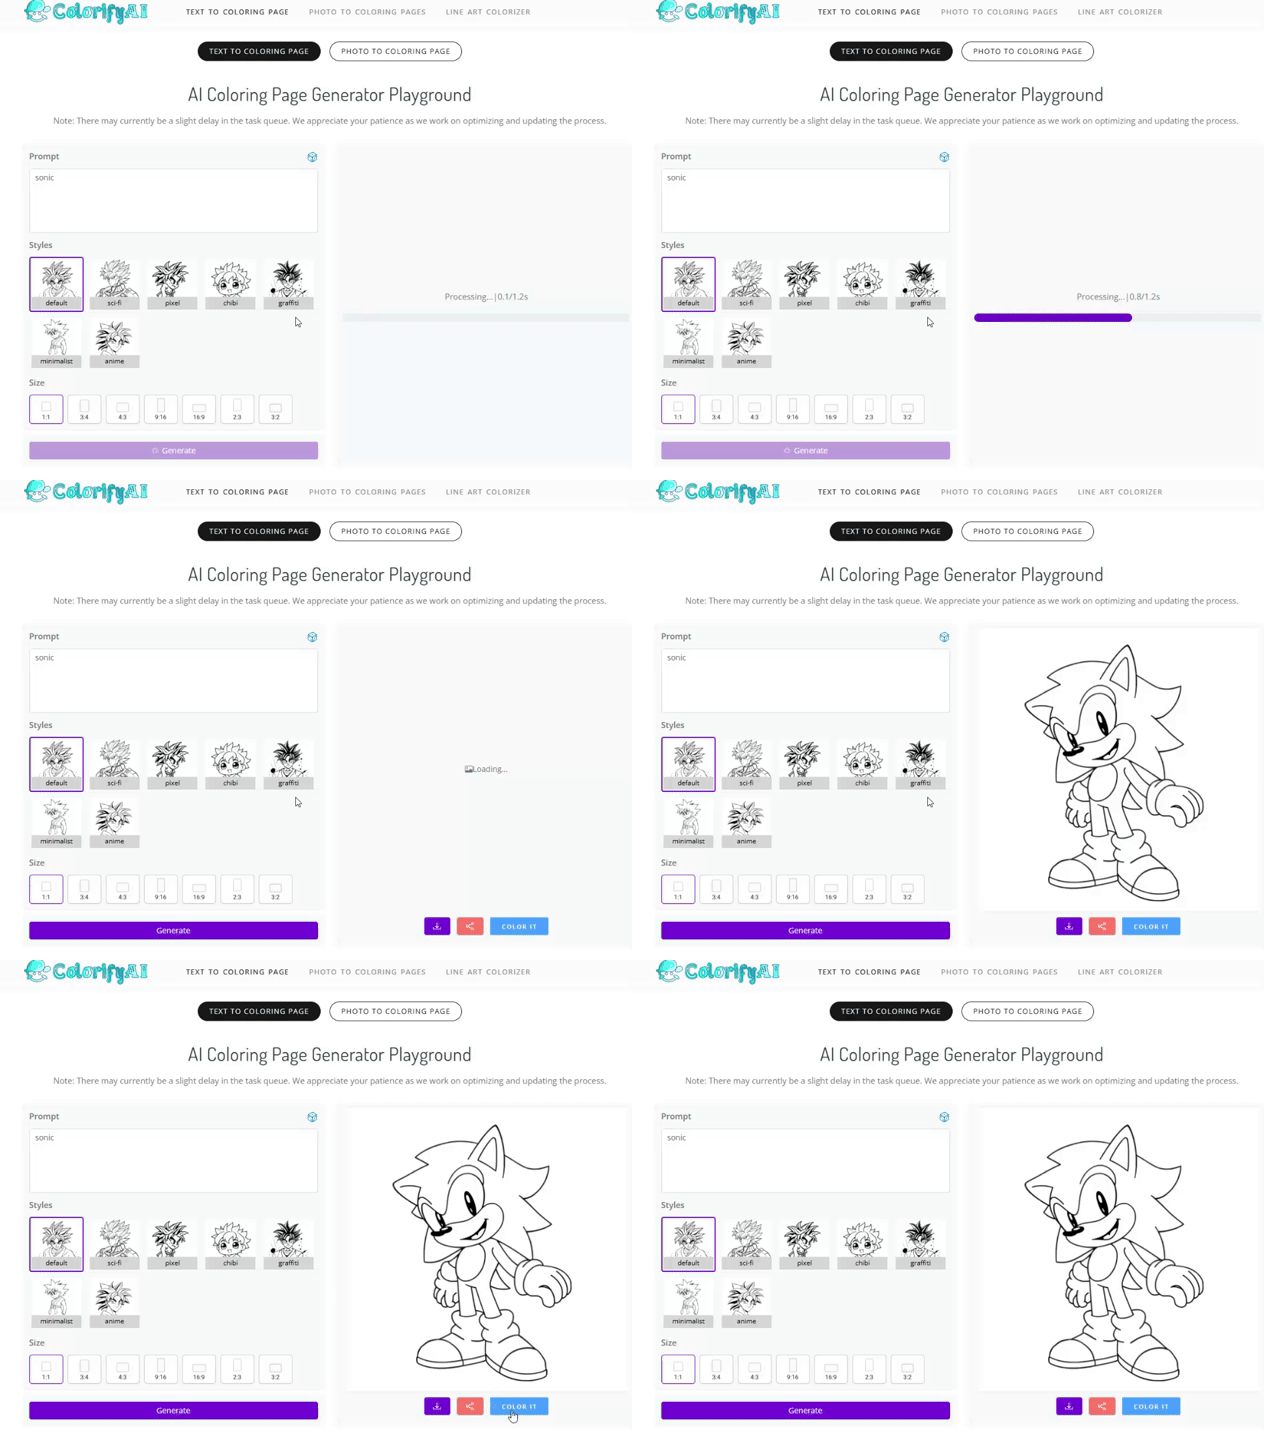
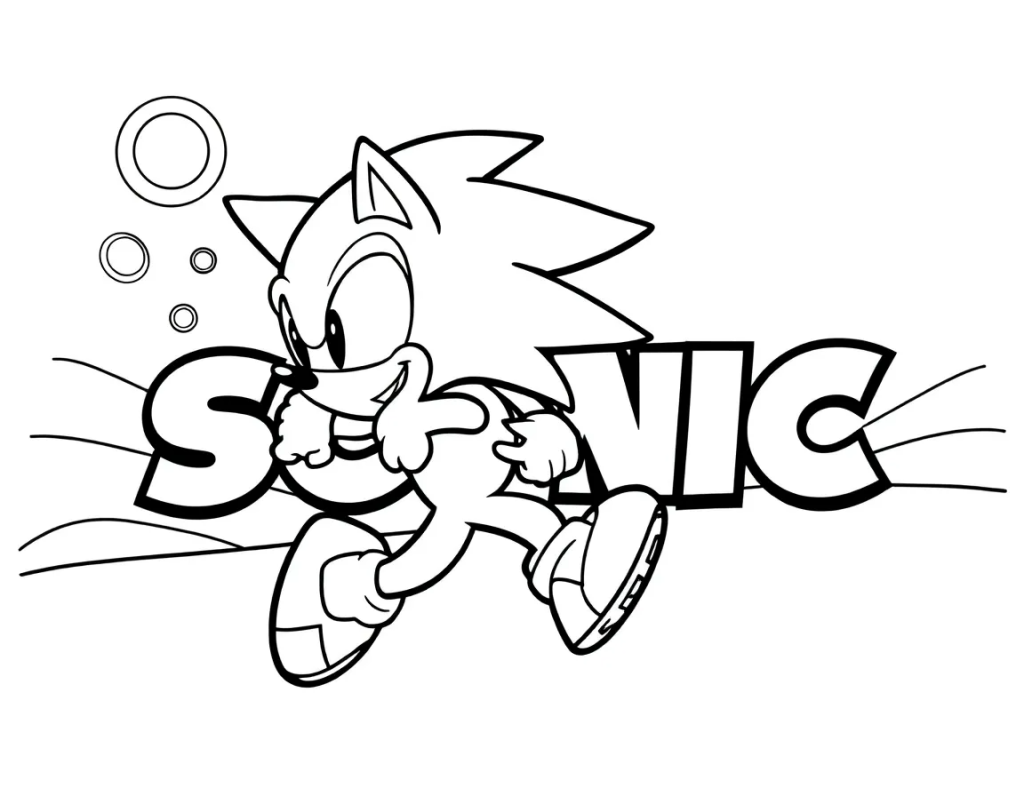
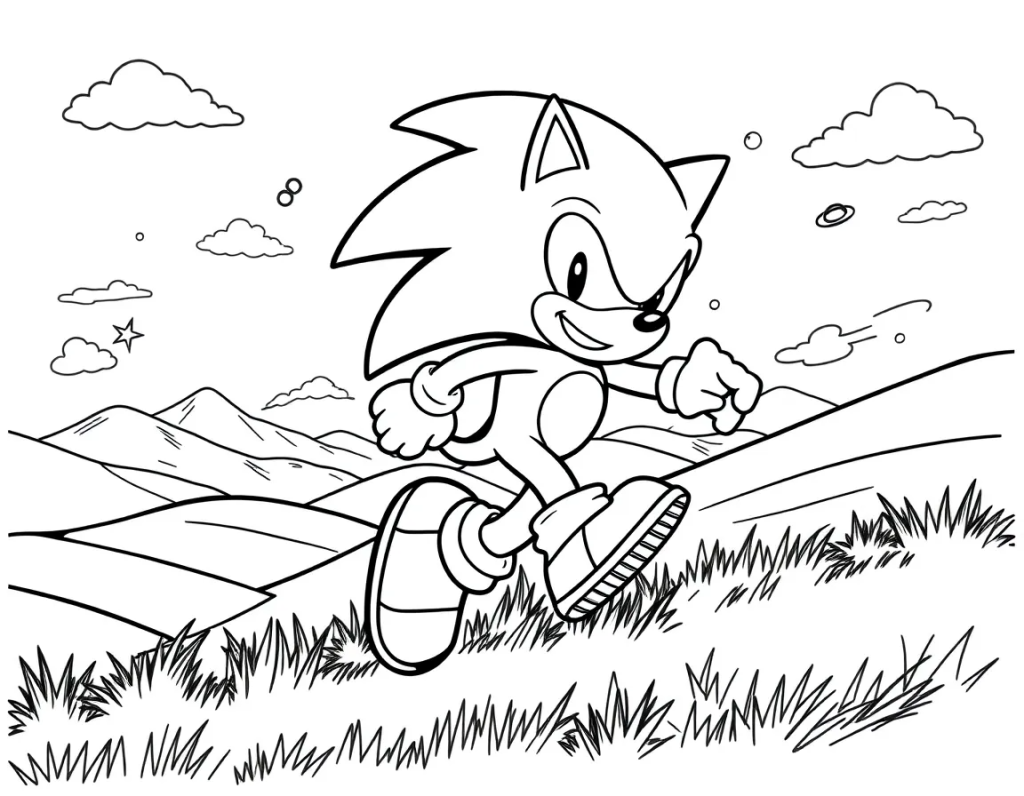
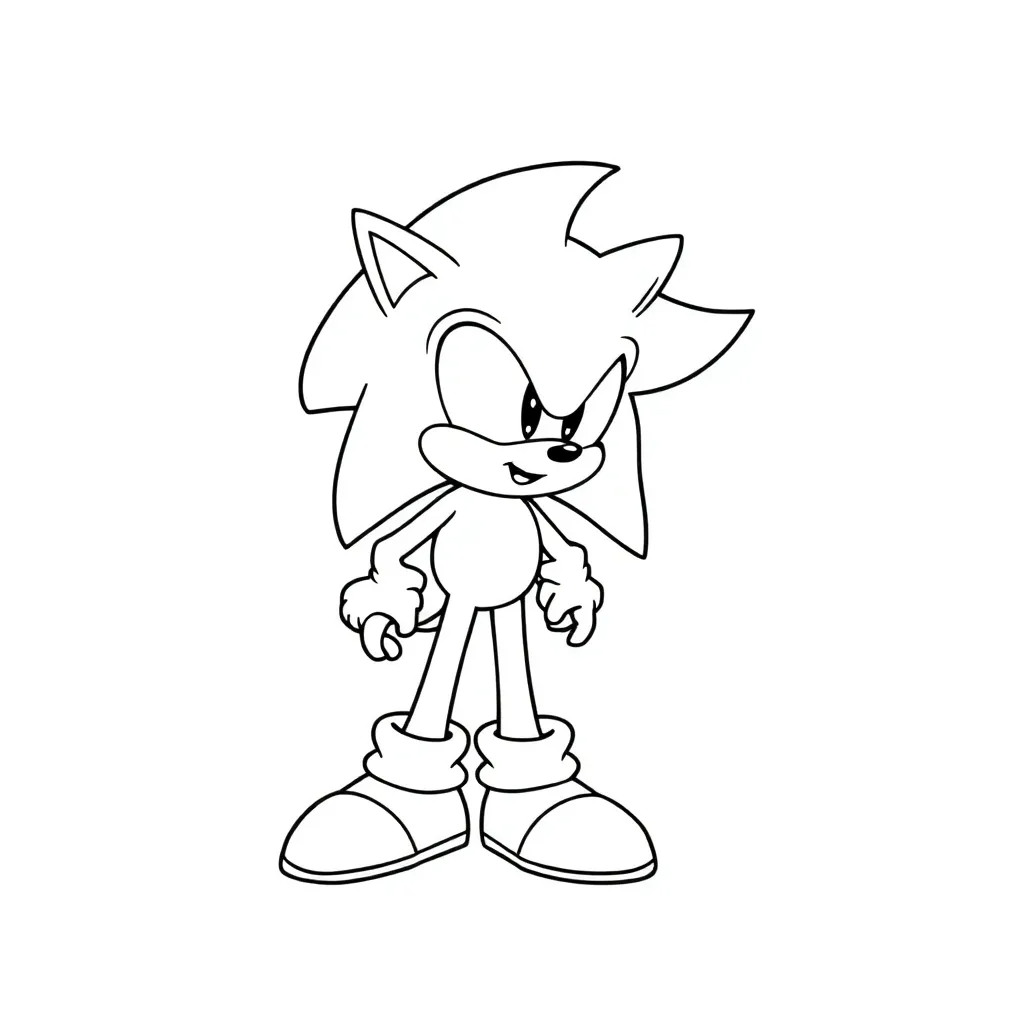
Sonic the Hedgehog is not just a video game icon; he’s a beloved character with a rich history that fans worldwide adore. Whether you’re young or young at heart, Sonic’s adventures and speed are universally captivating. For fans who enjoy coloring, finding the right Sonic coloring pages to bring this iconic character to life is now easier than ever. With Colorify AI, you can generate Sonic the Hedgehog coloring pages in just 1 second, featuring 7 unique art styles. Best of all, it’s completely free!​
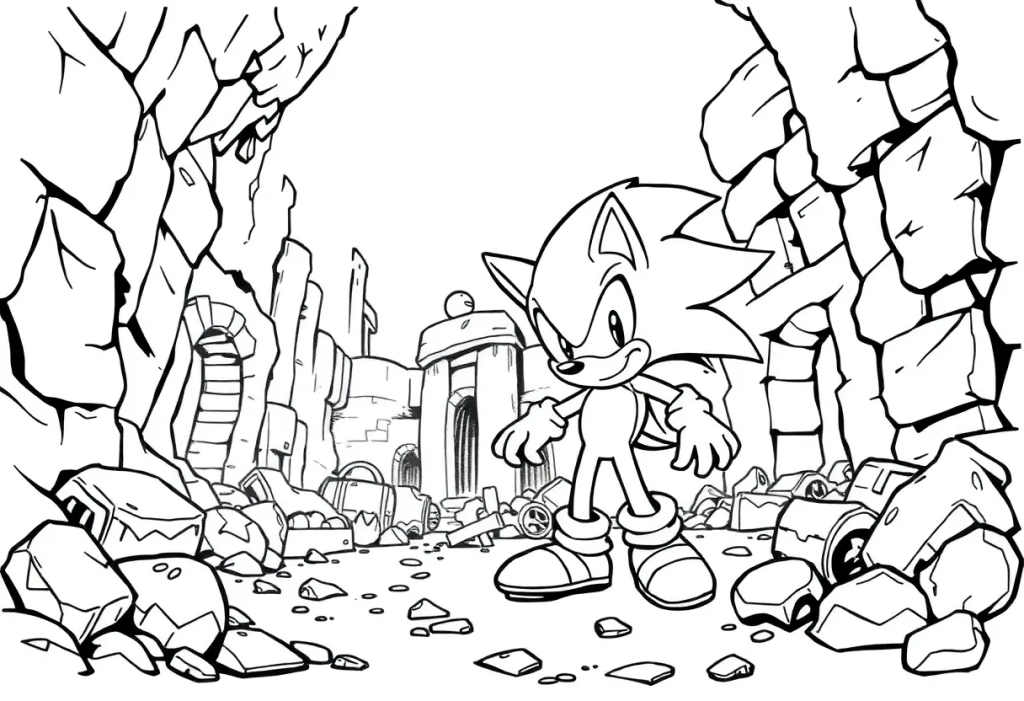
Sonic Adventure
Sonic Adventure
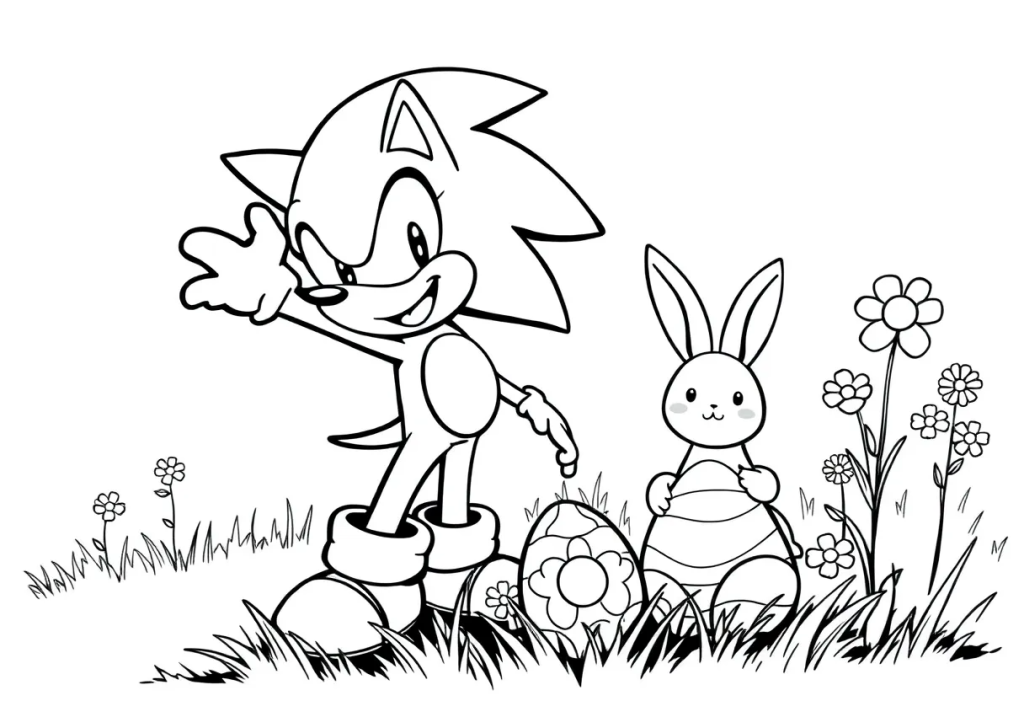
Sonic Easter
Sonic Easter
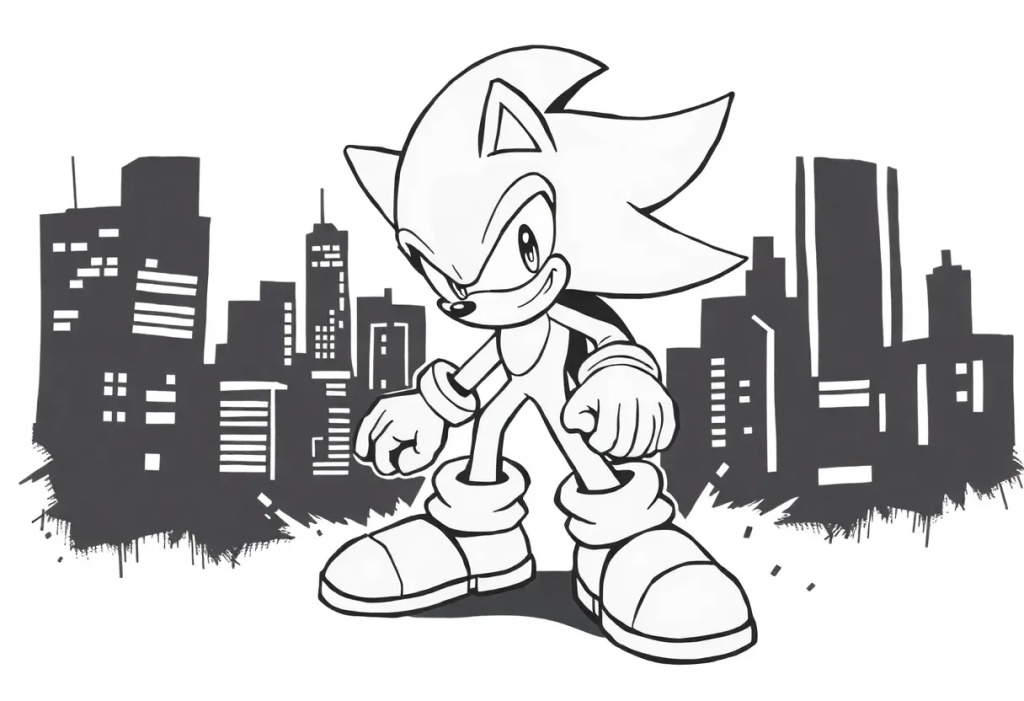
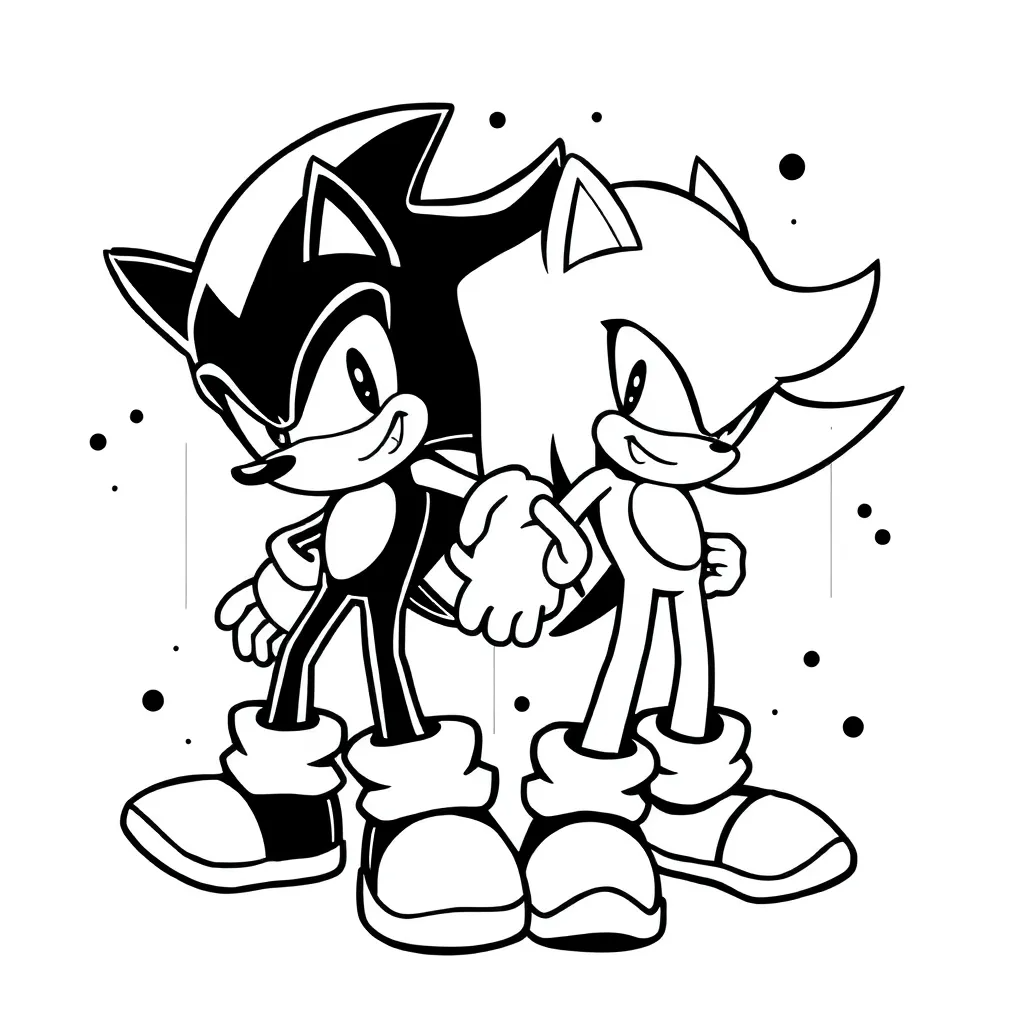
Shadow the Hedgehog
Shadow the Hedgehog
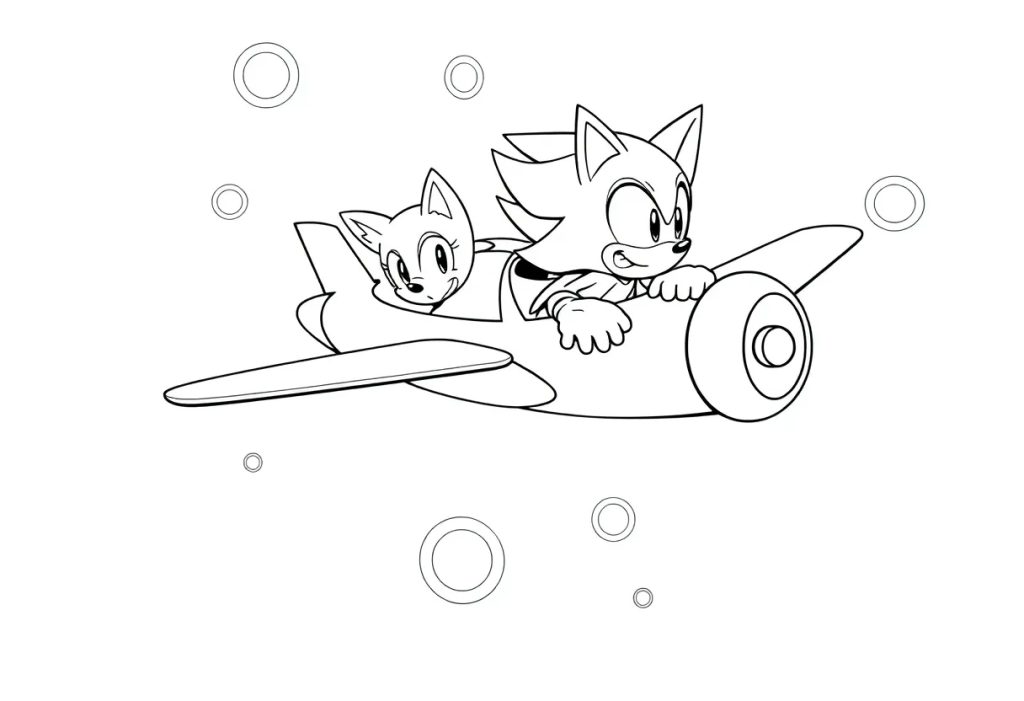
Sonic and Tails
Sonic and Tails
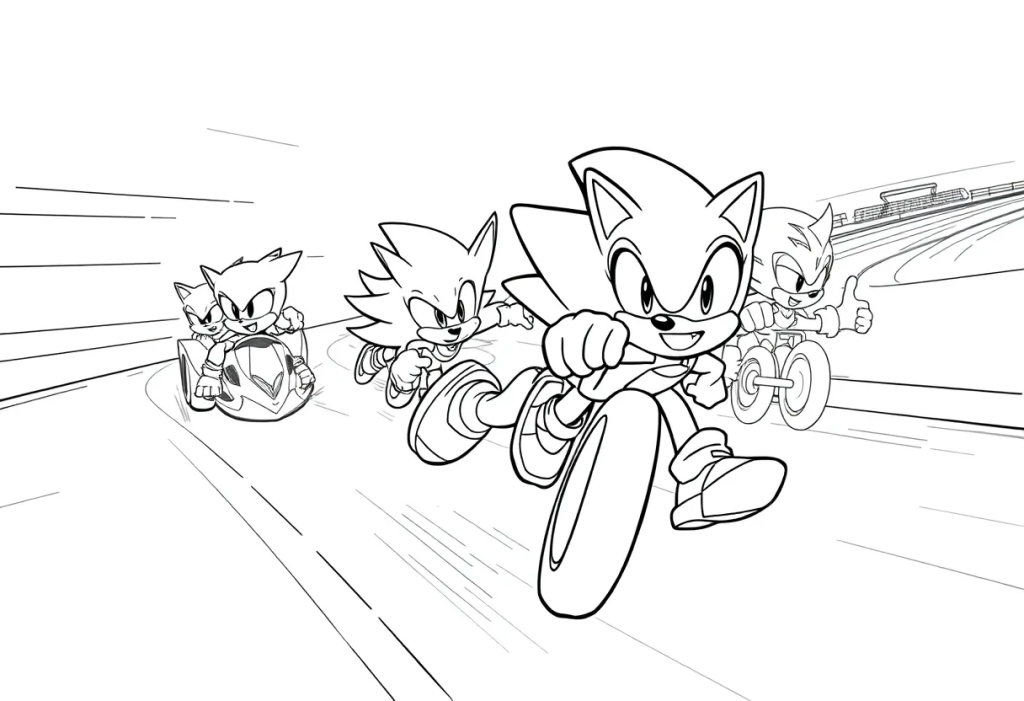
Sonic Racing
Sonic Racing
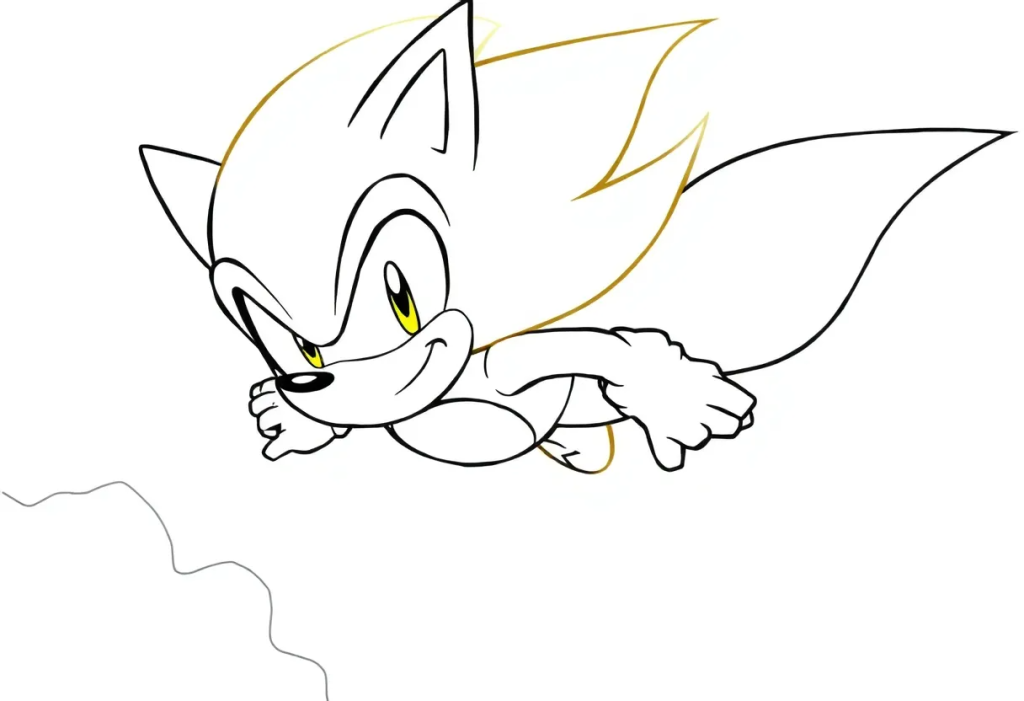
Super Sonic
Super Sonic

1-Second Sonic Coloring Pages: Instant and Unique Designs

Why spend time searching through countless websites for the perfect Sonic coloring page when you can generate your own with just one click? With Colorifyai, you can create your very own sonic coloring page in 1 second. No need to settle for stock designs or generic templates. Whether you’re looking for a super Sonic coloring page, a classic Sonic the Hedgehog coloring page, or even something more personalized, this AI-powered tool gives you instant access to high-quality, custom-made designs.

Simply type a brief description, and within seconds, your unique Sonic coloring page will be ready to print. No more searching—just instant results, completely free.

Uniqueness at Its Best: Customize Your Sonic Coloring Pages

Unlike other websites where you only get a handful of pre-made Sonic coloring pages printable, Colorifyai lets you create entirely unique pages. Choose from 7 different art styles to customize your Sonic coloring page, whether you prefer a shadow Sonic coloring page or a super Sonic the Hedgehog coloring page. You can adjust every detail to suit your personal tastes and creativity.

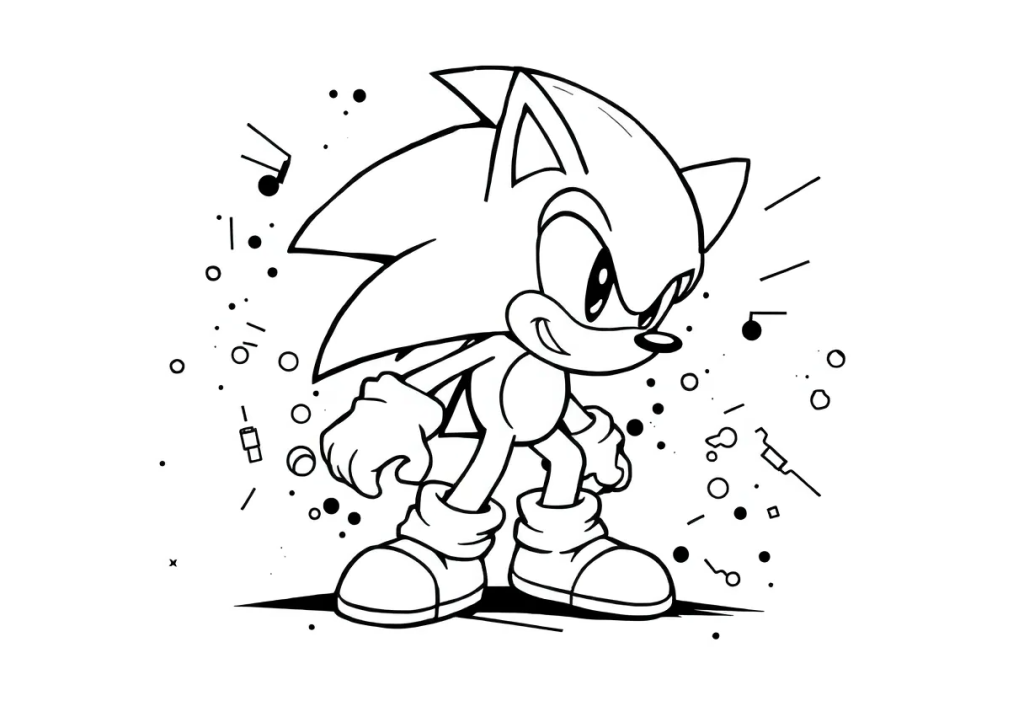
Sonic the Hedgehog
Sonic the Hedgehog
Sonic the Hedgehog coloring page

7 Unique Art Styles: From Classic to Graffiti

One of the standout features of Colorifyai is its versatility. You can generate Sonic coloring pages in 7 different art styles, allowing you to pick the one that fits your creative vision:

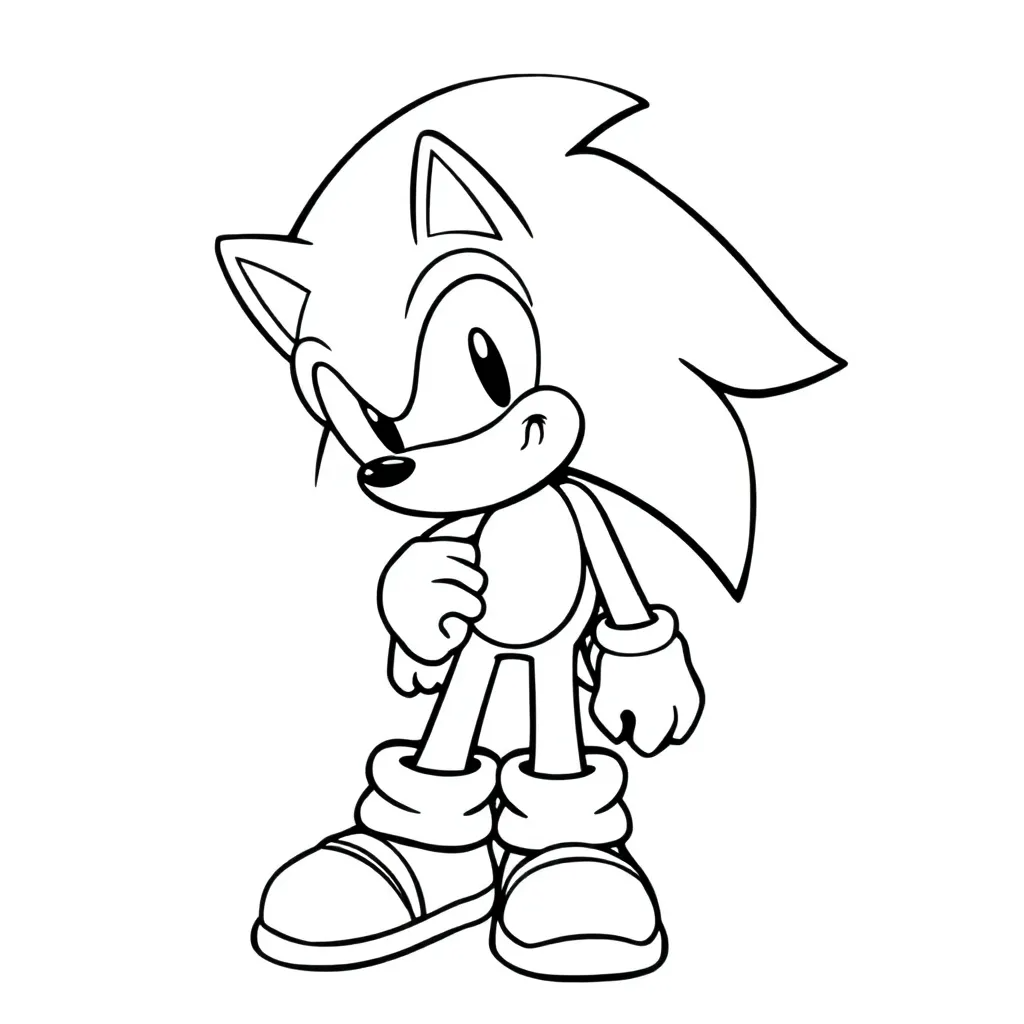
  • Default – Classic Sonic in his familiar look.
  • Minimalist – A clean, simple design focusing on the essentials.
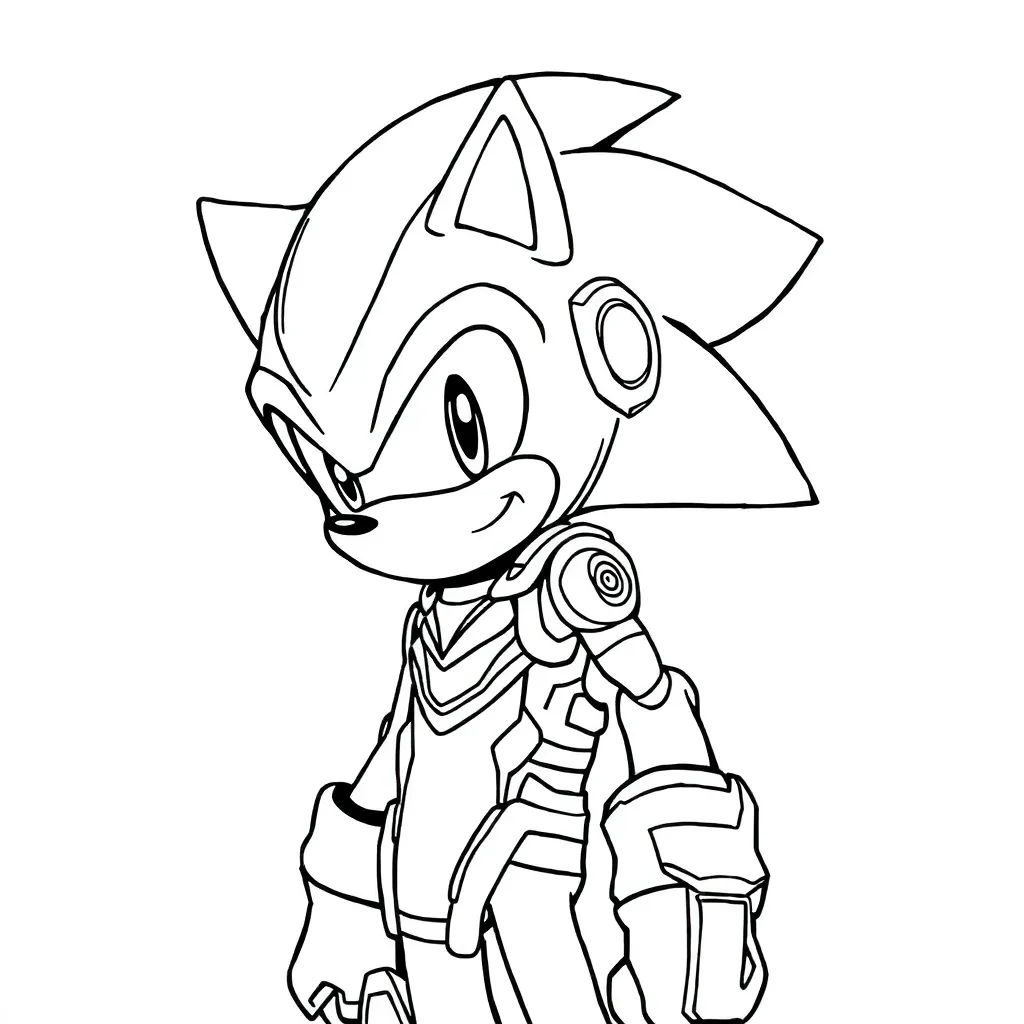
  • Sci-Fi – A futuristic take on Sonic’s iconic look.
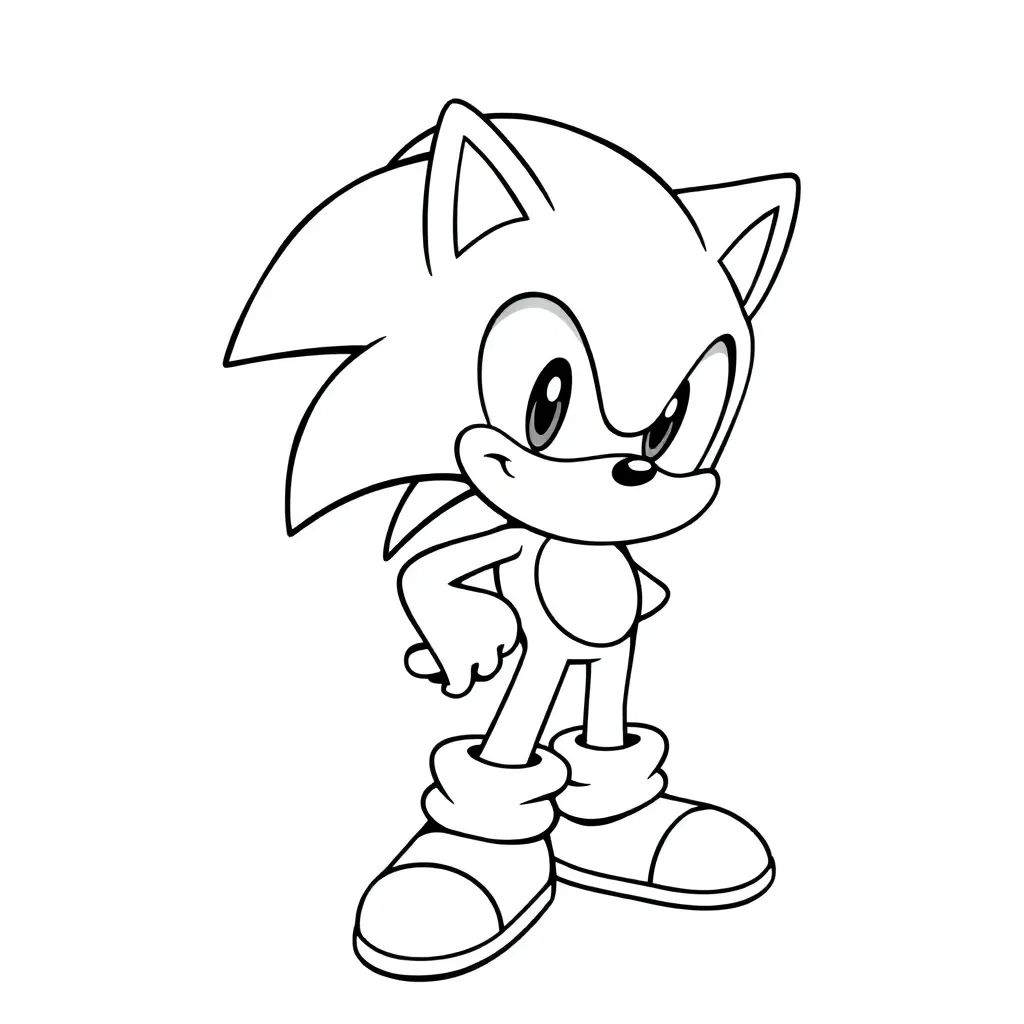
  • Anime – Sonic in an anime-inspired style with dynamic, expressive features.
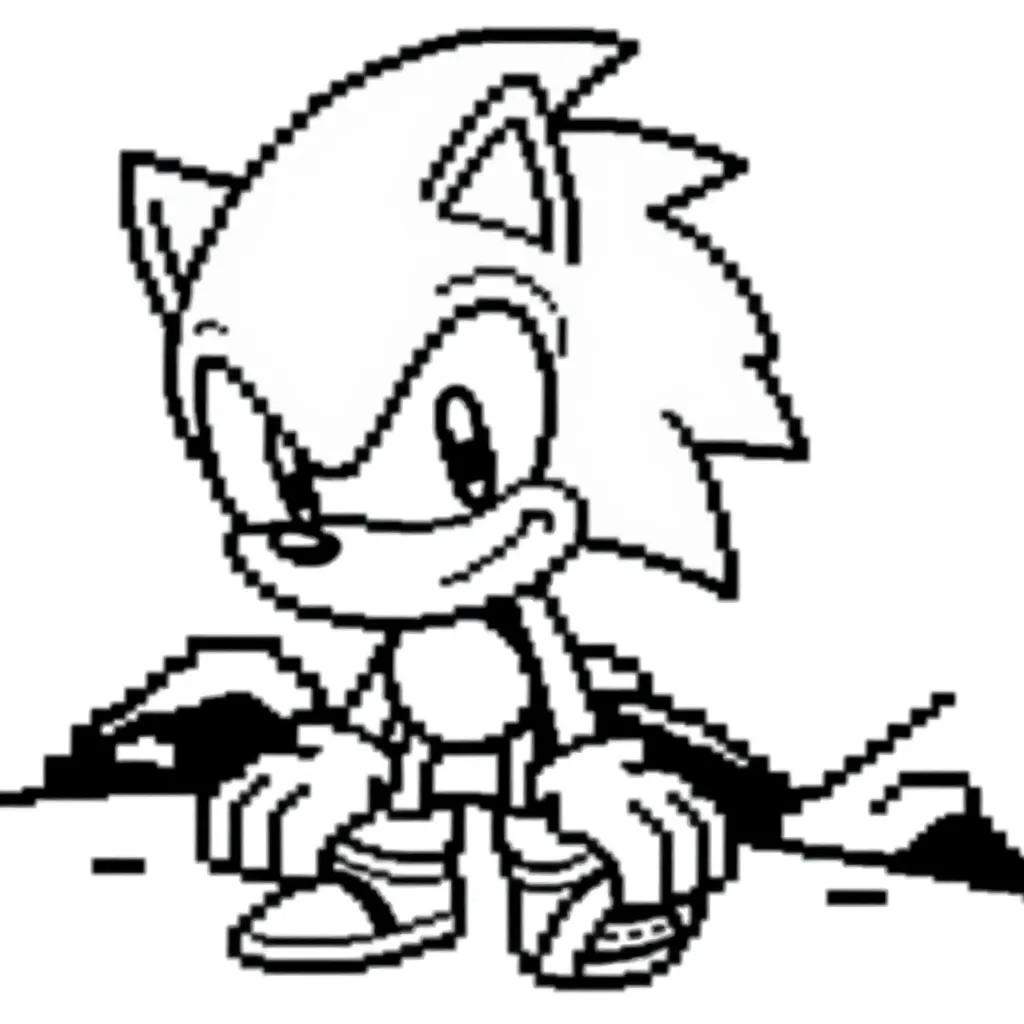
  • Pixel – A retro, pixelated version of Sonic, perfect for nostalgic fans.
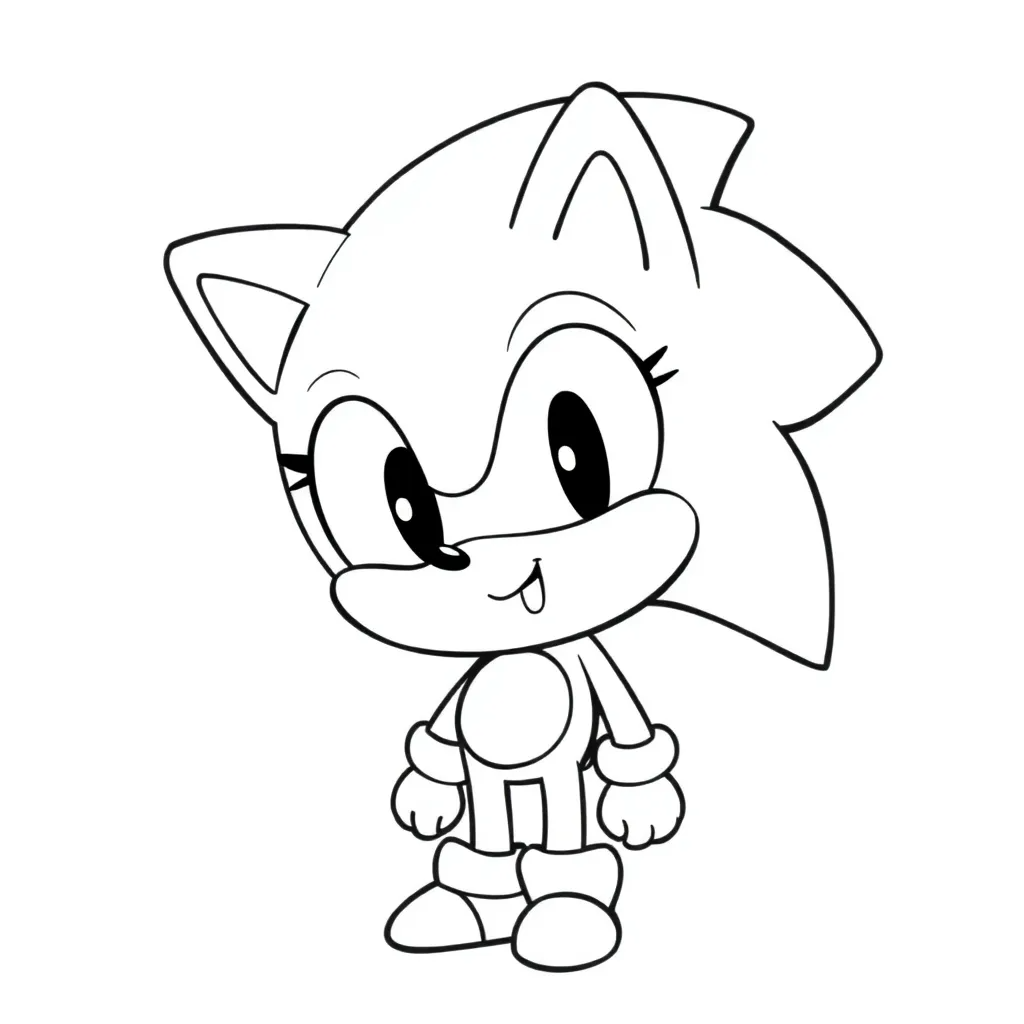
  • Chibi – A cute, small version of Sonic, drawn in a super adorable style.
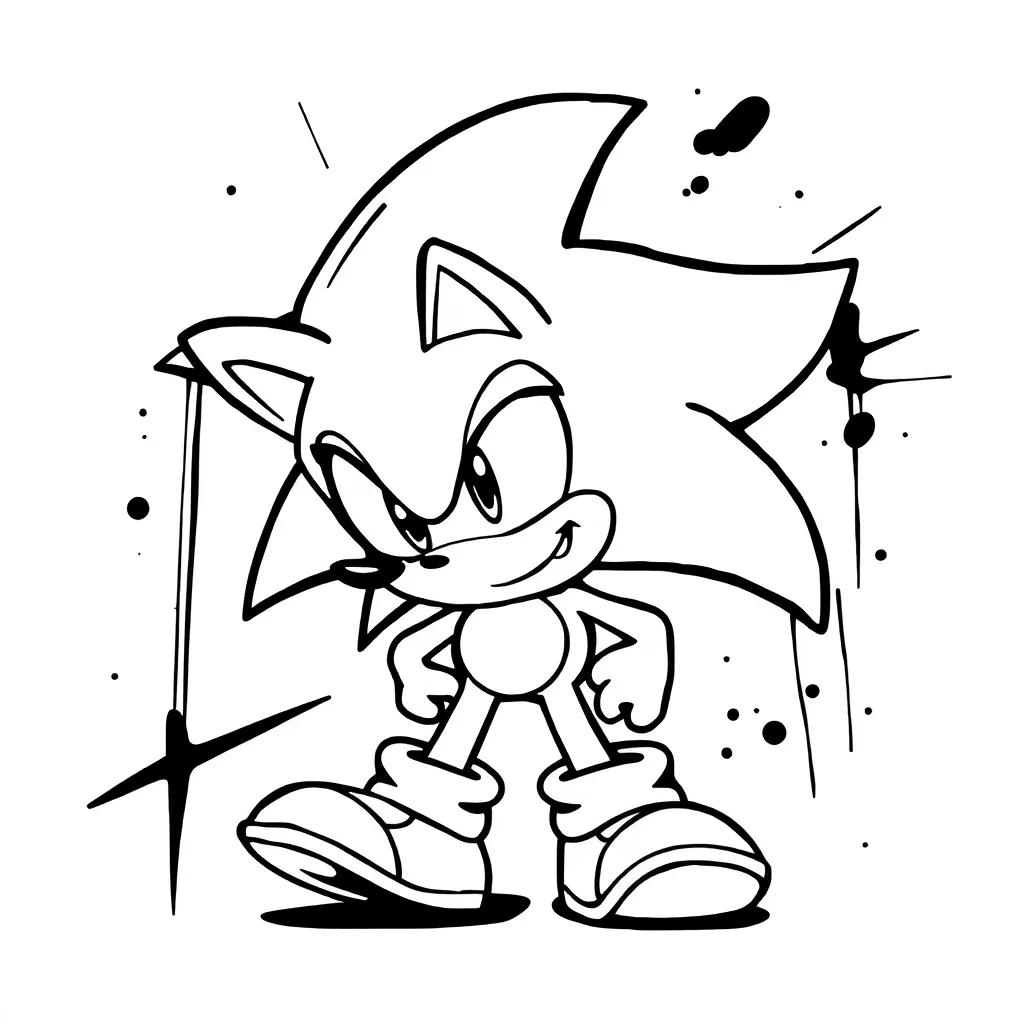
  • Graffiti – A bold, street-art-inspired take on Sonic’s vibrant personality.
Sonic - chibi style
Sonic - chibi style
Sonic - default style
Sonic - pixel style
Sonic - pixel style
Sonic - graffiti style
Sonic - anime style
Sonic - anime style
Sonic - minimalist style
Sonic - sci-fi style

Whether you prefer a sleek anime version of Sonic or want to go for pixel nostalgia, these styles offer something for every type of fan. You can experiment with different looks, all created instantly with the power of AI.

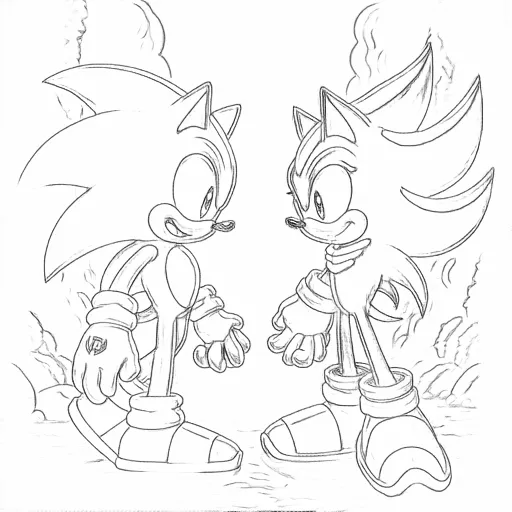
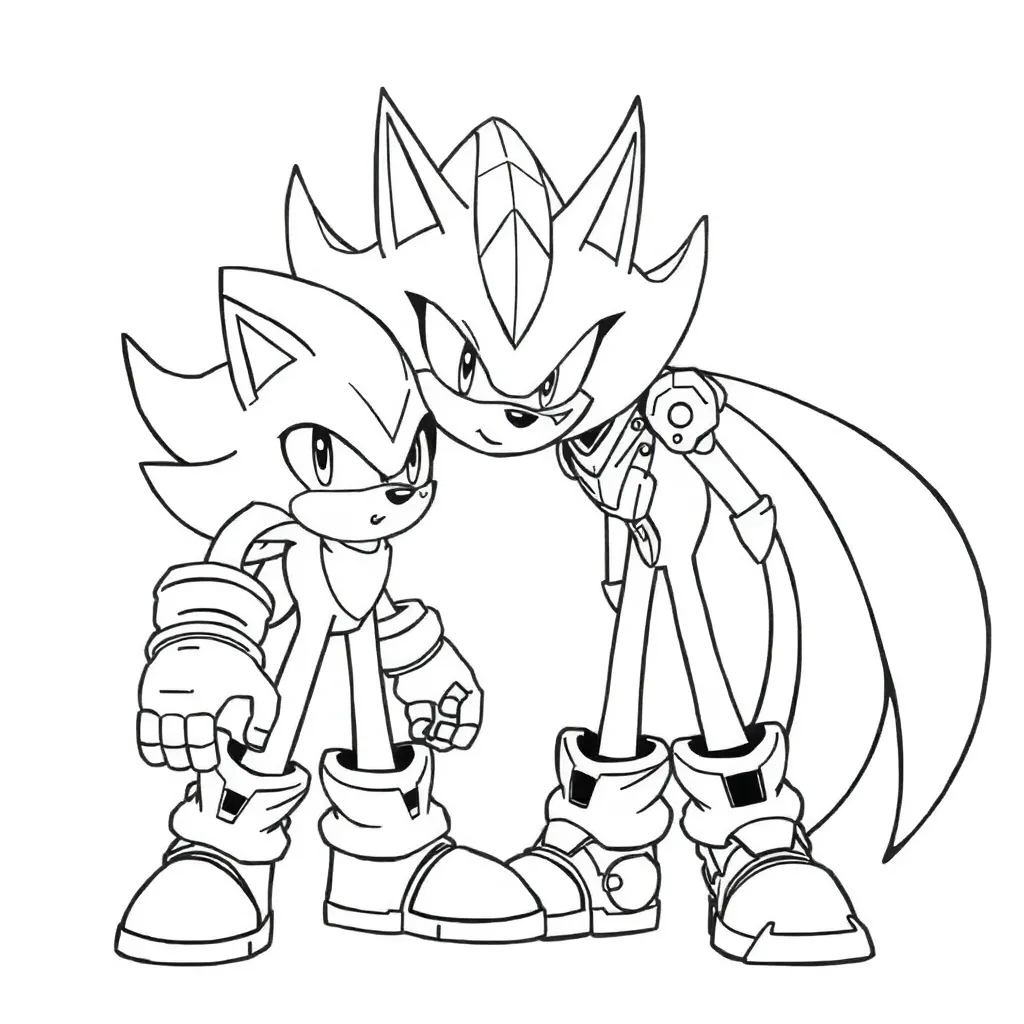
Sonic and Shadow Coloring Pages: The Ultimate Rivalry

Sonic and Shadow Coloring Pages
Sonic vs Shadow Coloring Pages
Sonic and Shadow
Sonic and Shadow

For fans who love both Sonic and his rival Shadow, Colorifyai makes it easy to create Sonic and Shadow coloring pages with just a few clicks. These dynamic duo designs let you explore the complex relationship between the two characters. Whether you want a friendly rivalry scene or a dramatic face-off, you can create the perfect Sonic and Shadow coloring pages in no time.

Print and Create: Your Personal Sonic Coloring Pages Collection

Once you’ve created your Sonic the Hedgehog coloring pages, it’s time to bring them to life! Simply print them and start coloring. Whether you’re a kid, a parent, or an adult looking for some stress-relief, these Sonic coloring pages printable offer endless creative possibilities. The best part? You can print as many copies as you like, creating a personal collection of Sonic designs that reflect your unique style.

Get Started Today: Try it for Free!

Why settle for generic, mass-produced Sonic coloring pages when you can create your own in just 1 second? Head over to Colorifyai and try it out for free. With 7 unique art styles to choose from, and the ability to generate Sonic the Hedgehog coloring pages tailored to your preferences, you’ll never run out of fun and creative possibilities. Whether you want to create super Sonic, shadow Sonic, or any of the other exciting variations, Colorifyai is the ultimate tool for Sonic fans.

Do you want your own personalized Sonic coloring pages?

fast, easy, and totally free!

personalized Sonic coloring pages

How to Get Free Printable Children's Easter Coloring Pages?

Searching for free printable children’s Easter coloring pages? We’ve got you covered! Whether you want cute Easter bunnies, colorful eggs, or festive spring scenes, there are plenty of creative options online. In this guide, you’ll discover the easiest ways to find and create unique Easter coloring pages—especially with ColorifyAI, where you can generate personalized designs in just seconds. Keep your little ones engaged and spark their imagination this Easter season!

To make things even easier, we’ve summarized the best methods for creating Easter coloring pages in the table below. It highlights different approaches you can use to find or create coloring pages that suit your needs.

Method
Details
Pros
Cons

Create with ColorifyAI

Use AI to generate Easter-themed coloring pages from text or photos.

- Unlimited free generation
- No sign-up
- Customizable

- Limited color palette for Line Art
- No pre-made PDF bundles

Explore Free Resources

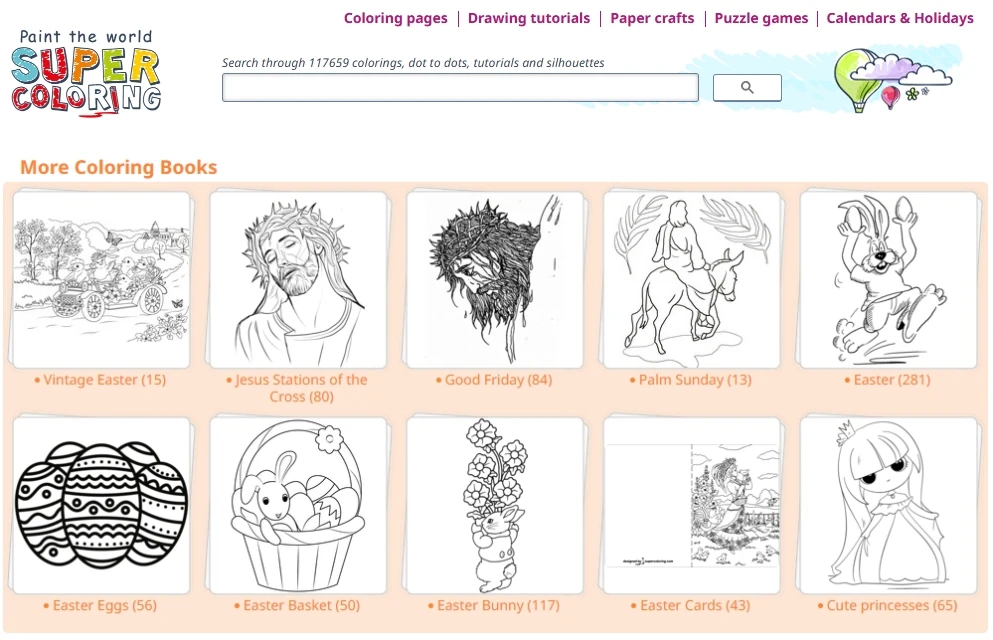
Websites like Crayola, SuperColoring, and HelloKids offer free pages.

- Quick and easy download
- Large library of designs

- Limited customization compared to AI tools

Use Social Platforms & Communities

Find pages on Pinterest, Facebook, and Reddit.

- Real feedback and creative ideas
- Unique designs

- May take time to find quality pages
- Need to join groups

Create Your Own

Design custom pages using tools like Canva or Adobe Express.

- Fully customizable
- Great for DIY lovers

- Requires design skills
- Time-consuming

This table shows different ways to get Easter coloring pages

Now, let’s dive into the first and most creative option—how you can create your own children’s Easter coloring pages with an AI tool!

1. Create Your Own Children's Easter Coloring Pages with an AI Tool

Why Choose ColorifyAI:

When it comes to finding free and customizable children’s Easter coloring pages, ColorifyAI stands out as one of the easiest and most creative options. This free tool lets you generate unlimited Easter-themed coloring sheets with just a few clicks. Whether you want classic Easter bunnies, colorful eggs, springtime baskets, or even mashups like a Sonic Easter bunny, ColorifyAI gives you the power to design and print exactly what you imagine—no sign-up, no watermarks.

Tip: Try combining different themes to create truly one-of-a-kind pages!

How It Works:

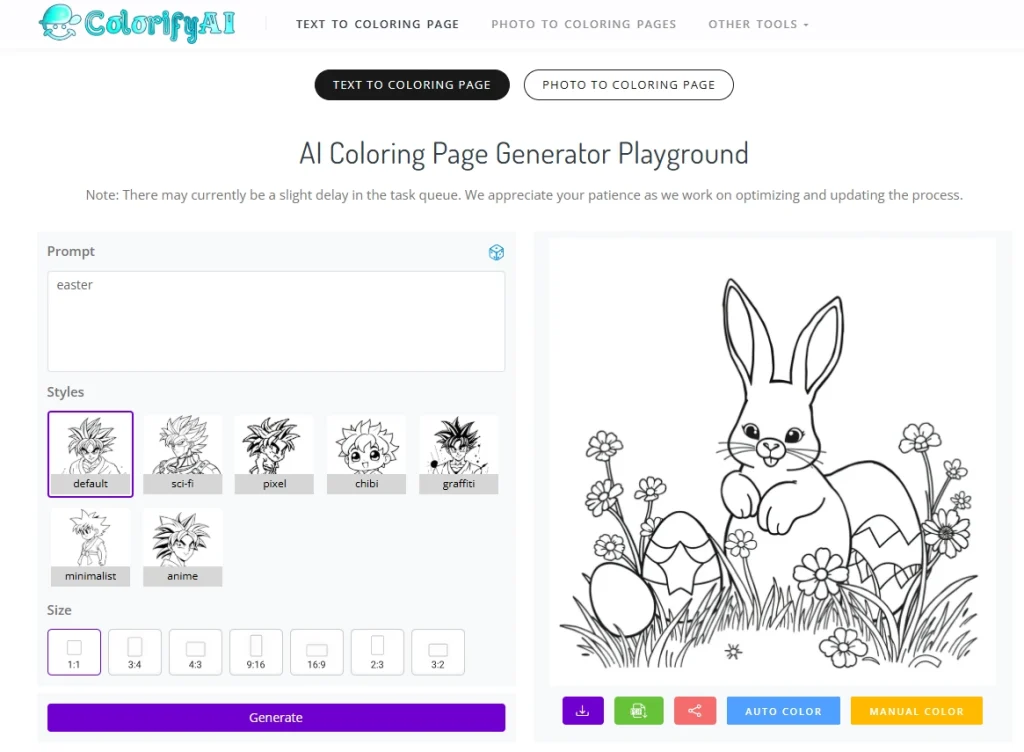
Getting started is simple! ColorifyAI offers two intuitive ways to create your Easter coloring pages:

  1. Text to Coloring Page:
    Describe what you want—like “Easter bunny,” “Easter eggs,” or “spring basket”—and ColorifyAI will instantly transform your words into a printable coloring page.
  2. Photo to Coloring Page:
    Already have an Easter image you love? Upload it and convert it into a coloring page effortlessly. This is perfect for turning family photos, artwork, or favorite Easter scenes into personalized coloring fun.

Children's Easter Coloring Pages

Key Advantages of Using ColorifyAI:

  • 🖌️ 7 unique art styles and 7 different sizes to choose from
  • 🎨 Unlimited free generation — no sign-up needed
  • No watermarks, ensuring clean, high-quality prints
  • 📥 Download images or PDFs, ready for easy printing
  • 🤝 Supports sharing, automatic coloring, and manual coloring
  • 👧 Kid-friendly interface, easy enough for all ages to use

Things to Keep in Mind

  • 🎨 Limited built-in color palette for Line Art: For custom colors, you’ll need to enter specific color codes.
  • 📄 No pre-made Easter PDF bundles yet: You’ll need to generate and download individual pages.

Demo Gallery: See What You Can Create!

Here are just a few examples of Easter-themed coloring pages made with ColorifyAI. Get inspired and start making your own today!

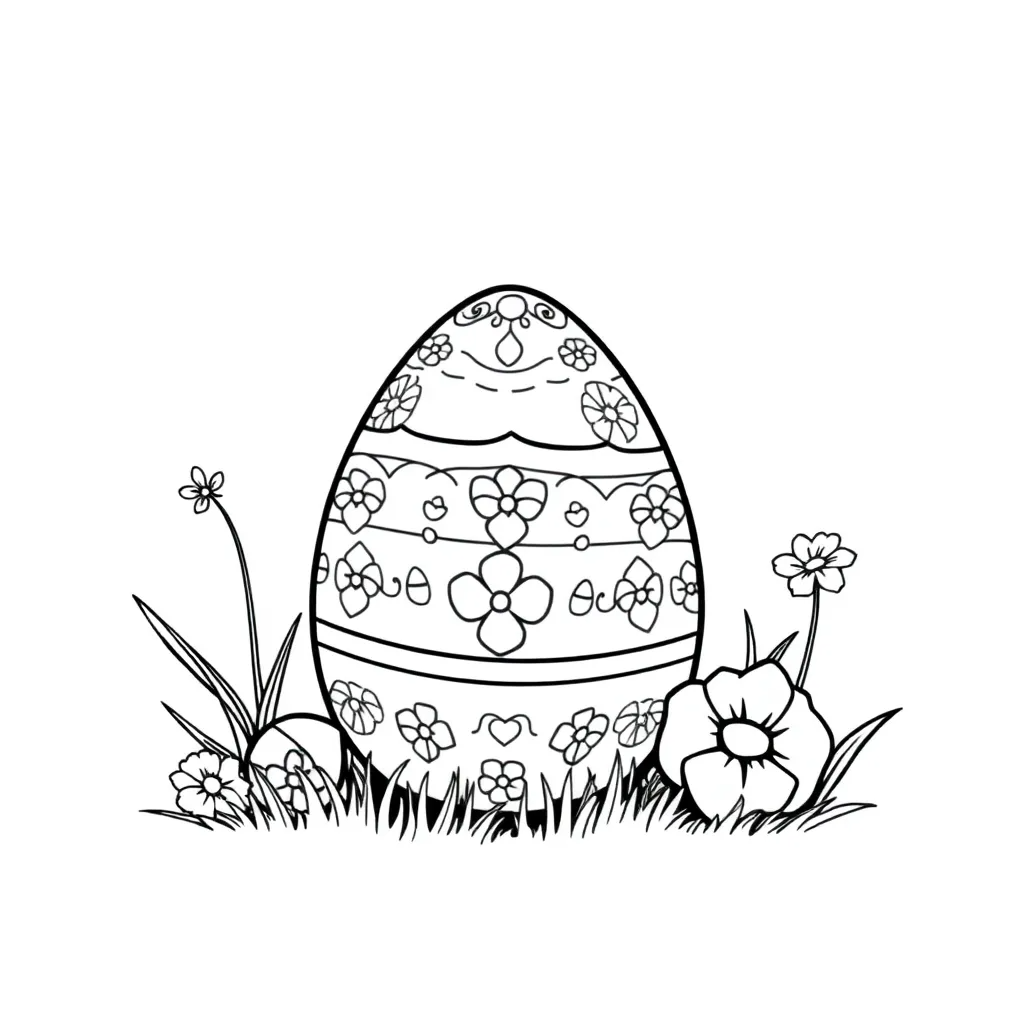
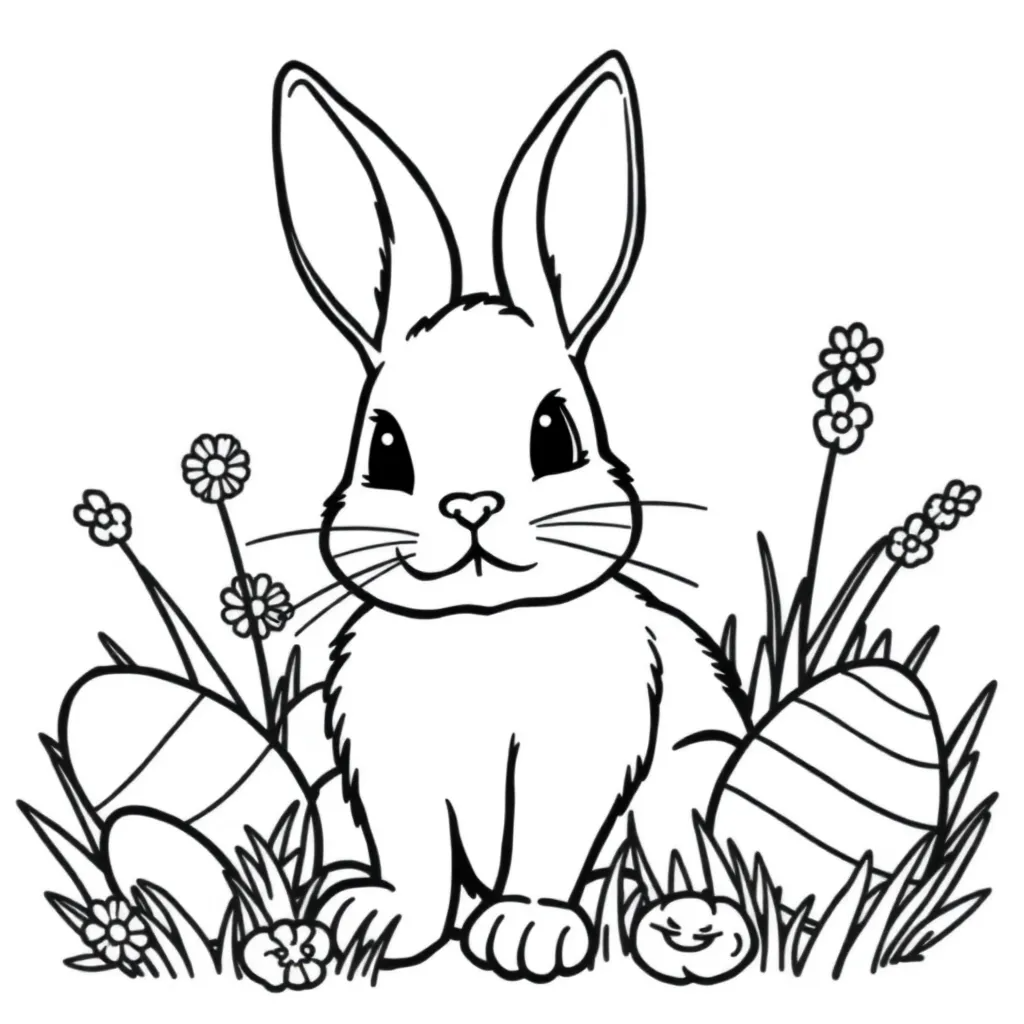
Easter Egg Coloring Pages
Easter Bunny Coloring Pages
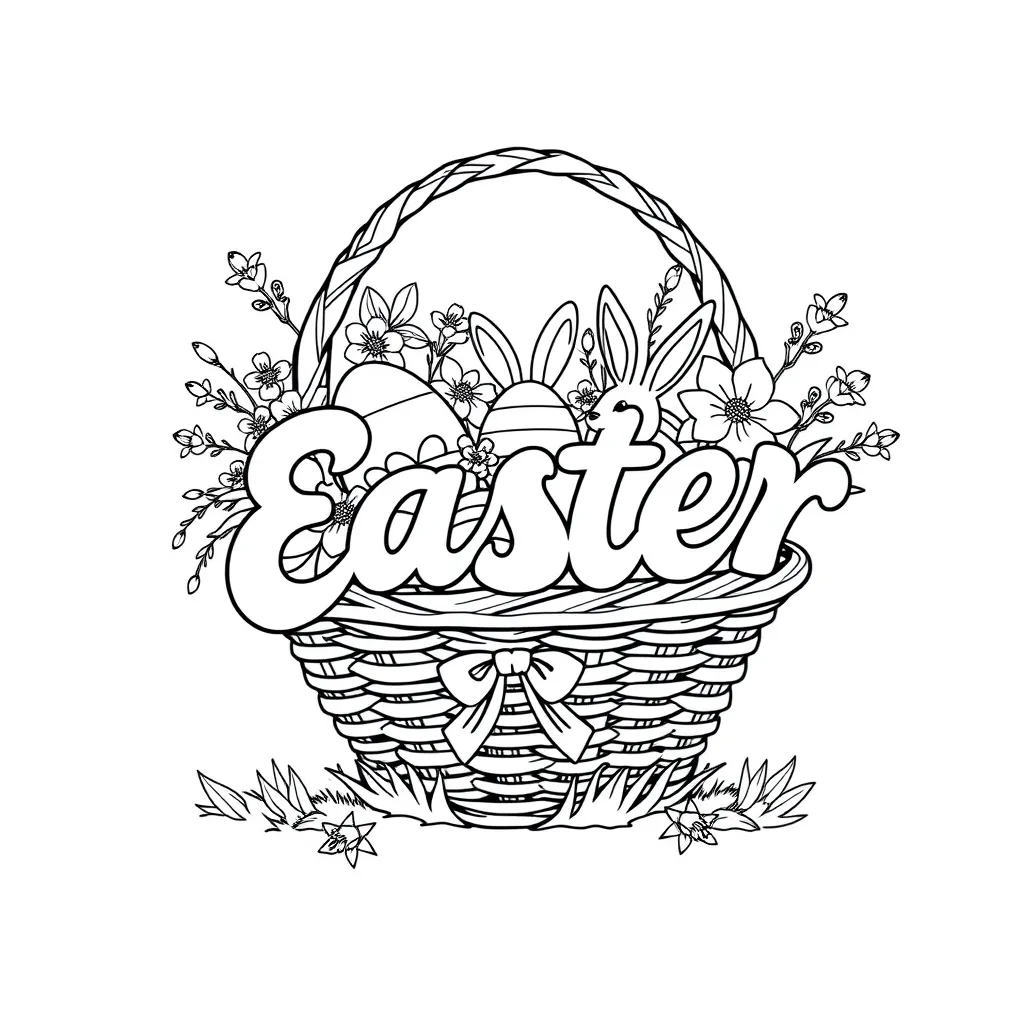
Easter Basket Coloring Pages
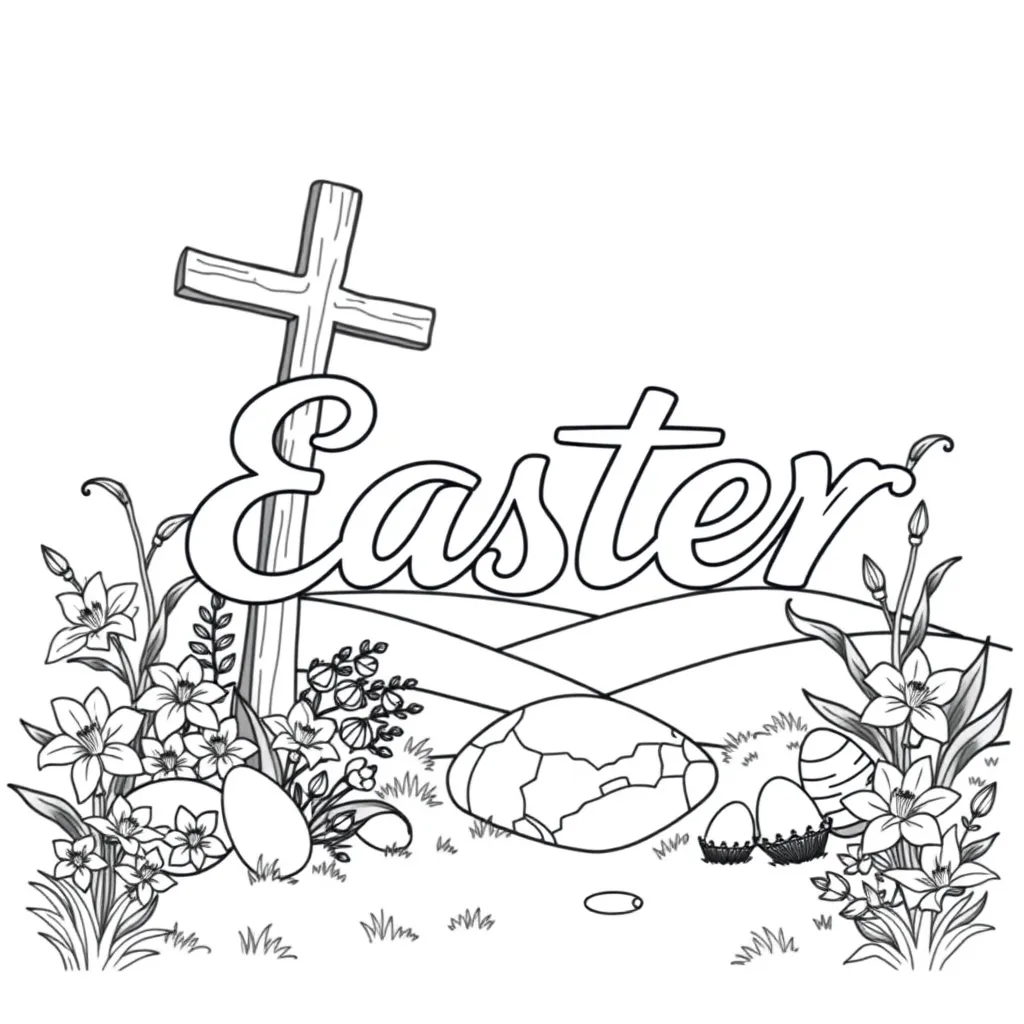
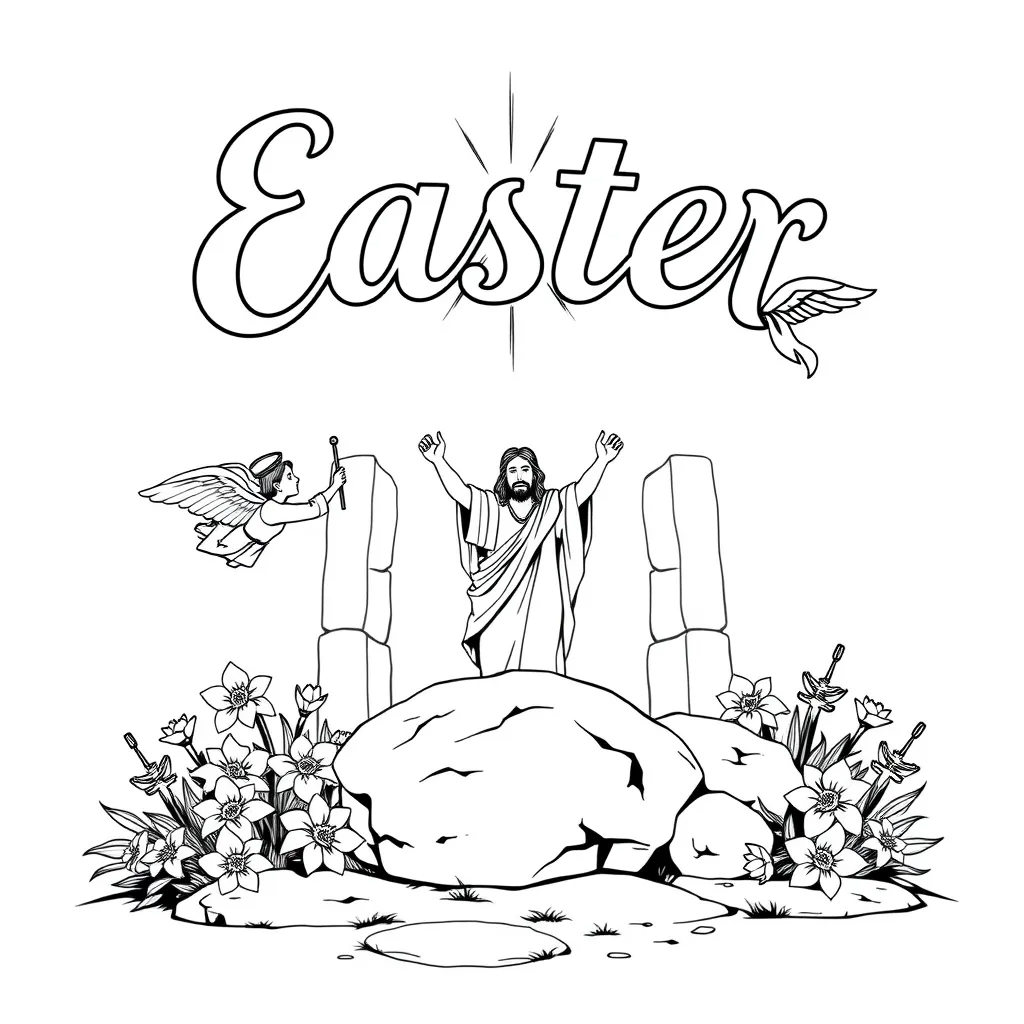
Christian Easter Coloring Pages
Religious Eeaster Coloring Pages
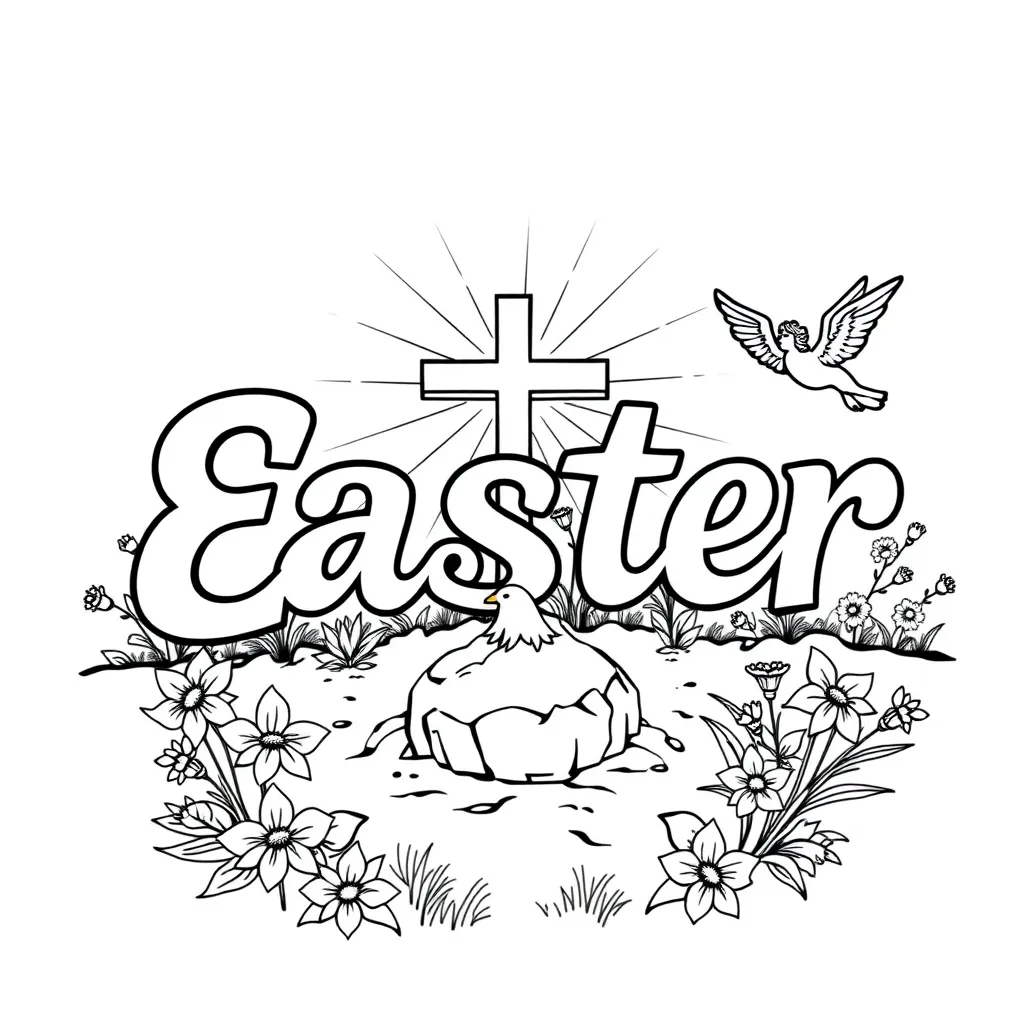
Jesus Easter Coloring Pages

2. Explore Free Resources for Children's Easter Coloring Pages

Recommended Websites:

  • Crayola: A trusted brand offering a wide variety of free Easter coloring pages perfect for kids.
  • SuperColoring: Features a large collection of detailed, free Easter coloring pages suitable for children of different ages.
  • HelloKids: Provides an extensive range of Easter coloring pages that are easy to download and print, ideal for young children.

Why Choose These Resources:

  • Huge library of ready-to-use Easter coloring pages
  • Quick and easy: no tools needed, just download and print

Things to Keep in Mind:

  • Limited customization compared to AI-generated options
  • You can only use pre-designed templates without much personalization
SuperColoring easter coloring pages

3. Discover Easter Coloring Pages Through Social Platforms and Communities

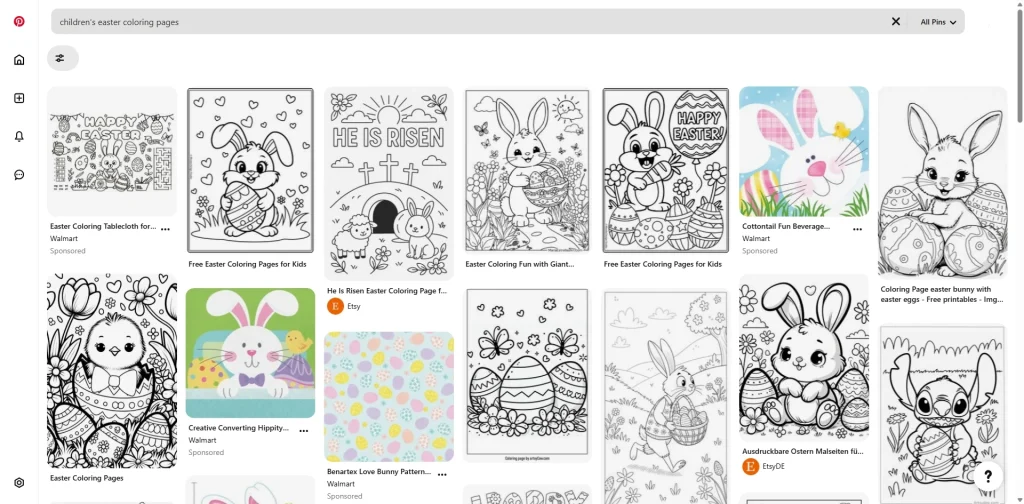
Pinterest:

Looking for free Children’s Easter Coloring Pages? Pinterest is a treasure trove of creative DIY ideas and beautifully designed Easter-themed coloring pages. Simply search and start saving your favorites!

Children's Easter Coloring Pages from Pinterest

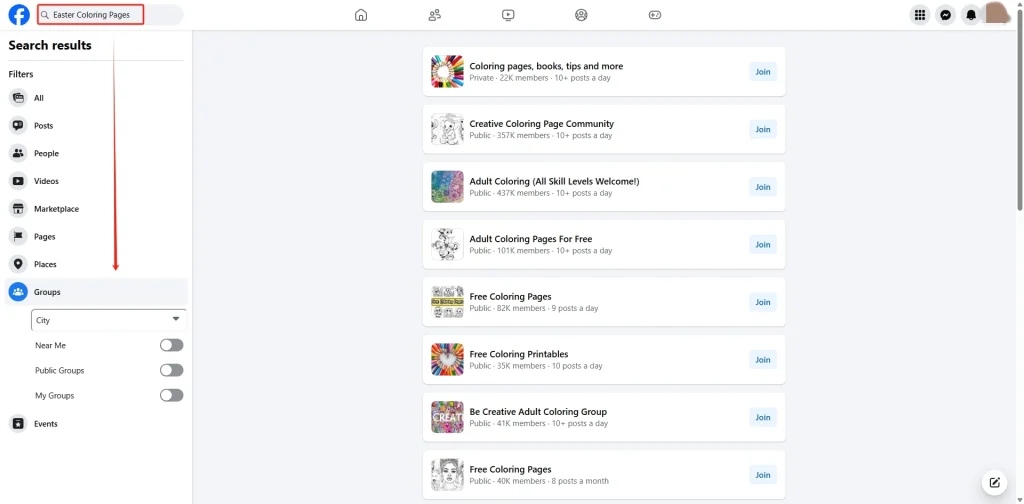
Facebook Groups and Online Forums:

Many parenting and educational groups on Facebook regularly share free Children’s Easter Coloring Pages. Members also offer valuable feedback, creative ideas, and inspiration for coloring activities.

Children's Easter Coloring Pages from Facebook

Reddit Communities:

Explore subreddits like r/Coloring and r/Easter where users frequently post free Children’s Easter Coloring Pages. You can also join discussions, request custom ideas, and exchange tips with a passionate coloring community.

Children's Easter Coloring Pages from Reddit

Why Use Social Platforms:

  • Get real feedback and creative ideas from engaged communities
  • Access a wide variety of unique and DIY Easter coloring page designs

A Few Considerations:

  • It may take time to filter through and find high-quality pages
  • Some groups or forums require joining or membership approval

4. Create Your Own Easter Coloring Pages

Take a Creative Approach

Want something truly unique? Try designing your own Easter coloring pages using simple graphic tools like Canva, Adobe Express, or even drawing apps on your tablet. You can create personalized Easter bunnies, eggs, baskets, and more — perfect for making special memories!

Why Create Your Own:

  • Fully customizable to match your ideas and themes
  • Perfect for users who enjoy graphic design or DIY projects

Things to Consider:

  • Can be tricky if you don’t have design experience
  • Takes more time compared to downloading ready-made pages

Summary:

In summary, we’ve explored various ways to get free printable Children’s Easter Coloring Pages, each offering its unique advantages.

If you’re after quick, personalized options, ColorifyAI is the perfect tool for generating custom Easter-themed coloring pages in no time.

For those who prefer browsing through pre-made options, websites and online resources provide an excellent range of coloring pages to choose from.

Ultimately, the main benefits include a seamless, free experience with plenty of customization options for creating and printing your perfect Easter coloring pages.

Start creating your free printable Easter coloring pages now!

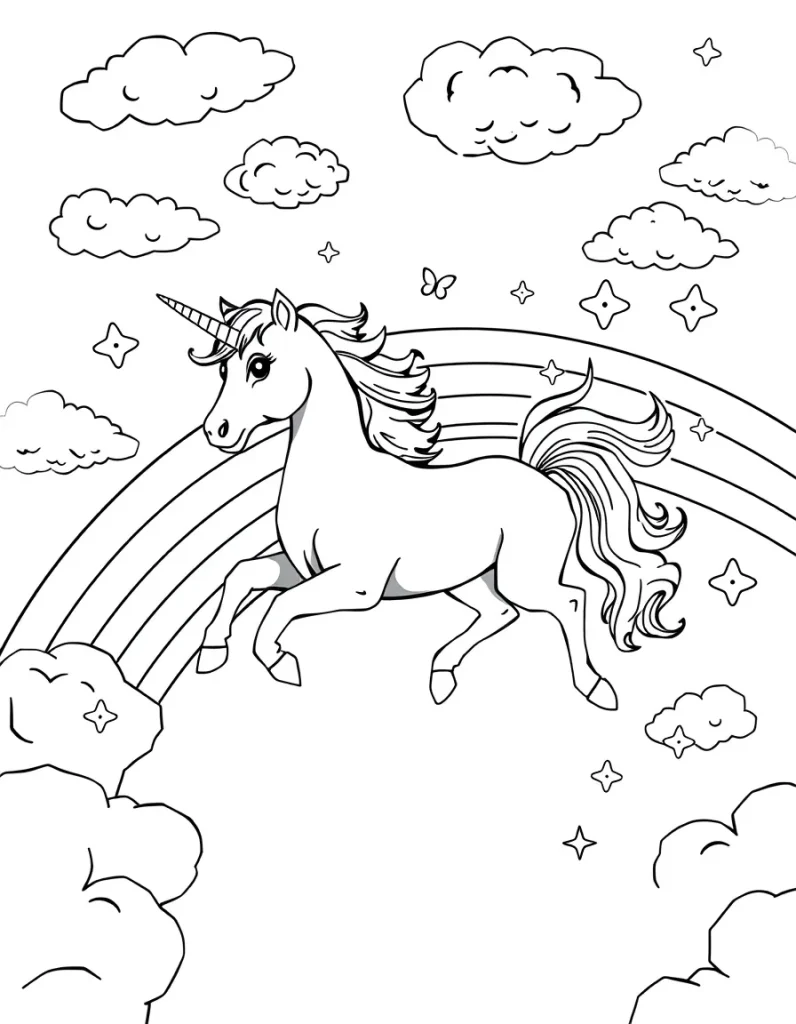
Create Free Unicorn Coloring Pages Printable – Unlimited

Unicorns symbolize magic, creativity, and endless imagination, captivating both children and adults alike. Whether you’re a fan of their mythical charm or simply enjoy a fun, creative activity, unicorn coloring pages are a perfect way to unwind and express your artistic side.

Finding the right free unicorn coloring pages can be time-consuming, but with ColorifyAI, it’s easier than ever. This free tool lets you instantly generate printable unicorn coloring pages, offering 7 unique styles to choose from. Keep reading to discover the creative possibilities that await with ColorifyAI’s customizable designs!

7 Magical Unicorn Coloring Styles to Explore with ColorifyAI

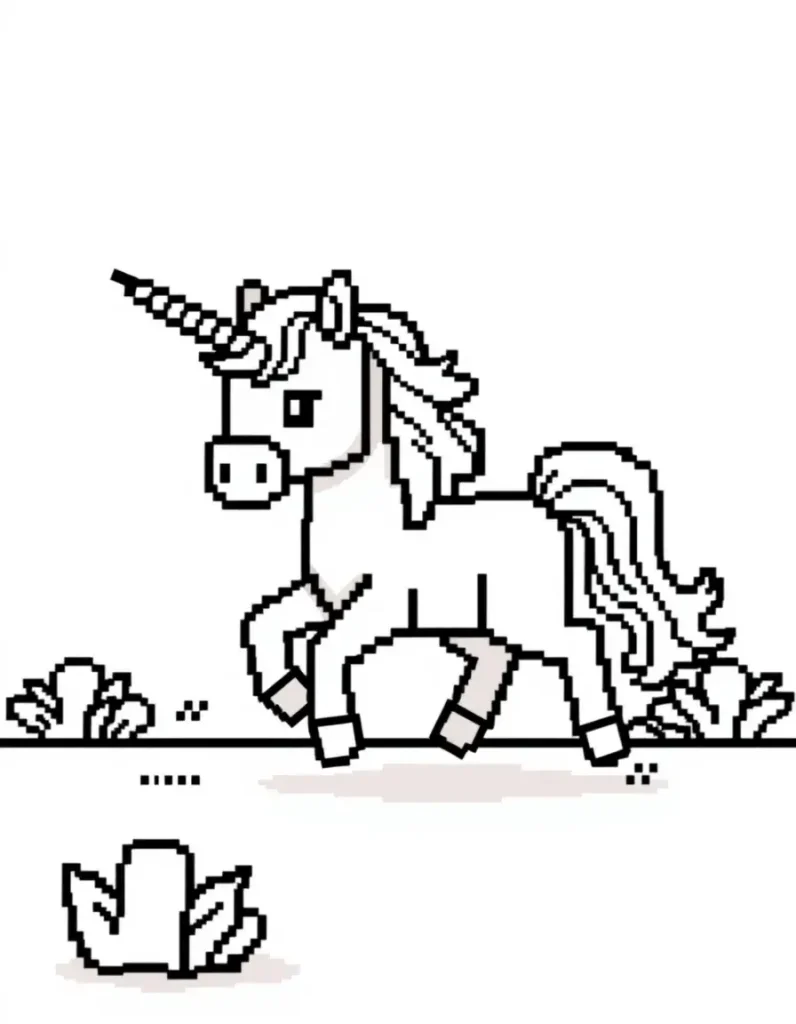
Unicorns symbolize creativity, magic, and boundless imagination. With ColorifyAI, you can explore a variety of free unicorn coloring pages designed to bring these magical creatures to life. From classic designs to modern, bold styles, these unicorn coloring pages printable offer something for everyone to enjoy.

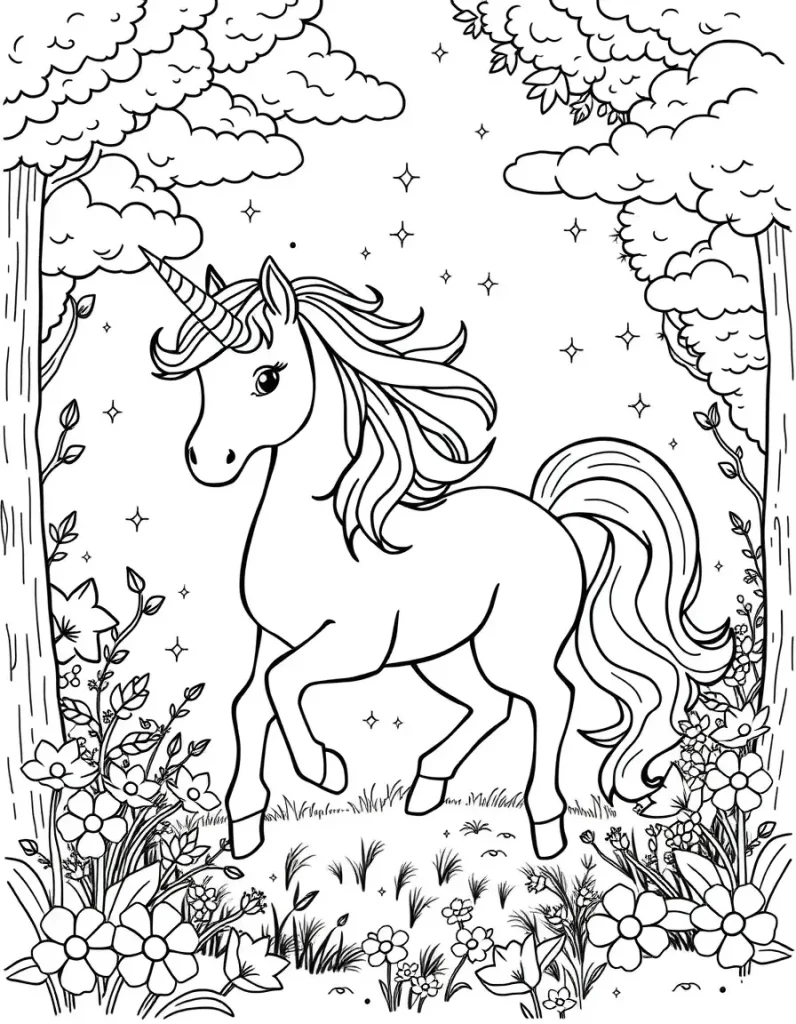
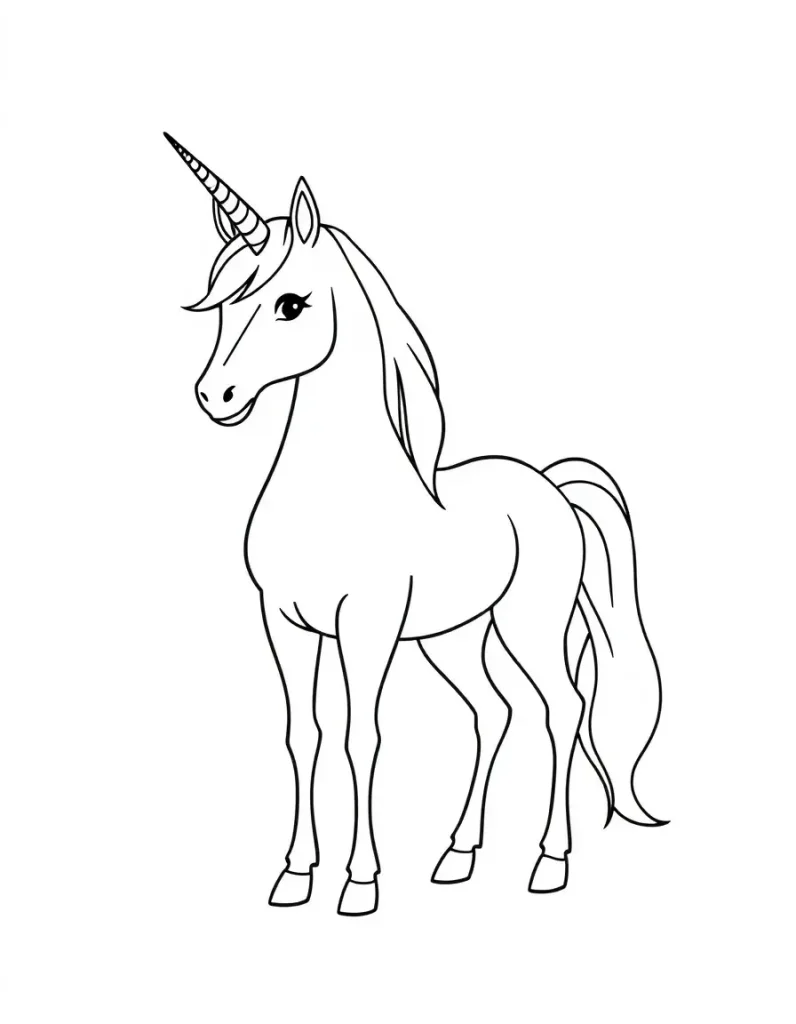
  • Default Style: A traditional unicorn with flowing manes and pastel shades, capturing the essence of fairy-tale magic.
  • Minimalist Style: Simple yet elegant, this style focuses on clean lines and soft details, perfect for those who appreciate a more subtle, refined look.
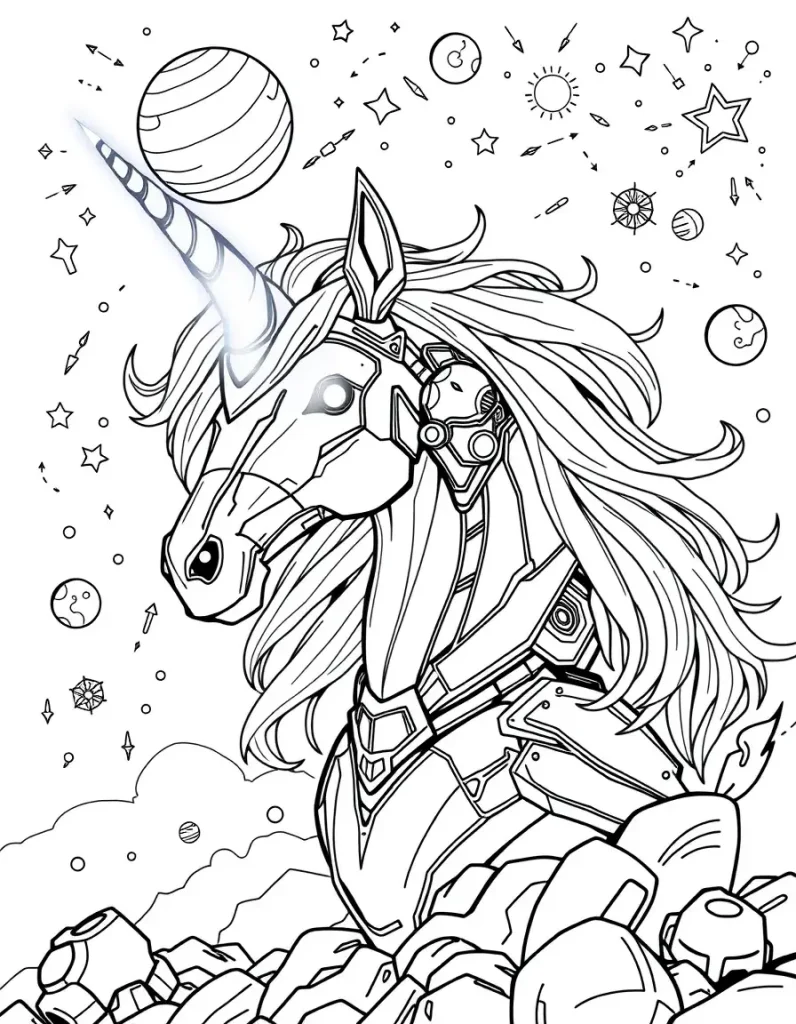
  • Sci-Fi Style: A futuristic take on the unicorn, featuring starry patterns and cosmic elements, ideal for fans of sci-fi and space adventures.
  • Anime Style: Dynamic and expressive, this style brings an anime-inspired unicorn to life with vibrant colors and dramatic flair.
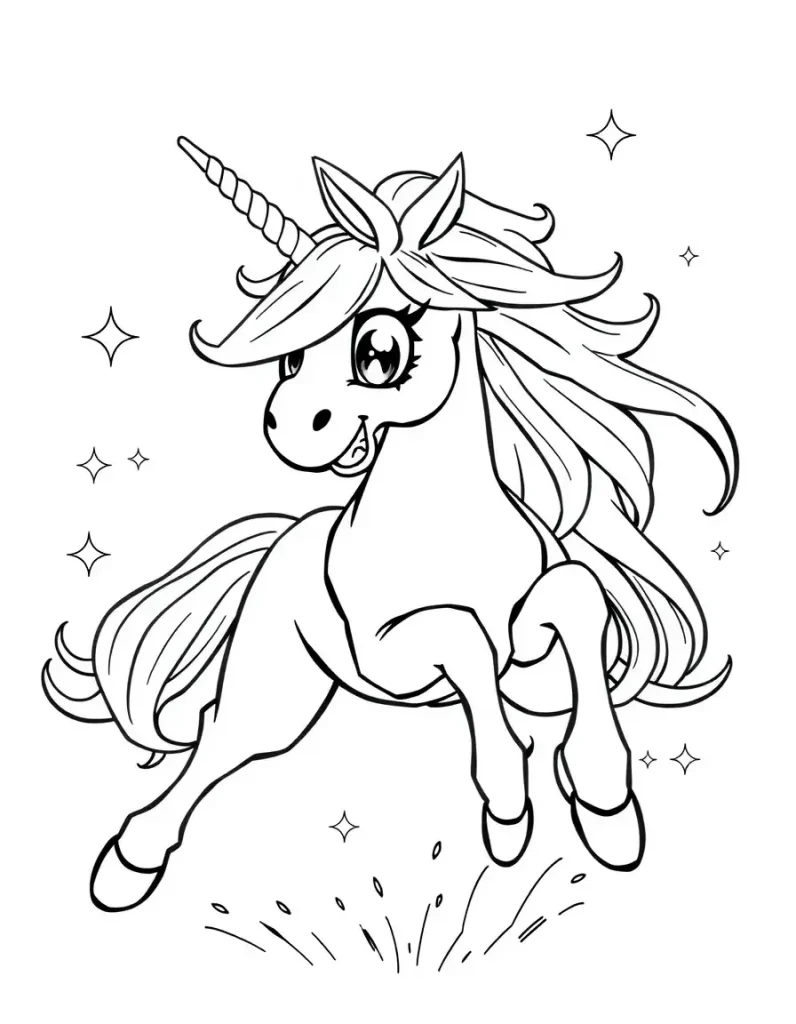
  • Pixel Style: For those who love retro charm, this pixelated style offers a fun, nostalgic look at the unicorn in classic 8-bit art.
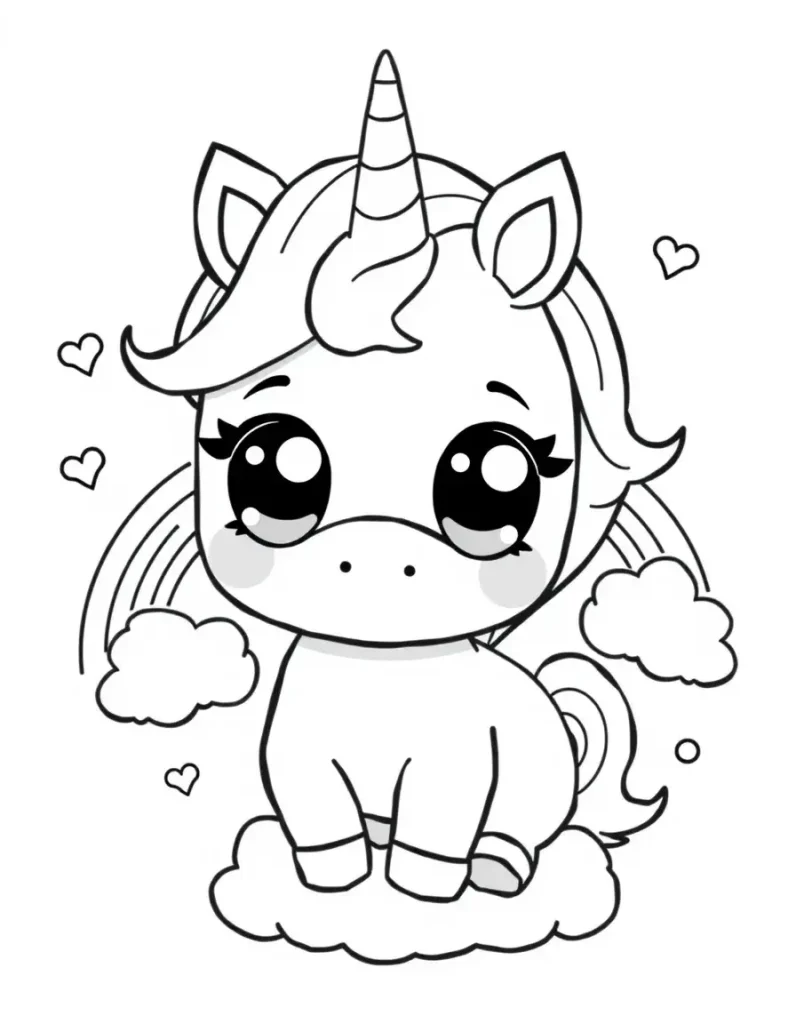
  • Chibi Style: Cute and compact, the chibi-style unicorn is designed with oversized eyes and small proportions, perfect for kids and fans of adorable designs.
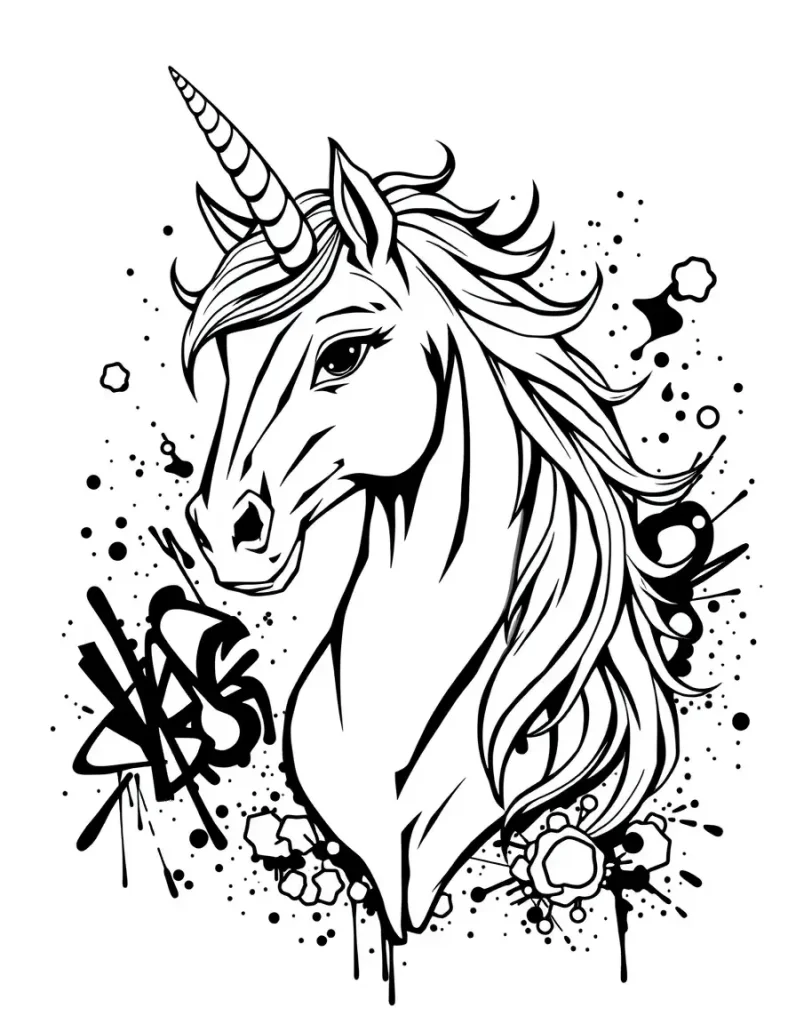
  • Graffiti Style: Bold and street-art inspired, this style adds a vibrant, urban touch to your unicorn coloring page.
Default Style Unicorn Coloring Page
Graffiti Style Unicorn Coloring Page
Sci-fi Style Unicorn Coloring Page
Anime Style Unicorn Coloring Page
Chibi Style Unicorn Coloring Page
Minimalist Style Unicorn Coloring Page
Pixel Style Unicorn Coloring Page

These unicorn coloring pages for kids and adults alike offer a range of easy unicorn coloring pages to suit all ages and skill levels. Whether you’re looking for a simple, clean design or something more complex, ColorifyAI provides endless possibilities for your coloring fun.

With 7 different size options available, you can choose the perfect fit for your needs. Ready to start coloring? Keep reading to explore more!

Get Inspired with 6 Unique Unicorn Coloring Themes

Unicorns come in many magical forms, and with ColorifyAI, you can easily discover themed unicorn coloring pages that inspire creativity. From holiday designs to whimsical adventures, these themed pages offer endless possibilities for fun and artistic expression.

With ColorifyAI, you’ll have access to a variety of unique unicorn themes that make coloring even more exciting. Stay tuned to explore different themes, each designed to spark your imagination and create personalized unicorn art.

Unicorn Rainbow Coloring Pages
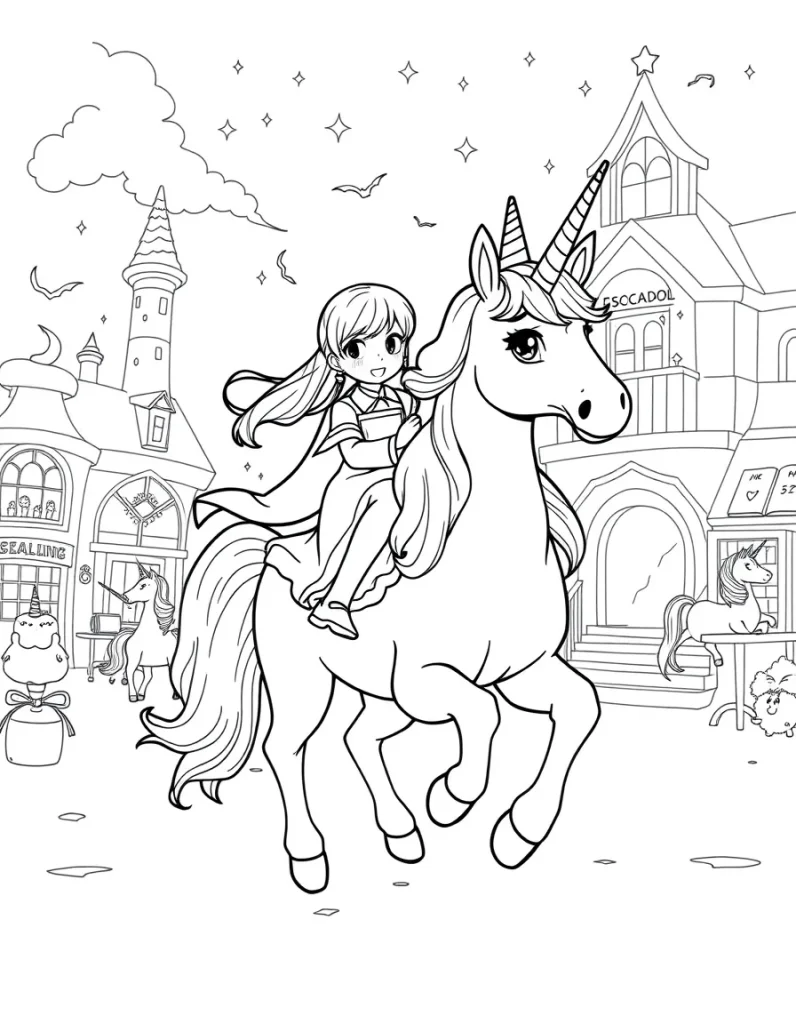
Unicorn Academy Coloring Pages
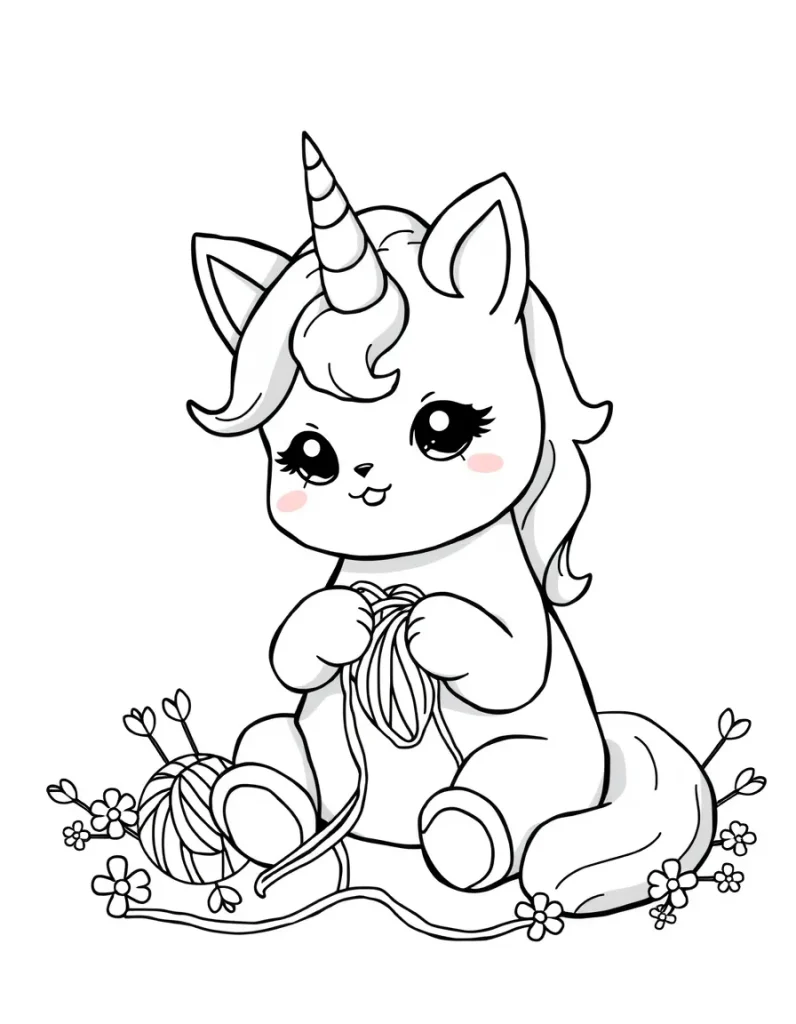
Unicorn Cat Coloring Pages
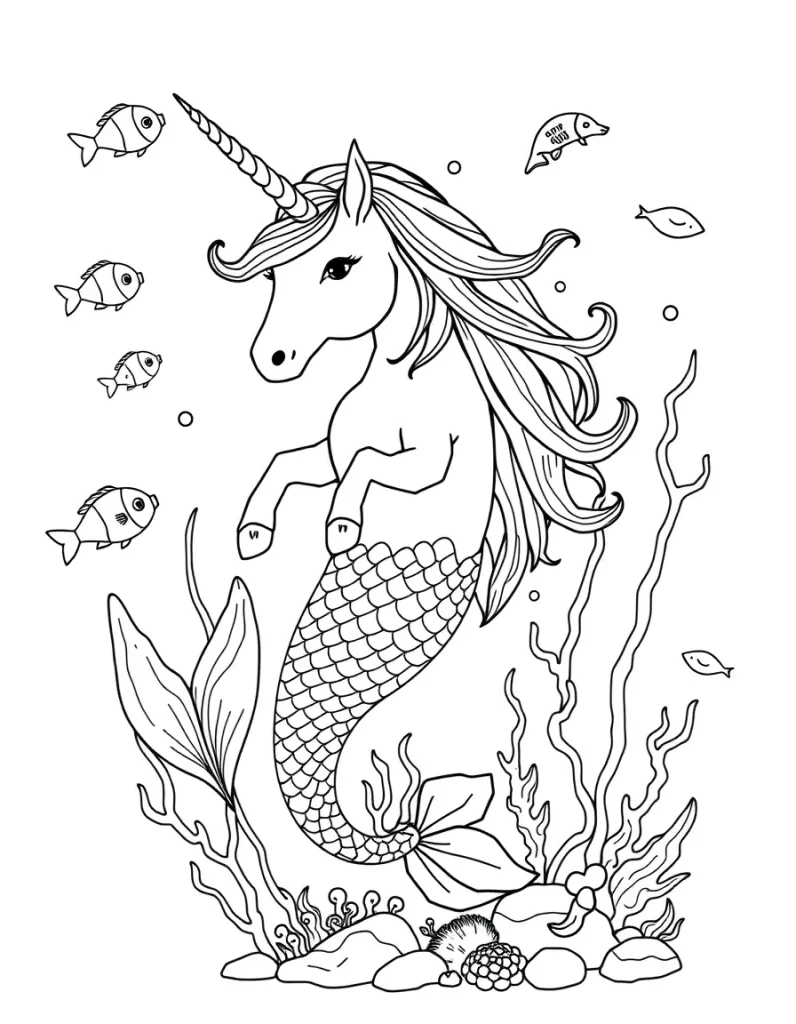
Unicorn Mermaid Coloring Pages
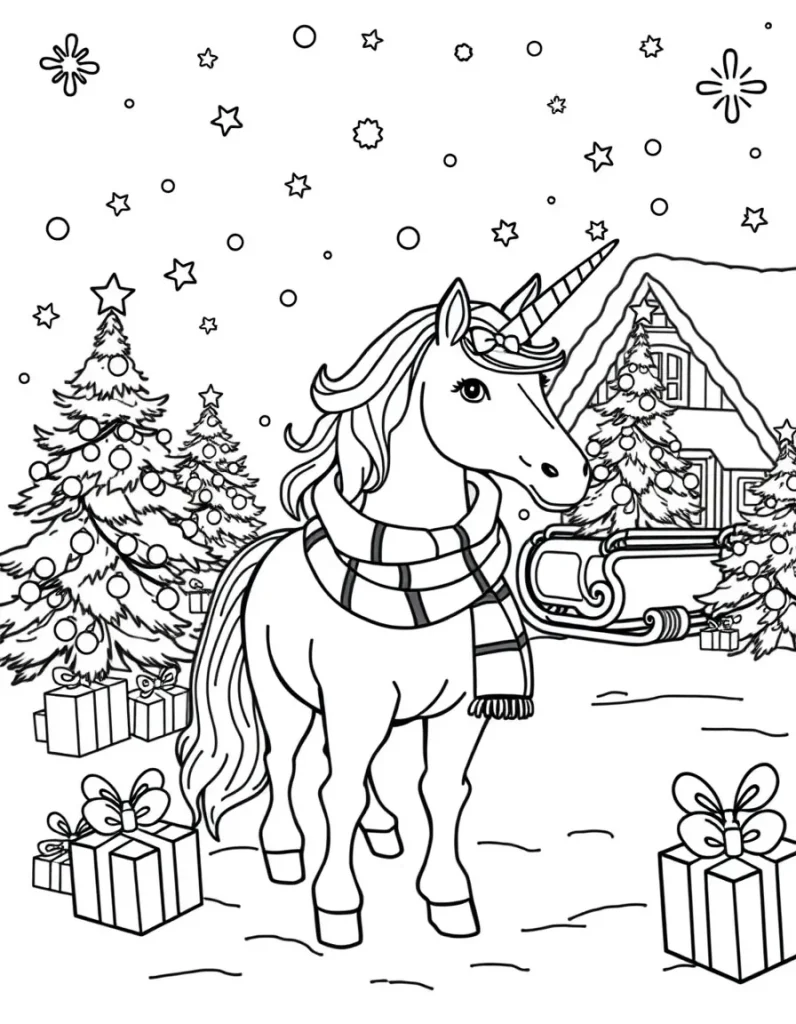
Christmas Unicorn Coloring Pages
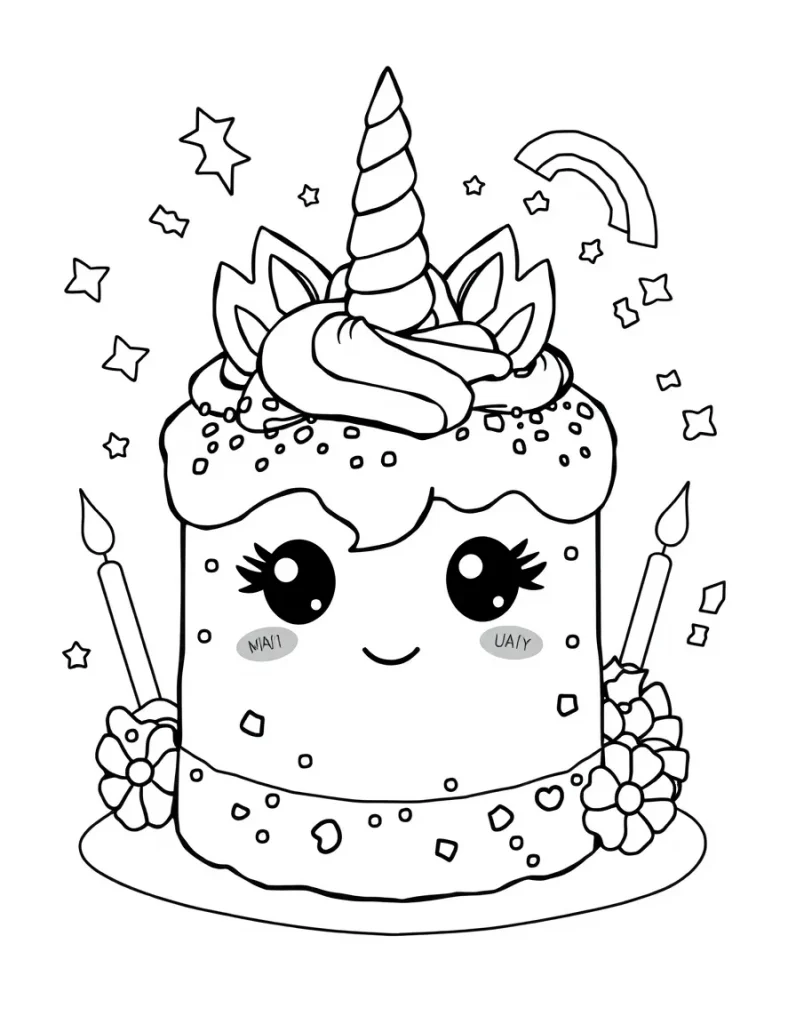
Unicorn Cake Coloring Pages

Creative Unicorn Coloring Pages for All Ages and Skill Levels

Explore a world of magical unicorn coloring pages that cater to every age and skill level. Whether you’re looking for simple baby unicorn designs or intricate anime unicorn artwork, there’s something for everyone to enjoy.

Fun for Kids and Adults

From playful baby unicorn coloring pages to more detailed unicorn coloring pages for kids, these designs are perfect for parents and children to enjoy together. With a range of fun, easy designs and more elaborate styles, everyone can find something that suits their creative style.

Limitless Creativity for All Skill Levels

No matter your artistic experience, ColorifyAI offers unicorn coloring pages printable that accommodate all skill levels. Whether a beginner or an expert, you’ll find simple designs for quick fun or more complex pages for a detailed coloring experience.

How to Get the Most Out of Your Unicorn Coloring Pages

There are plenty of ways to enjoy your unicorn coloring pages beyond just coloring them in. Whether you’re saving them for later or sharing with friends, ColorifyAI offers versatile options to suit your needs.

  • Download and Print: Easily download and print your unicorn coloring pages with one click to start coloring anytime.
  • Download PDF: Get a high-quality PDF version of your artwork for easy printing or saving.
  • One-Click Share: Once you’ve finished coloring, instantly share your masterpiece with family and friends.

  • Automatic and Manual Coloring: Choose between traditional manual coloring or let ColorifyAI do the work with automatic coloring, adding vibrant hues to your unicorn designs in seconds.

Start Creating – Unleash Your Creativity!

Head to ColorifyAI to create your own unicorn coloring pages for free and start coloring instantly.