How to Turn a Photo into a Line Drawing Online Free
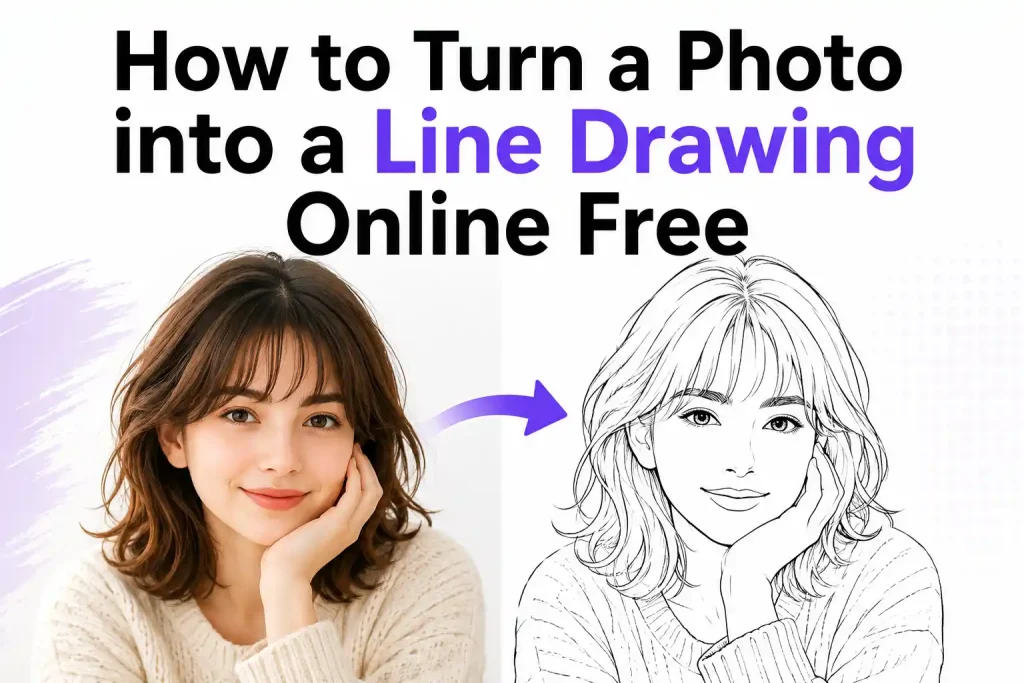
Converting a photo to line art used to require drawing skills or hours of work in Photoshop. Today, AI makes the process much easier. With the right line art generator, you can convert portraits, animals, flowers, classroom photos, and even product images into crisp black-and-white outlines in just a few clicks.
For teachers, line drawings are especially useful for creating printable worksheets, coloring activities, science handouts, and classroom decorations. Instead of searching for copyright-free illustrations, you can simply transform your own photos into ready-to-print teaching materials.
In this guide, you’ll learn how to choose the right line drawing style, compare popular tools, and turn any photo into a line drawing online free while achieving the best possible results.
Before You Start
Line Art vs. Sketch vs. Coloring Page: Which Style Should You Choose?
| Style | Best For | Features |
|---|---|---|
| Line Art | Logos, worksheets, SVG projects, laser engraving | Clean outlines with minimal shading |
| Sketch | Artistic illustrations, posters, concept art | Pencil-like texture with natural strokes |
| Coloring Page | Children's activities, classroom worksheets, printable crafts | Bold outlines and simplified details for coloring |
Choose Line Art if…
- You need clean outlines.
- You’re creating educational worksheets.
- You plan to print or trace the image.
- You want graphics for Cricut or laser engraving.
Choose Sketch if…
- You prefer a hand-drawn artistic style.
- You want more texture and shading.
- The image is for decoration or illustration.
Choose a Coloring Page if…
- Students will color the image.
- You want thicker outlines.
- Small details should be simplified for easier coloring.
Once you know which style fits your project, the next step is choosing the right tool to create it.
What Makes Good Line Art?
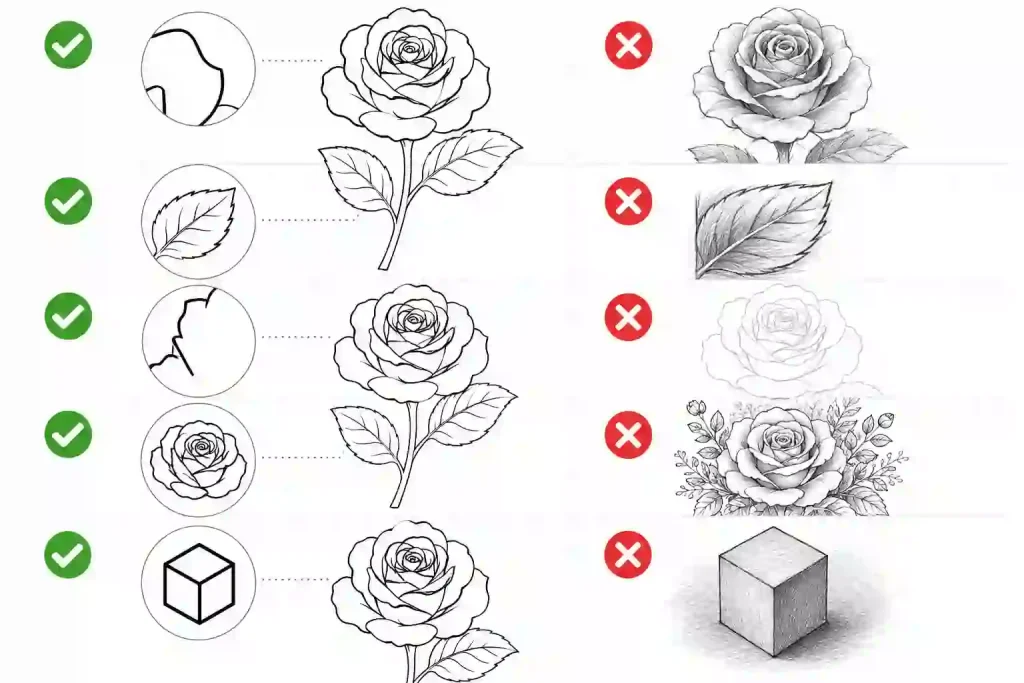
| Characteristic | True Line Art | Not Ideal for Line Art |
|---|---|---|
| Clean outlines | ✅ Crisp, continuous lines | ❌ Broken or rough edges |
| Shading | ✅ Minimal or none | ❌ Heavy pencil-style shading |
| Grayscale textures | ❌ Removed | ❌ Large gray areas or textured fills |
| Line contrast | ✅ Dark, easy-to-read outlines | ❌ Faint or low-contrast lines |
| Background | ✅ Subject isolated from the background | ❌ Background objects mixed into the drawing |
| Detail level | ✅ Keeps only essential details | ❌ Too many small details and visual noise |
| Best for | ✅ Logos, worksheets, SVG projects, laser engraving | ❌ Sketch art or realistic illustrations |
Which Tool Should You Use?
| Tool | Type | Line Art Styles | One-Click |
|---|---|---|---|
| Photoshop | Editor | ❌ | ❌ |
| Canva | Design Platform | Limited | ❌ |
| Adobe Express | AI Design Platform | Limited | ❌ |
| Colorify AI | Dedicated Tool | 4 Styles | ✅ |
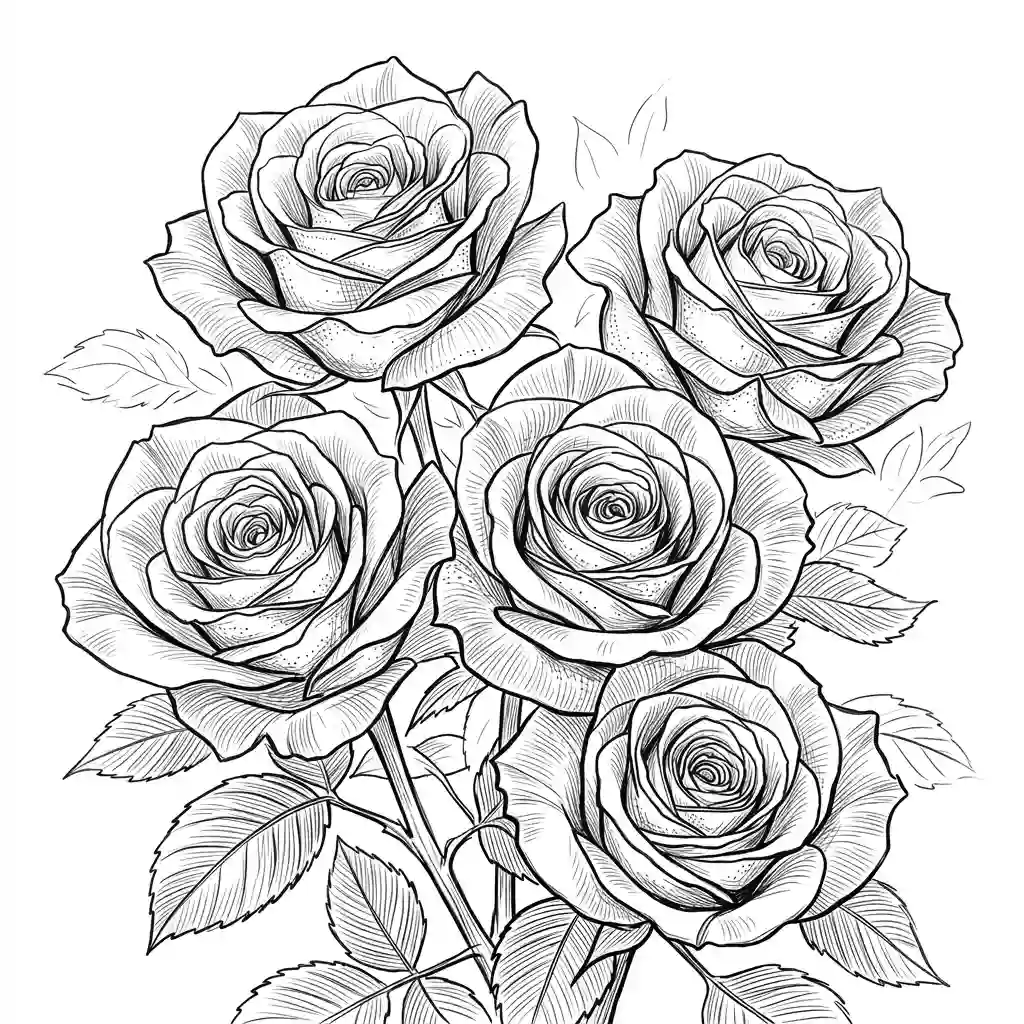
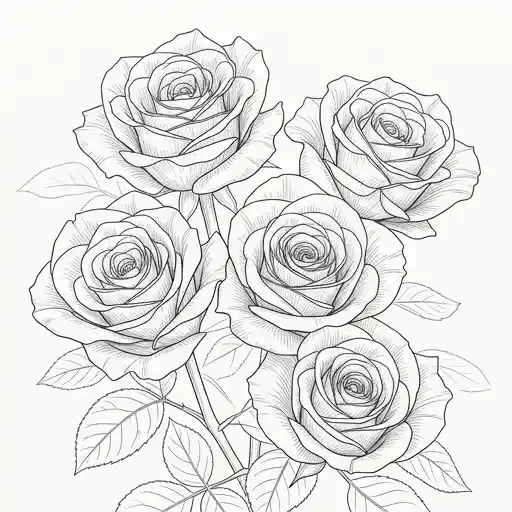
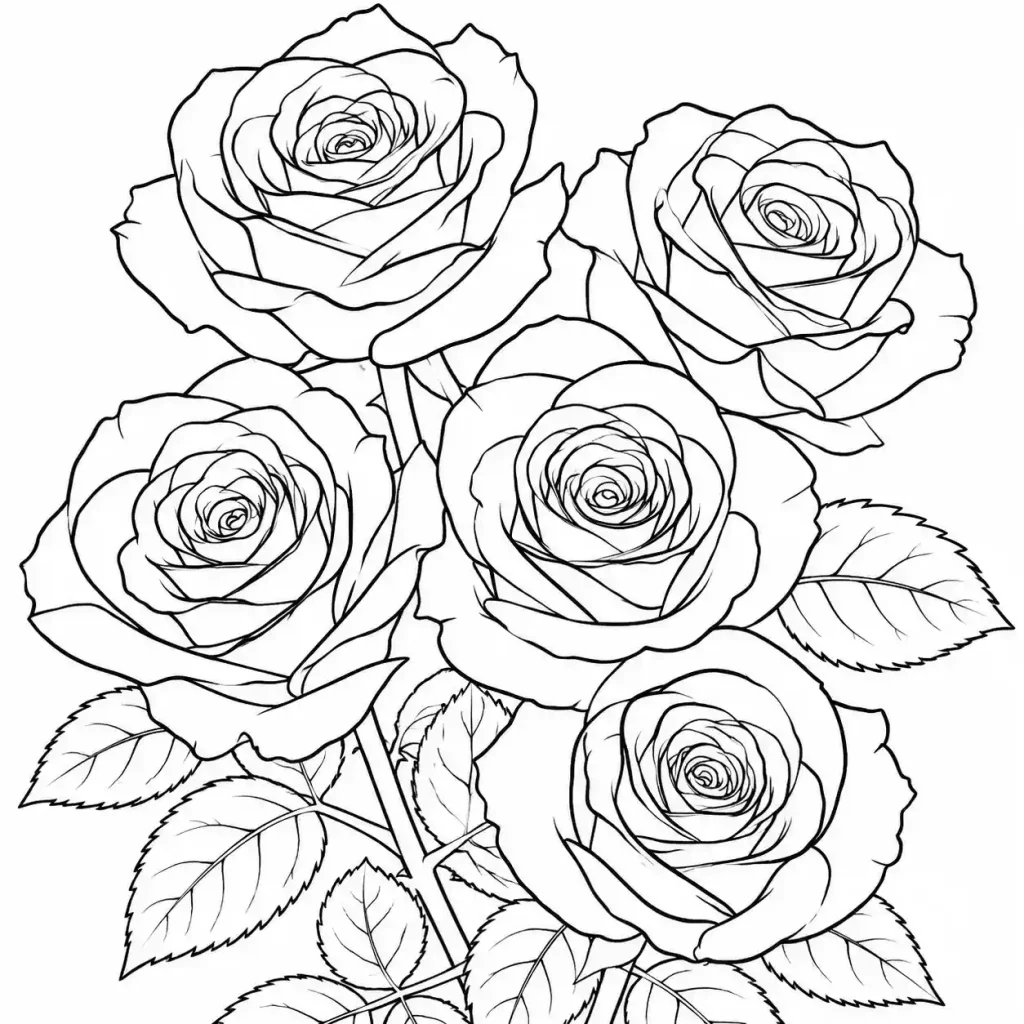
How to Turn a Photo into a Line Drawing Online Free
Step 1: Choose the Right Style
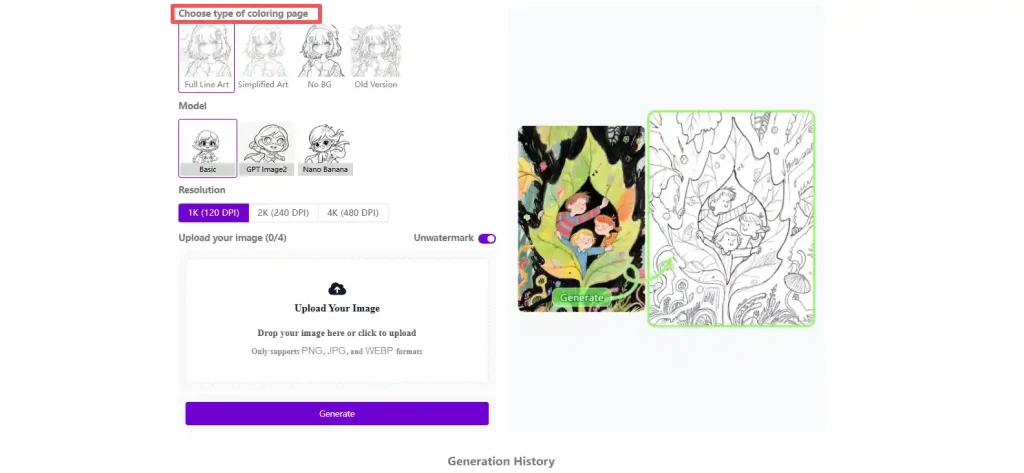
Full Line Art
Best for: Printable worksheets, educational materials, coloring pages, and detailed illustrations.
This style preserves the most outlines and fine details from your original photo. It’s ideal when you want facial features, clothing, objects, or architectural elements to remain recognizable while still producing clean black-and-white line art.
Simplified Art
Best for: Young learners, simple crafts, icons, stickers, and beginner coloring activities.
Simplified Art removes unnecessary details and focuses on the main shapes. The cleaner outlines make it easier to print, trace, or color, especially for children or classroom activities where clarity is more important than realism.
No BG
Best for: Isolated subjects, teaching materials, posters, presentations, and graphic design.
This style automatically removes the background before generating the line drawing, allowing the AI line art generator to focus entirely on the main subject. It’s especially useful when the original photo has a busy background that might otherwise create unwanted lines.
Old Version
Best for: Users who prefer the classic generation style or want to recreate results from earlier versions.
Old Version uses the previous generation algorithm. Depending on the photo, it may produce slightly different line thickness, edge detection, or detail preservation. If you’re not satisfied with the newer styles, it’s worth comparing the results.
A good line art generator lets you switch between different styles without changing your original photo, making it easy to compare results before downloading.
Step 2: Select the Best Model and Resolution
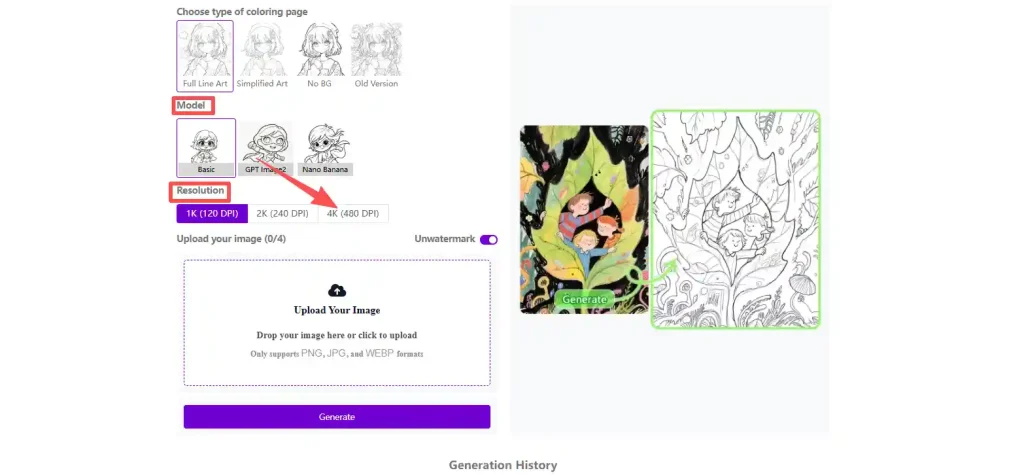
Next, Choosing the right settings helps the line art generator produce sharper outlines, especially when preparing images for printing.
- Basic – Fast and balanced, suitable for most photos and everyday use.
- GPT Image2 – Generates cleaner outlines with enhanced detail preservation.
- Nano Banana – Ideal for more stylized and expressive line art results.
Then, select your preferred output quality:
- 1K (120 DPI) – Great for quick previews and digital use.
- 2K (240 DPI) – Recommended for high-quality printing and classroom worksheets.
- 4K (480 DPI) – Best for posters, detailed artwork, and large-format prints.
Tip: If you’re creating printable teaching materials, 2K offers an excellent balance between image quality and file size, while 4K is the best choice for large prints or professional projects.
Step 3: Upload Your Photo
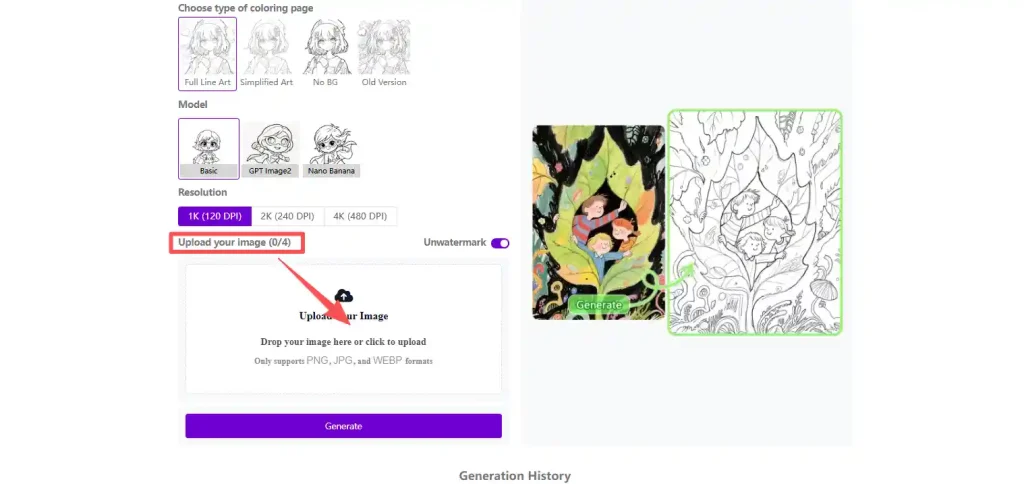
Upload the photo you’d like to convert into line art.
For the best results, choose an image with:
- A clear main subject
- Good lighting
- High resolution
- Strong contrast between the subject and background
- Minimal motion blur
Once your photo is ready, upload it and let the AI generate your line drawing in seconds.
Step 4: Download Your Line Drawing
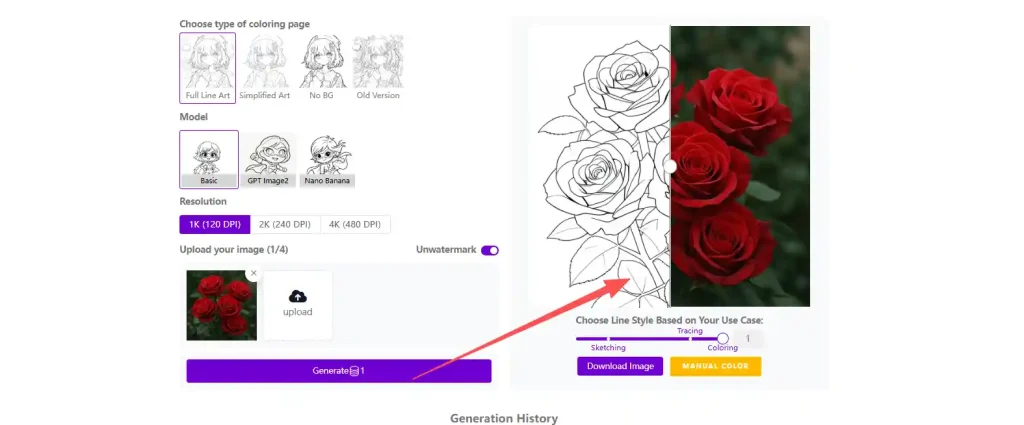
Once the AI finishes generating your image, preview the result before downloading.
Before saving your line drawing, ask yourself these questions:
- Are all the important outlines clearly visible?
- Is the background clean and free of unnecessary lines?
- Are facial features or key object details preserved?
- Is the image clear enough for printing or sharing?
- Would a different style produce a better result?
Once you’re satisfied with the preview, download your photo to line art result and start using it for worksheets, creative projects, or classroom activities.
Which Photos Produce the Best Line Drawings?
Clear Portrait vs Crowded Group Photo
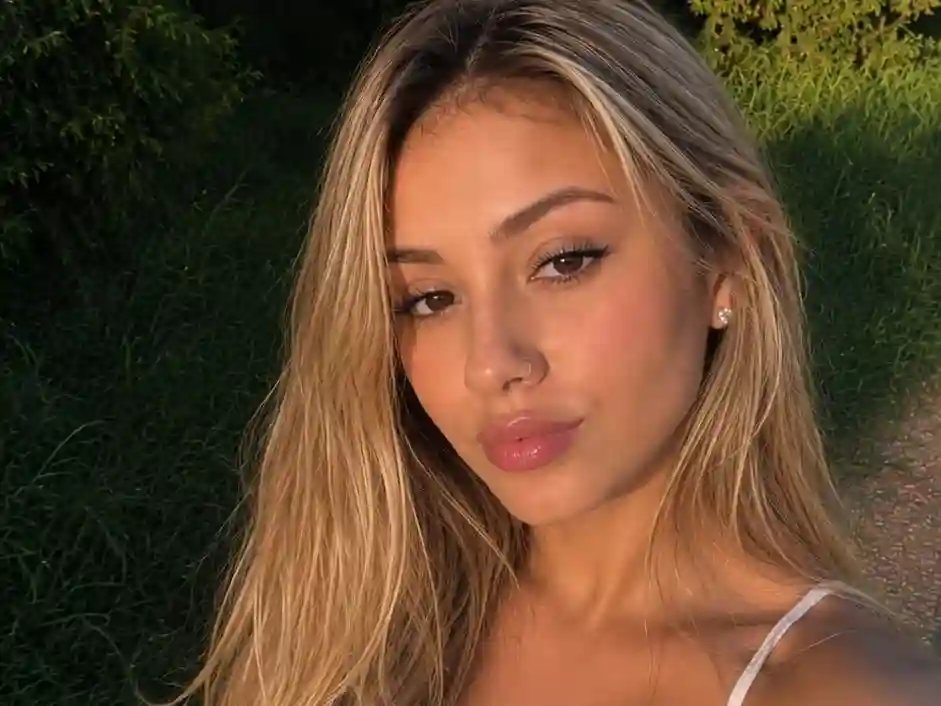
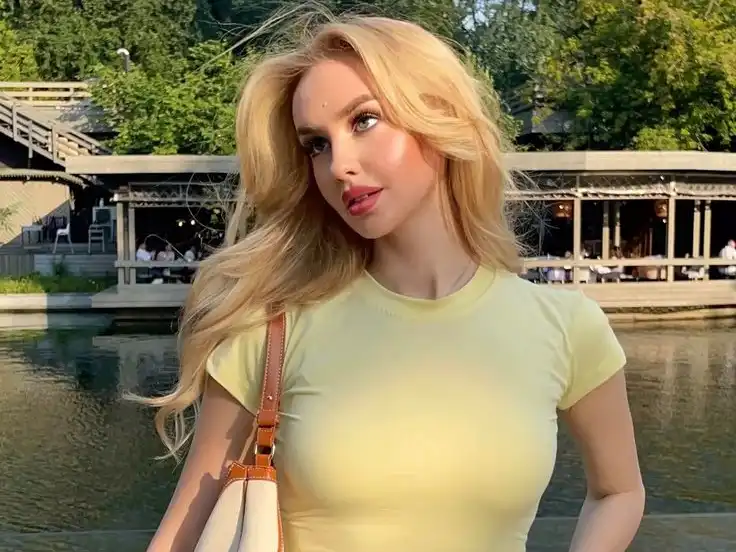
Portraits usually produce the cleanest line drawings when the subject is well lit and separated from the background.
✅ Works Best: A clear portrait with good lighting and a simple background creates clean outlines and recognizable facial features.
❌ Avoid: Group photos or cluttered backgrounds can introduce extra lines and make the subject less distinct.
Close-up Pet vs Distant Pet
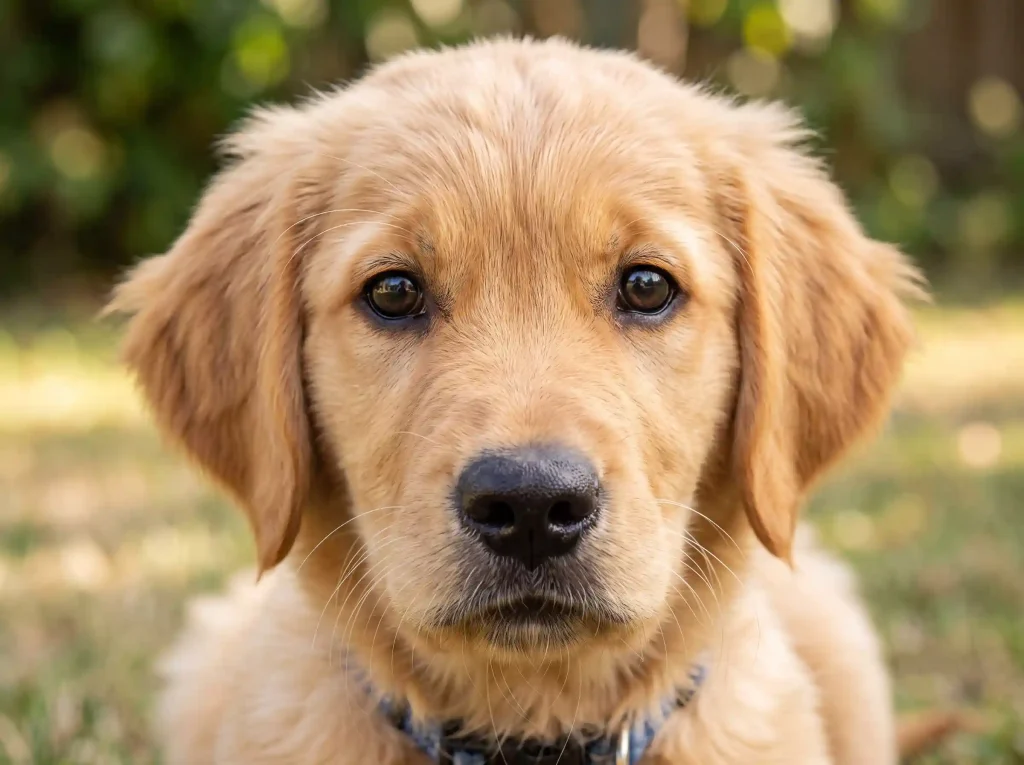
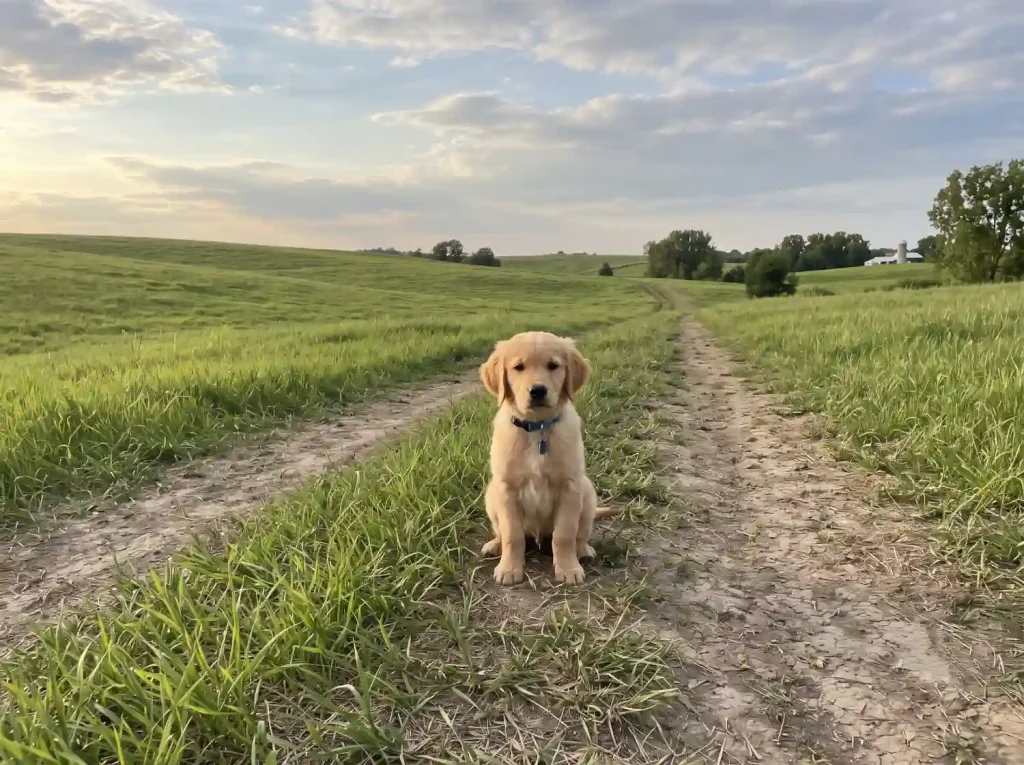
Close-up pet photos often generate better results because facial features and body outlines are easier to detect.
✅ Works Best: A close-up photo keeps important details like the eyes, ears, and outline of the face.
❌ Avoid: Pets photographed from far away or partially hidden may lose important details during conversion.
Bright Flower vs Low-light Flower
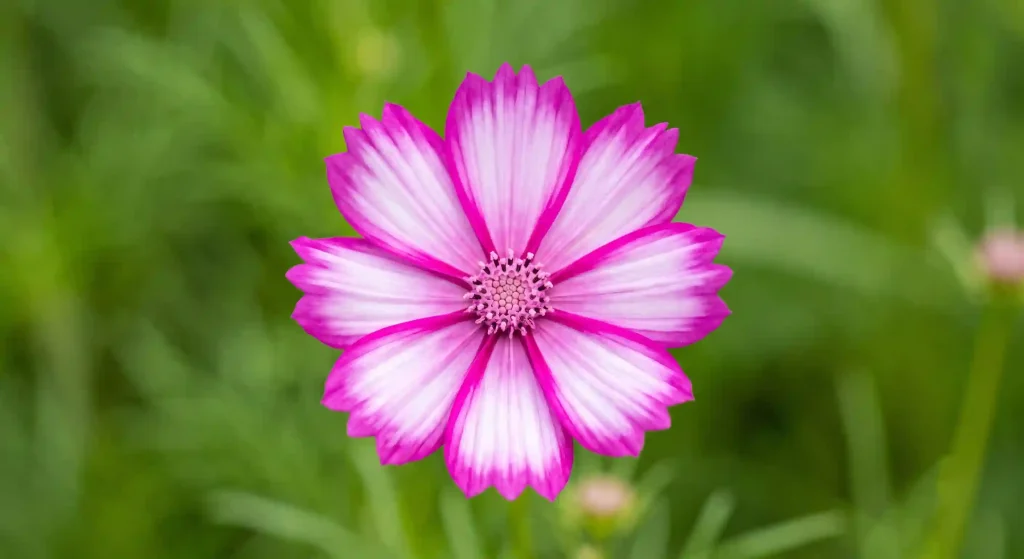
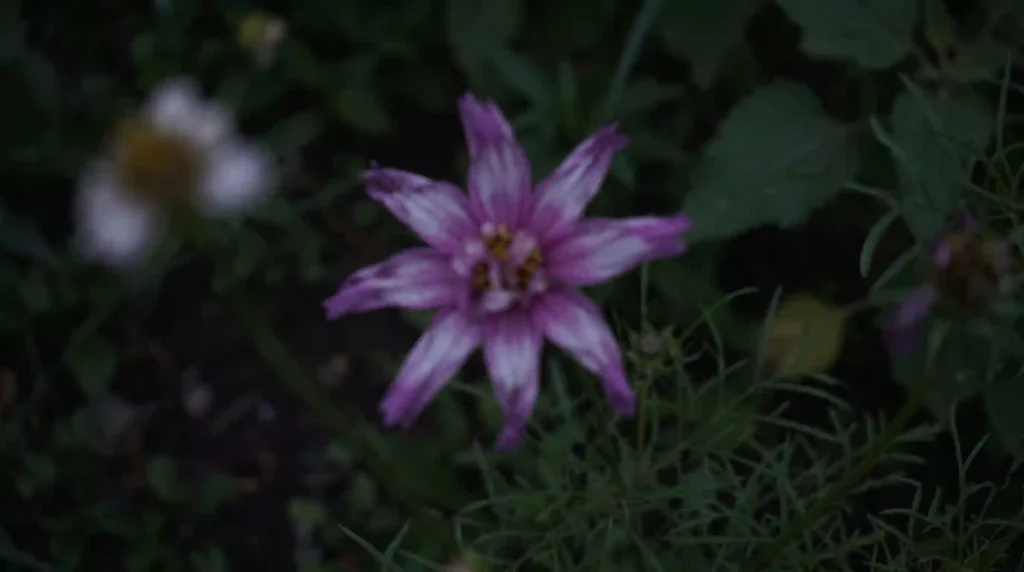
Flowers are naturally well suited for line art thanks to their defined shapes and clear edges.
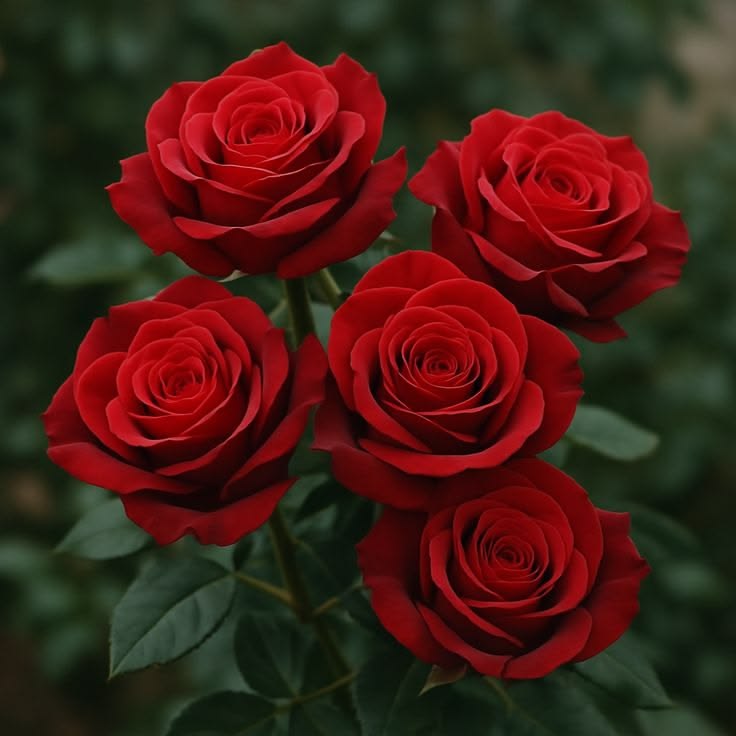
✅ Works Best: Bright, well-focused flowers create smooth, balanced outlines.
❌ Avoid: Low-light or blurry photos can reduce edge detection and create uneven lines.
Daylight Building vs Night Scene


Architecture often converts well because of its geometric shapes and straight edges.
✅ Works Best: Buildings photographed in daylight preserve more structural details.
❌ Avoid: Night scenes or heavy shadows can hide important edges and reduce clarity.
Clean Product Shot vs Busy Background
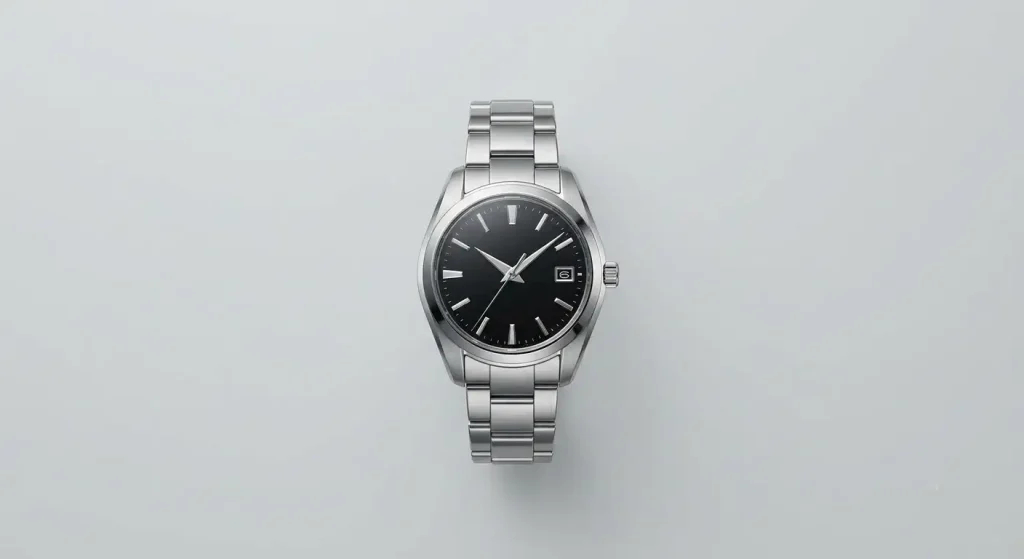
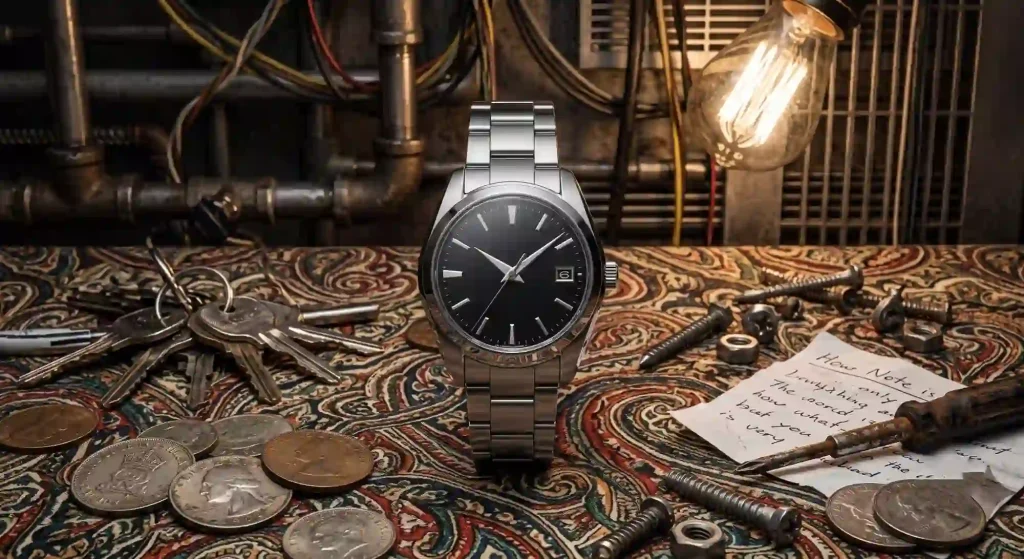
Simple product photos are ideal for clean, printable illustrations.
✅ Works Best: Products photographed on a plain background produce neat outlines with minimal cleanup.
❌ Avoid: Busy backgrounds add unnecessary lines that can distract from the main object.
Creative Ways to Use AI Line Drawings
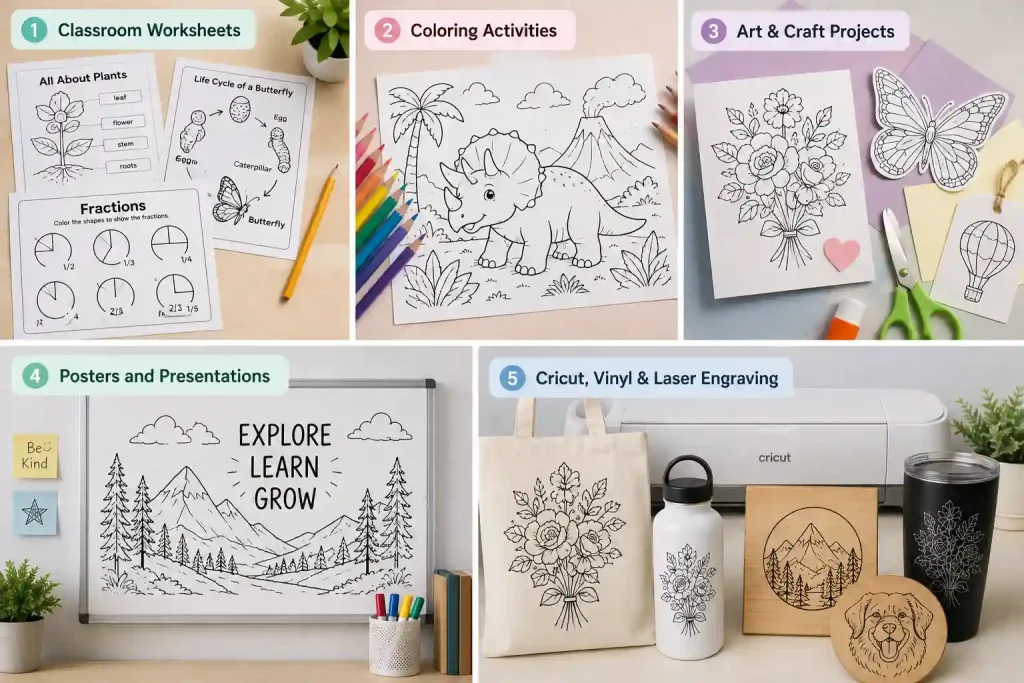
Classroom Worksheets
Coloring Activities
Art & Craft Projects
Posters and Presentations
Cricut, Vinyl & Laser Engraving
Conclusion
Creating a great line drawing isn’t just about choosing the right AI tool—it’s also about selecting the right style, using a high-quality photo, and picking the best output settings for your project.
Whether you’re designing classroom worksheets, printable coloring pages, craft projects, or digital artwork, experimenting with different styles can dramatically improve your final result.
If you’re ready to create your own photo to line art, try our free line art generator and see how quickly a single photo can become a clean, printable line drawing.